Jason Hoppe Adobe Certified Expert & Adobe Certified Trainer
  • Home
  • Contact
  • Classes
  • Blog
  • Blog Index
  • Portfolio
  • Max 2022

Design Points n PixelS


INFOGRAPHIC SERIES - Chrome / Reflective Badge

4/28/2019

1 Comment

 
Create a chrome or reflective look on type and add some gleamie specular highlights for a shiny effect.
Picture

Picture
Choose a typeface and create a word. This typeface is called Raceway and it is available on type.adobe.com and can be activated for use in Illustrator. Outline the font. Choose Object>Compound Path>Make to turn all the shapes into a single acting shape. Grouping it together will not create a single shape. 
Picture
Fill the type with a gradient from white to a medium color. 

Picture
Set the angle so the highlight is on the top and the darker color is on the bottom. 
Picture
Add a stroke to the shape. In the stroke panel set the Align Stroke to the outside so it does not encroach into the the shape. 

Picture
Add a gradient to the stroke by selecting the stroke icon in the gradient panel. Add a light color by clicking under the gradient ramp. Click under the ramp to add another color. With the color dot selected, set the color locations at 0, 25, 50, 75 and 100 to space the color out equally. 
Picture
This will create a beveled look to the badge with a multi-step gradient on the stroke. 

Picture
In the Appearance Panel, click on the add Stroke button in the lower left. Set the stroke to be under the initial stroke and twice the weight. 
Picture
Click on the Stroke link in the Appearance Panel and set the Align Stroke to the outside. 

Picture
Add a darker gradient to the second stroke. 
Picture
The darker gradient on the second stroke give more of reflective edge on the bevel.

Picture
In the Appearance Panel, turn the strokes off by clicking on the eye next to the stroke. 
Picture
Select the type and choose Object>Path>Outline Stroke. Set the offset to -1 to make the shape smaller. Click OK. 

Picture
Move the offset type off the original shape. 
Picture
Create a rectangle over the top of the offset path. 

Picture
Select the type and the rectangle and choose Minus Front in the Pathfinder panel to cut off the top, leaving just the bottom of the offset type. 
Picture
Move the cut off section to the lower of the type. Turn on the strokes in the Appearance panel.

Picture
Set the lower section to Multiply.
Picture
This blends the section into the type and makes the bottom inset appear darker.

Picture
Select the badge and set the Corners to be rounded in the Stroke Panel. 
Picture
Add a gleamie highlight. Create the gleamie by drawing a Star. While drawing the star, use the UP ARROW to add points to the star. While drawing, hold the COMMAND key and pull in toward the center of the star to make the points longer.  

Picture
Direct Select the end points and pull them longer and shorter. 
Picture
Make the gleamies white and add them to the badge to create highlights. 
1 Comment

INFOGRAPHIC SERIES - Bathtub with Bubbles

4/21/2019

3 Comments

 
Try this relaxing bubble bath. Add some water streaming, bubble and a stack of towels. 
Picture

Picture
Start the tub with a rectangle.
Picture
Select the Free Transform Tool and choose the 3rd tool in the list, the Perspective Tool 
Picture
Click on either lower corner of the rectangle and pull into the shape to pinch the bottom together. 

Picture
Draw a rectangle, pull the Corner Widgets in to the max to round the ends.
Picture
Move the rounded rectangle to the top of the tub, Select both shapes. 
Picture
Use the Pathfinder Unite tool to merge the two shapes together. Use the Direct Selection Tool to select the lower 2 points and pull the Corner Widget in to round the bottom two edges. 

Picture
Direct select the upper inside corners and round those Corner Widgets.
Picture
Add a heavy stroke to the shape. 
Picture
Make the shower with a rectangle. 

Picture
Direct Select the top two corners and pull the Corner Widgets in to the max. 
Picture
Direct Select the lower right corner and delete it, leaving the shower arm. Round cap the ends (hot dog the ends) in the Stroke Panel. 
Picture
Picture
For the shower head draw a circle. Direct Select the lower point and delete it. To join the line together, Choose Object>Path>Join.

Picture
Move the shower arm and head into position. 
Picture
Create dotted lines for the shower water. Draw a line, set the ends caps to round (hot dog the ends) and click on the Dashed Line check box. Set the dash length to ZERO, gap to 12. 
Picture
Move the dotted lines into position for the shower head. 

Picture
Picture
For the legs, create a rectangle. Direct Select the top two corners and move them to the right. 
Picture
Move the leg into position. Duplicate the leg and choose flip in the Properties Panel.
Picture
For the Towel, start with a rectangle. 

Picture
Direct Select the top two corners and pull the Corner Widgets in to the max. ​
Picture
Direct Select the lower left corner and delete it, leaving the shower arm. Round cap the ends (hot dog the ends) in the Stroke Panel. ​
Picture
Duplicate the shape, and leave a wider space than the towel will be. 

Picture
Select both shapes, and join the line together, Choose Object>Path>Join. Do this twice to close both ends of the towel. 
Picture
Add a break line the upper edge of the tub. Add some circles with light blue and gray strokes for bubbles. 
Picture
Place the towel at the edge. 

Picture
Picture
Create a stack of towels. ​Draw a rectangle, pull the Corner Widgets in to the max to round the ends.
Picture
Duplicate the towel shape and stack them at the end of the tub. Draw a line for the towels and tub to sit on. 
Picture
Select the tub, click on the Draw Inside Mode at the bottom of the Tool Bar. Draw a rectangle, filled with 20% black. Set the Opacity mode to Multiply. Move the shadow into place and click on the Draw Normal mode to exit.

Picture
Duplicate the towel, fill it with 20% gray. Select the hanging towel on the tub and repeat the Draw Inside mode. 
Picture
Copy and paste the gray towel into the towel. Move the darker towel shadow to the right of the towel. ​
Picture
Click on the Draw Normal mode. ​This added the shadow to the towel.

Picture
Do the same Draw Inside process to add the shadow to the shower head. 
Picture
Select the stack of towels. To paste a shape inside all of the at one time, choose Object>Compound Path> Make. (Grouping these together will not give you one shape.) This makes it all one shape to Draw Inside. Do the same Draw Inside process to add the shadow to the Towels. 
Picture
Add some asterisks and crosses to the bubbles to make them look like they are popping.  

Picture
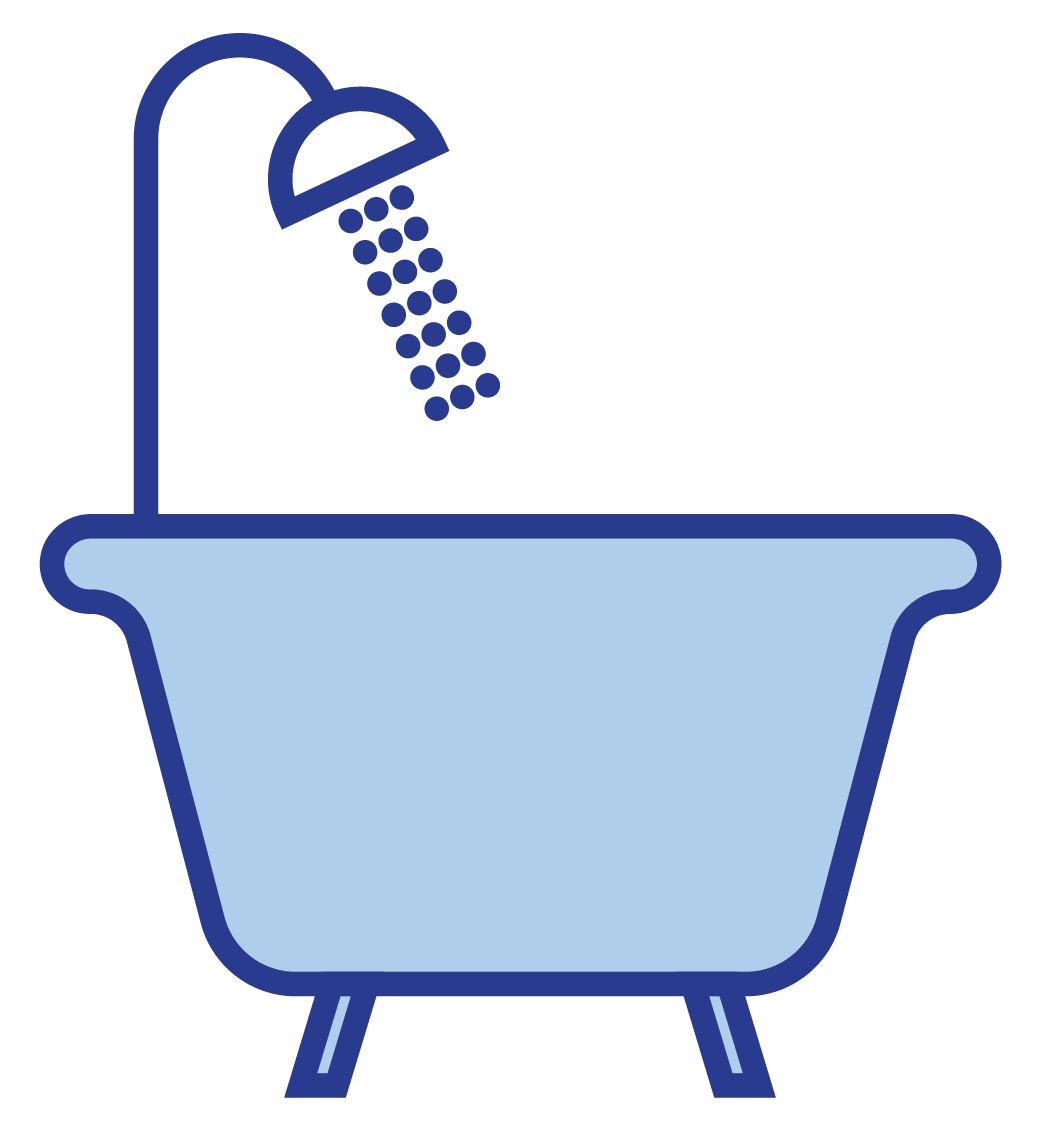
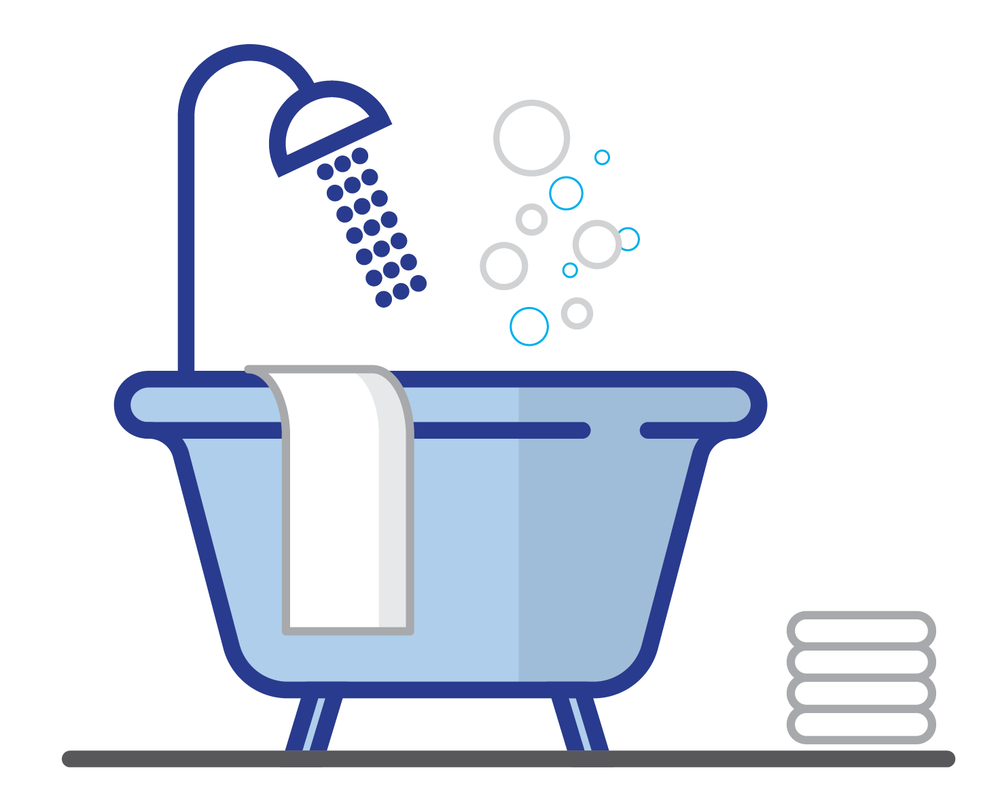
Relax and enjoy the fun bubble bath. 
3 Comments

INFOGRAPHIC SERIES - Marshmallow Roasting over a Camp Fire

4/14/2019

0 Comments

 
Make a fire and break out the marshmallows and get roasting. This is a fun way to enjoy roasting marshmallows and a cool way to create a stick and fire. 
Picture

Picture
Start with a rectangle, heavy stroke, white fill. Use the Stroke Panel to round the corners of the stroke. 
Picture
Draw an oval the exact same height as the rectangle. Duplicate it. Move the duplicate to the right end of the rectangle. 
Picture
Select the rectangle and the oval. Choose the Pathfinder Unite Mode to join the two shapes together. 

Picture
Move the other oval to the left side of the rectangle to form the marshmallow. 
Picture
To create the stick, create a rectangle with a heavy stroke and a fill. Use the Stroke Panel to round the corners of the stroke. ​
Picture
Duplicate the stick and shorten the rectangles. Move and rotate them to a 45° angle. Select all the shapes and use the Pathfinder Unite Mode to create one shape. 

Picture
Use the line tool to create thinner, lighter lines inside the stick for the wood grain. Use the Stroke Panel to round the end caps (hot dog the ends) of the stroke. ​Select all the stick parts and group them together. 
Picture
Create a rectangle over the stick. Copy the end oval of the marshmallow and place it halfway the end of the rectangle as shown. (The opacity is being simply as a guide)
Picture
Join the rectangle and oval together using the Pathfinder Unite Mode. No fill or stoke on the shape. Click on the Draw Inside mode at the bottom of the Tool Bar. 

Picture
CUT the Stick and PASTE it into the newly created shape. Position it so the stick is in the center of the oval vertically and move the stick so the right end is masked by the oval. Click on the Draw Normal Mode. 
Picture
Create a rectangle. Copy the oval from the end of the marshmallow. Use the Direct Select Tool to delete all but the lower right arc of the oval. Duplicate the arc over the rectangle. 
Picture
Select the arcs, choose Object>Path>Outline Stroke. 

Picture
Select all the shapes and use the Pathfinder Unite Mode to create one shape. ​Group all the shapes together. 
Picture
Click on the marshmallow shape. Click on the Draw Inside mode at the bottom of the Tool Bar. ​
Picture
CUT the shading and PASTE it into the marshmallow shape. Position it so the shading rests at the bottom of the shap. Click on the Draw Normal Mode. 

Picture
Add some darker lines to the bottom of the shading. Move the stick into position at the end of the marshmallow.
Picture
For the flame, draw a rectangle. Use the Direct Selection Tool to select and corner widget the lower right corner only. 

Picture
Use the Skew Tool to skew the shape to the left. 
Picture
Duplicate the shape to the right. Select both shapes. Use the Pathfinder Minus front mode to remove the extra parts. 
Picture
This is the remaining result. 

Picture
Duplicate and flip the shape so the shapes overlap each other. Use the Pathfinder Unite mode to make it one shape. 
Picture
Add a heavy stroke to the flames, lighter fill. Duplicate the shapes, use darker and lighter warm colors to make the flames. Select all the flames and group them together. CUT the flames. 
Picture
Draw a rectangle. Click on the Draw Inside mode at the bottom of the Tool Bar. PASTE the flames into the shape, hiding the bottom of the flames. Click on the Draw Normal Mode.  

Picture
Add some wood to the fire by creating a rectangle, wide and short. Use the corner widgets to round the ends fully. Use the Direct Selection tool to select and remove one end of the rectangle. Move the wood under the fire. 
Picture
Add some dots and lines to the flames. Add sparks and dots to the fire. Move the stick and marshmallow over the fire and get roasting. 
0 Comments

INFOGRAPHIC SERIES - Submarine under the Sea

4/1/2019

1 Comment

 
Create a fun submarine under the water. add some waves and some water highlights to complete the undersea adventure. 
Picture

Picture
Start the body of the sub with two circles, overlapping half way. 
Picture
Use the Pathfinder Intersect Mode to make the eye shape. 
Picture
Create a rectangle the same height as the eye shape. 

Picture
Select both shapes and use the Pathfinder Unite Mode to create on shape. 
Picture
Draw a rectangle over the end of the body. 
Picture
Select both shapes and use the Pathfinder Minus Front Mode to remove the end. 

Picture
Draw a square. Add a darker stroke.
Picture
Use the Direct Selection Tool to select the two right edges and pull the Corner Widgets in. OPTION/ALT + CLICK on the Corner Widgets to cycle through the corner styles until you get to the flat corners. 
Picture
Place the fins behind the body of the sub. Choose Object>Arrange>Send To Back. Add the same stroke to the body that was added to the fins. 

Picture
Draw a rectangle on the end and use the Corner Widgets the on the outside end. 
Picture
Draw a black line coming out of the body. Add caps to the line ends (hot dog the ends).
Picture
To create the propeller, create two over lapping circles. 

Picture
Use the Pathfinder Intersect Mode to make the propeller. 
Picture
Use Corner Widgets to pull in the ends slightly. 
Picture
Place the propeller blades on a a rectangle on the end of the black line. 

Picture
Add circles for windows. Add a white stroke and a blue fill. 
Picture
In the Appearance Panel, add an additional stroke by clicking on the stroke button at the bottom left of the Appearance Panel. Add a red stroke with a smaller stroke weight to the same circles. 
Picture
For the top, create a square.

Picture
Use the Direct Selection Tool to select the upper left corner. Pull the corner in and use the OPTION/ALT + CLICK on the Corner Widget to cycle through the corners. Add the shape to the top of the sub. 
Picture
Add the shape to the top of the sub. ​
Picture
Draw a line with rounded ends. 
Picture
Use the Width Shape Tool and widen one end of the line. Outline the Stroke. Choose Object>Path>Outline Stroke. 

Picture
Add the same fill and stroke to the fin. 
Picture
Place the fin at the end of the sub before the propeller. 
Picture
Create a rectangle for the periscope. Use the Corner Widgets to round one end. Place the periscope behind the sub. 

Picture
Copy the periscope and create a right angle with the shape. 
Picture
Select both shapes and use the Pathfinder Unite mode to create one shape. 
Picture
Place the second periscope at the top of the sub.

Picture
Create 2 rectangles. Fill one with white, 85% opacity.
Picture
Fill the second rectangle with 10% black and set the Blend Mode to Multiply. 
Picture
Select the top pod, click on the Draw Inside Mode at the bottom of the Tool Bar. Copy and paste the white and gray rectangles into the pod.
Picture
Scale the rectangles to fit them into the pod to create a a highlight and shadow. Click on the Draw Normal Mode when done. 

Picture
Repeat the Draw Inside on the tail fins, paste the highlight and shadow rectangles. 
Picture
To create the shadow on the propellers. Copy the propeller and and fill the copy with 10% black and set the Blend Mode to Multiply. 
Picture
Repeat the draw inside on the propellers and paste the gray prop shadows into the propellers. 

Picture
Repeat the Draw Inside for the body of the sub. 
Picture
Draw a line at the front of the sub. Use the Curvature Tool to curve the line. 
Picture
Add a circle behind the sub, fill it with light blue. 

Picture
Draw a line and add a Zig Zag effect to the line, make the corners smooth. 
Picture
Place the line over the top portion of the circle. Expand the appearance the of the line under Object>Expand Appearance. 
Picture
Select the line and the blue circle and use the Pathfinder Divide Mode. Ungroup the shapes. Delete the upper shape. 

Picture
Create a line. Round the ends. 
Picture
In the Appearance Panel, add an additional stroke by clicking on the stroke button at the bottom left of the Appearance Panel. Add a white stroke with the same stroke weight. 
Picture
Select the White Stroke in the Appearance Panel and add a Transform Effect  (Effect>Distort & Transform> Transform. Move the line with a H & V offset of 6mm. 

Picture
Copy the double lines created in the last few steps to create highlights in the water. 
Picture
Add darker blue lines to the water and you are done!
1 Comment

    RSS Feed

    Archives

    March 2021
    February 2021
    December 2020
    September 2020
    August 2020
    July 2020
    June 2020
    May 2020
    April 2020
    March 2020
    February 2020
    January 2020
    December 2019
    November 2019
    October 2019
    September 2019
    August 2019
    July 2019
    June 2019
    May 2019
    April 2019
    March 2019
    February 2019
    January 2019
    December 2018
    November 2018
    October 2018
    September 2018
    August 2018
    July 2018
    June 2018
    May 2018
    April 2018
    March 2018
    February 2018
    January 2018
    December 2017
    November 2017
    October 2017
    September 2017
    August 2017
    July 2017
    June 2017
    May 2017
    April 2017
    March 2017
    February 2017
    January 2017
    December 2016
    November 2016
    October 2016
    September 2016
    August 2016
    July 2016
    June 2016
    May 2016
    April 2016
    March 2016
    February 2016
    January 2016
    December 2015
    November 2015
    October 2015
    September 2015

    RSS Feed

Proudly powered by Weebly
  • Home
  • Contact
  • Classes
  • Blog
  • Blog Index
  • Portfolio
  • Max 2022