Jason Hoppe Adobe Certified Expert & Adobe Certified Trainer
  • Home
  • Contact
  • Classes
  • Blog
  • Blog Index
  • Portfolio
  • Max 2022

Design Points n PixelS


INFOGRAPHIC SERIES - Easy Chair

11/25/2018

0 Comments

 
Sit back and relax in this easy chair. This icons uses Illustrators NEW Freeform Gradient Tool to create more realistic gradients that are easier to create and edit. 
This feature is only available in the most current version of Adobe Illustrator (CC 2019). To upgrade go under the Creative Cloud App and click upgrade next to the AI application

Picture

Picture
Start with a rectangle fill, no stroke. 
Picture
Add a circle to the top of the rectangle, larger than the width of the rectangle for the top of the arm. Use the Pathfinder Unite Mode to create one shape. 
Picture
Draw a rectangle to match the height of the lower section below the circle. Fill with a darker color. Draw another rectangle the height of the circle. 

Picture
Use the Direct Selection Tool to select the left end of the selected rectangle and pull the corner widgets into the center to their max amount. 
Picture
Move the shape to line up with the circle and place it behind the circle. Object> Arrange> Send To Back. 
Picture
Draw another rectangle about twice the height of the existing shapes. 

Picture
Use the Direct Selection Tool to select the lower left corner point and move it to the right to taper the back of the chair. 
Picture
Add a circle to the of the chair back, larger than the with width of the back. 
Picture
Select the back and the circle and use the Pathfinder Unite Mode to create one shape. 

Picture
Draw a large rectangle in back of the chair, fill it with a darker color. 
Picture
Use the Direct Selection Tool to select the bottom line of the rectangle and move it to the right to skew the back of the chair. 
Picture
Duplicate the left arm section and flip it using the Flip icon in the Properties Panel. 

Picture
Duplicate the left upper arm section and move it over behind the right arm section. 
Picture
Create a rectangle the width and height of the current sections of arm that have been created. Use the Eyedropper Tool to select the color of the arm to match the color and fill the existing shape. 
Picture
Select the side and the arm curve; use the Pathfinder Unite Mode to create one shape. Add a rectangle for a cushion.

Picture
Use the Curvature Tool to select the top edge of the cushion and pull up to slightly round the cushion top. 
Picture
Create the legs by using a wider rectangle filled with a lighter color and a rectangle half the width of the first rectangle filled with a darker color. Place them next to each tother to give the legs dimension. The legs in the back maker darker; legs in front make lighter. 

Picture
Use the Direct Selection Tool to select the lower left of the wide part of the leg and the lower right of the narrow leg and pull the corner widgets to get the legs to be slightly rounded. Repeat this process on the other 3 leg shapes. 
Picture
Place the legs under the chair. 

Picture
​Ready for the Freeform Gradient? Here we go. Select on the the panels of the chair. Click on the Gradient Tool in the Tool Bar. Open the NEW Properties Panel under the Window Menu. 

The Properties Panel will show the gradient types only when the shape is selected and the Gradient Tool is selected. ​
Picture
The Freeform Gradient is the 3rd choice. Select the Points Radio button. Once selected the shape will have dots appear on the shape, those dots can be double-clicked on to change the color of that area. ​
Picture
Once you double-click on the dots on the shape, the swatch panel will open up. Choose from the three color options on the left:
1: Color Picker,
2: Swatch panel (shown)
​3: Use the Eyedropper tool to sample a color from the existing artwork.

​Spread is the size of the blend area as shown by the Spread slider OR the dotted area around the dot on the artwork. 

Add A Dot: Click anywhere on the active shape.
Delete A Dot: Click on the dot, press the delete key.
Move A Dot: Click on the dot and move it around.


Picture
Repeat the Freeform gradient on each shape by selecting the shape, choose the Gradient Tool on the Tool Bar, then click the Freeform Gradient icon the Properties Panel. You may get extra dots on the selected shape initially, click on the dot and use the delete key to remove it 
Picture
Double-click on the dots to change the color. Drag the dog on the selected shape to change the location of the color.
Repeat this process for the panel that you want to a apply a gradient to.

Picture
Add gray rectangles to the tops of the legs. Select all 4 gray shapes and click on the Opacity Link in the Control Bar. 
Picture
Set the Blend Mode to Multiply to give a drop shadow effect to the legs. ​

Picture
This is how the legs look. 
Picture
To add highlights to the shapes, duplicate a shape (I chose the left arm) on the chair and choose Object> Path> Offset Path. 
Picture
Set the path to be a negative number to get a smaller path inside the shape and click OK. Delete the shape you used leaving the smaller shape.  

Picture
Apply a stroke to the new shape, no fill. Use the Direct Selection tool to remove the extra lines not needed from the shape. Move the highlight into position on the arm
Picture
Duplicate that shape and flip it in the Properties Panel. Add a line under the arm that is darker for a shadow line. 

Picture
Duplicate the side of the chair. Repeat the Offset Path steps to get the shadow line on the side of the chair. 
Picture
Nice job, you now have an easy chair and you have used the NEW Illustrator Freeform Gradient feature. 
0 Comments

INFOGRAPHIC SERIES - Slice of Pumpkin Pie

11/18/2018

0 Comments

 
If you have ever made a pie chart the easy way in Illustrator, it is just a few steps away from making an entire pie; right down to the ridges in the crust and the whip cream on the slice of pie. Enjoy!
Picture

Picture
Start with a circle, fill and no stroke. 
Picture
Click on the handle on the right side of the circle and move it up and around the circle to create a pie section. 
Picture
In the Transform Panel, the flip pie button will flip the shape from the pie shape to the pie piece. Hold OPTION + CLICK on the flip to copy it as it flips. 

Picture
This will result in the two parts of the pie being a complete whole 
Picture
Ungroup the shapes to move them individually. 
Picture
Select both shapes and use the bottom handle of the transform to squish the shapes vertically. 

Picture
Duplicate the shape. On the duplicate shape, use the Direct Selection Tool to select and remove the 3 points shown.
Picture
This will leave the lower half of the pie shape. 
Picture
Remove the fill and add a darker stroke.

Picture
Draw a vertical line on the right side at the end of the half oval. 
Picture
Duplicate the line and move it to the other side of the half oval. Duplicate the line yet again and set it aside for a few steps from now. 
Picture
Select all the line and use COMMAND + J twice to join all the lines together and close the shape. 

Picture
Swap the fill for the stroke.
Picture
Select the Free Transform tool, perspective tool. 
Picture
Use the perspective tool to pinch the lower section of the oval closer together.

Picture
Place the shape behind the pie section. 
Picture
Move the vertical line that was duplicated next to the slice to use it as a marker. Draw a rectangle the size of the pie size and the height of the line. Delete the line when done. 
Picture
Use the Direct Selection Tool to select the lower right of the rectangle and move it to the left to match the angle of the pie base. 

Picture
Duplicate the rectangle of the pie shape. Remove the fill and add a heavy stroke. 
Picture
Use the Direct Selection Tool to select the upper left of the rectangle and delete the lines leaving the "crust" of the pie shape.
Picture
Move the crust in position on the pie piece. 

Picture
Duplicate the pie piece, move it over the section of the pie.
Picture
Send the pie piece to the back and line it up with the right edge of the pie. 
Picture
Duplicate the top shape of the pie. Remove the fill and add a heavy stroke. Use the Direct Selection Tool to remove the center point of the pie shape

Picture
Round the ends (hot dog the ends) of the resulting open oval in the Stroke Panel. 
Picture
​Apply a Zig Zag effect from the Effects Menu. Set the points to be smooth, small size, set the radio button to absolute. 
Picture
This will give he effect of a rippled pie crust. Adjust the size and ridges-per-segment as necessary to get the right look.

Picture
Use the Direct Selection Tool to select the edge of the pie shape. Copy and paste the curved edge. Remove the fill, add the stroke to match the color and weight of the pie.
Picture
Apply the same Zig Zag effect, to make it match the pie, reduce the number of ridges-per-segment. 
Picture
Move the pie crust edge to the pie piece. 

Picture
To create the whip cream, create an oval, white fill and light colored stroke. 
Picture
Duplicate the oval half way on itself and reduce the size.
Picture
Repeat this process and until you have 4 ovals staked.

Picture
Use the Direct Selection Tool to click on the upper point on the oval and move the point up. 
Picture
Click on the Convert Anchor Point in the Control Bar or the Properties Panel to convert the smooth point to a corner point. 
Picture
Select all the oval and duplicate the set. 

Picture
Select one set and use the Pathfinder Unite tool to make it one shape. 
Picture
On the copied version, use the Direct Selection Tool to select and copy the portions of the ovals shown. 
Picture
Paste the shapes and hot dog the ends and place them on the other shape. Group the shape and the lines together. 

Picture
Place the whip cream on the pie piece. 
Picture
Select the top piece of the pie, use the Object>Path>Offset Path to make a smaller version of the pie top for the highlight. 

Picture
Use the Direct Selection Tool to remove most of the offset shape and make the remaining arc white, set the opacity to 50%. Add a highlight to the pie piece as well. 
Picture
To create a plate, make an oval with a light fill, heavy stroke. Make a larger oval on top and move them to overlap.

Picture
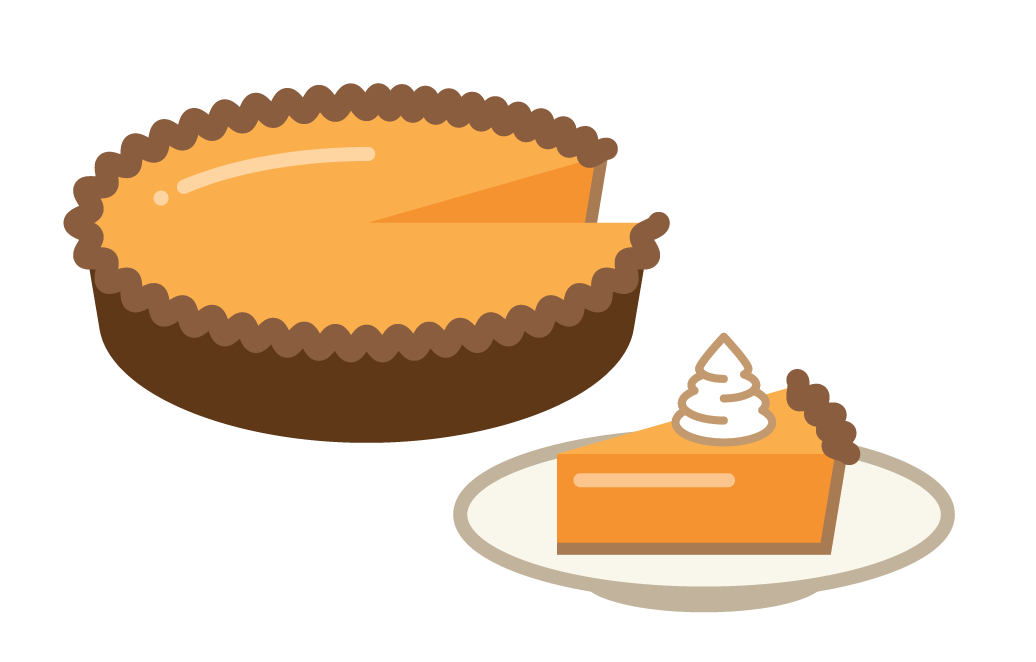
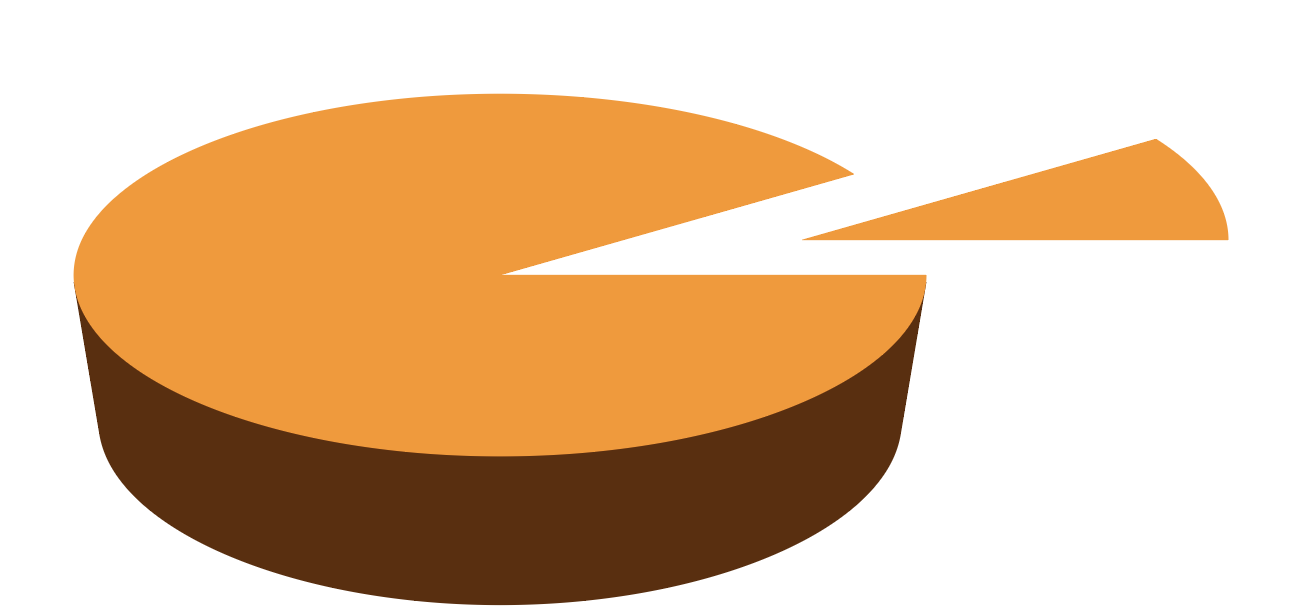
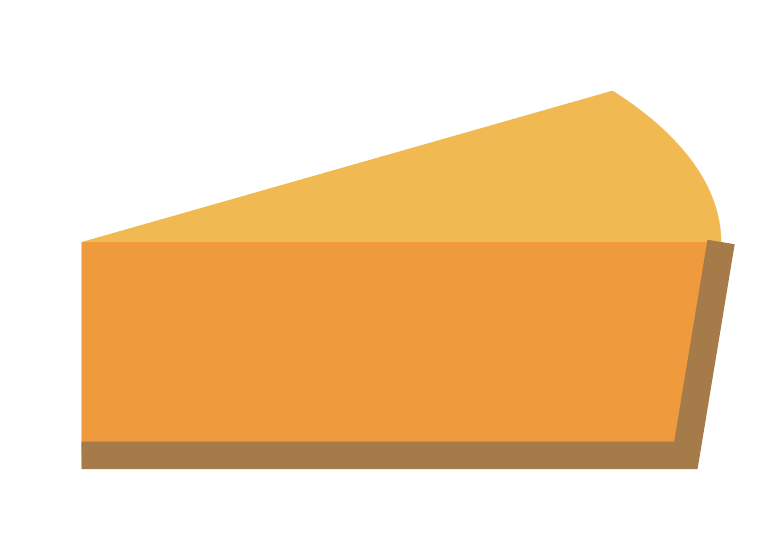
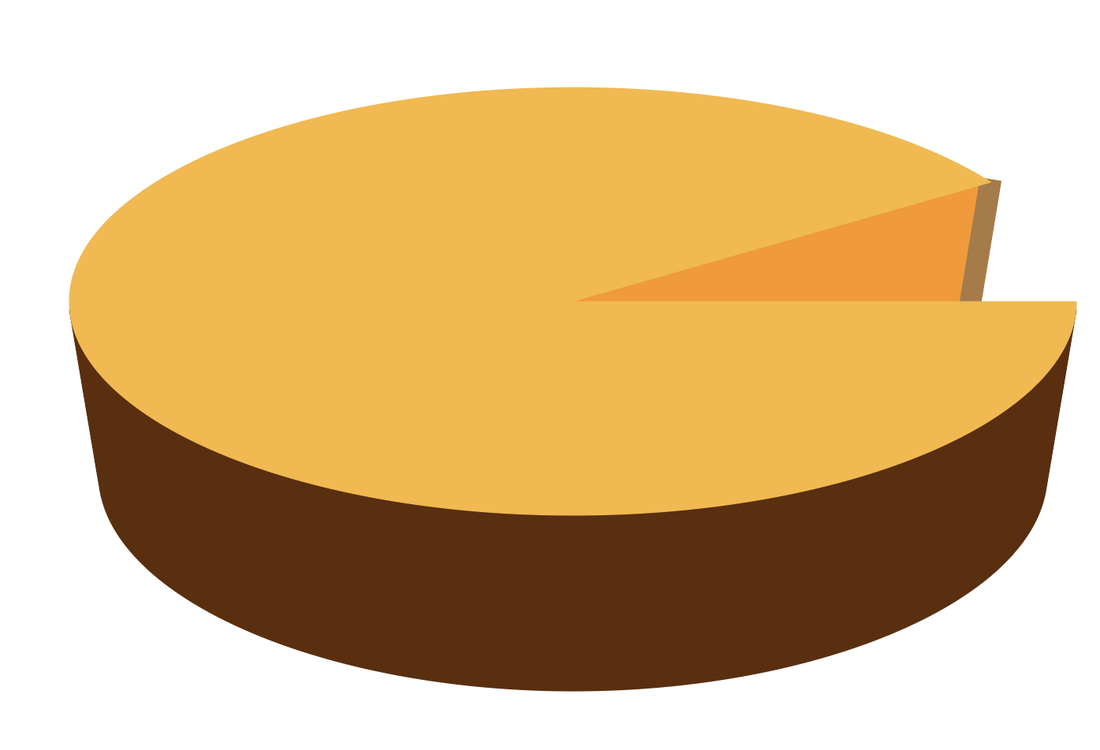
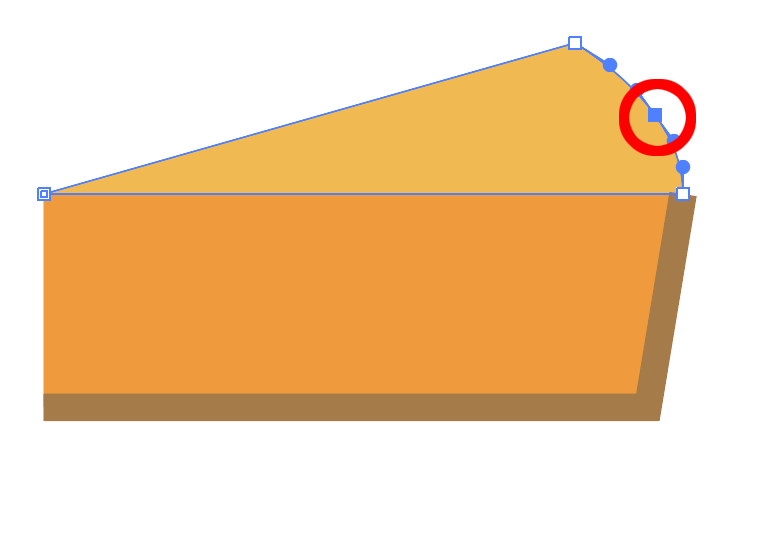
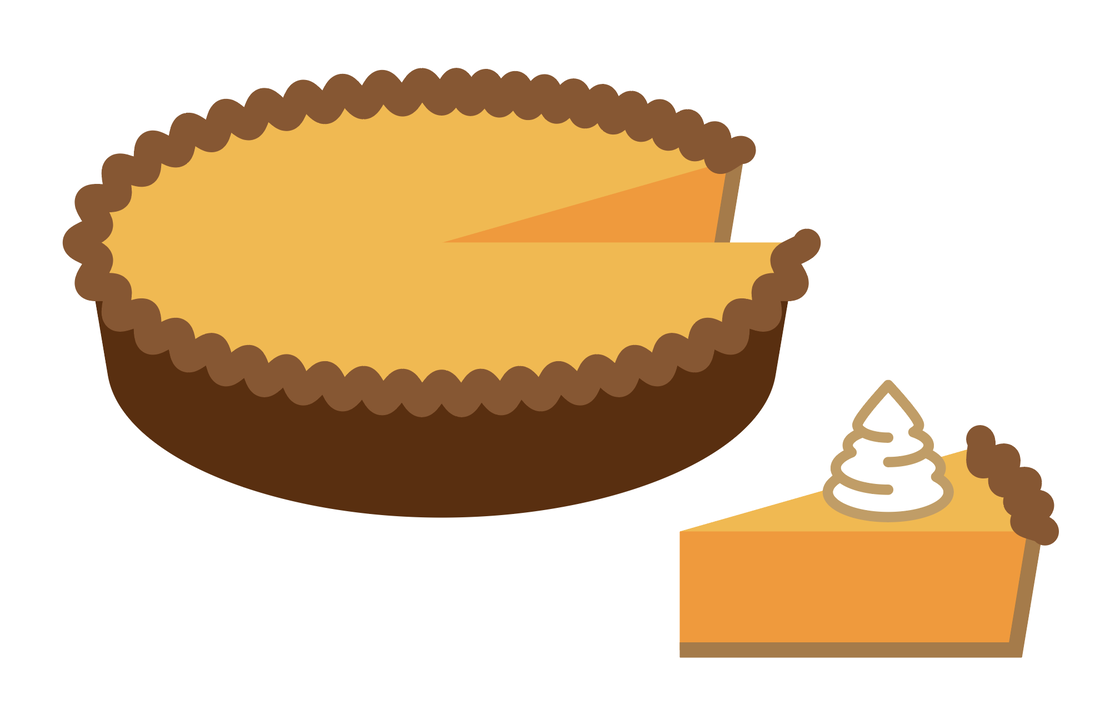
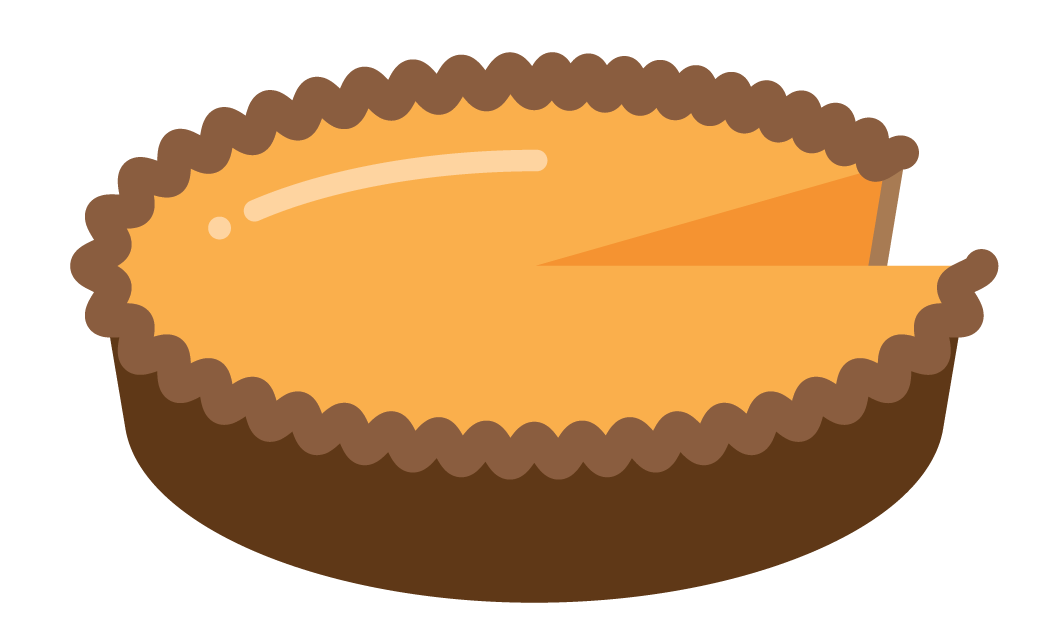
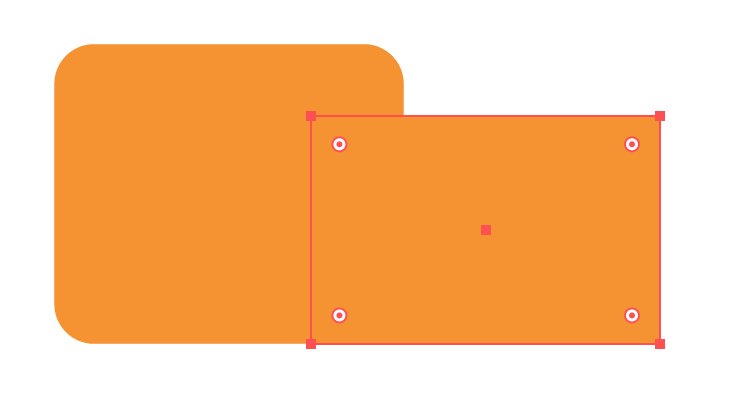
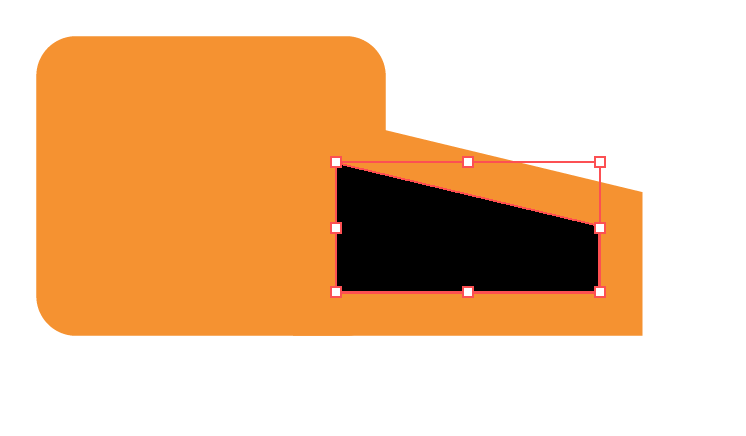
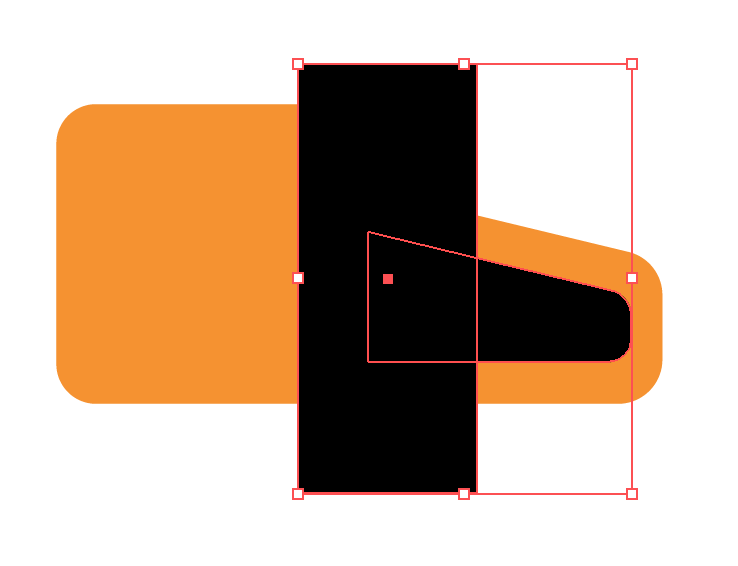
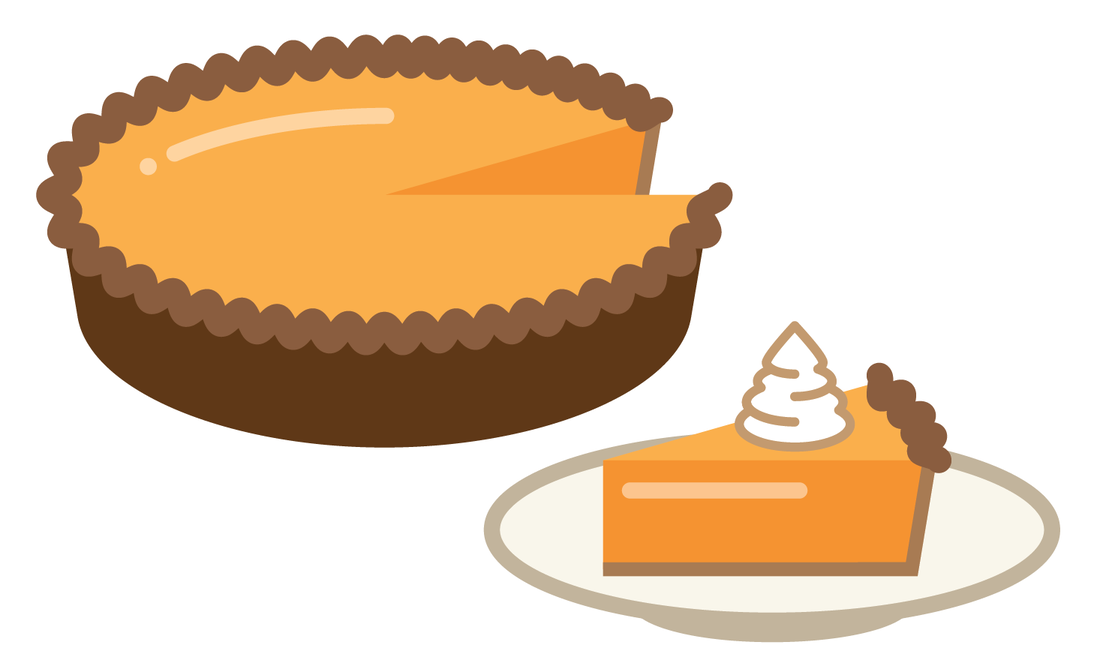
Place the pie slice on the plate and enjoy! That is one nice piece of pie. 
0 Comments

INFOGRAPHIC SERIES - Chainsaw

11/11/2018

0 Comments

 
Chainsaw! Why not? Not something you see or use everyday but there are some cool tricks with this one, including text on a path to create the teeth of the chain. Simple, yes and easy to build. 
Picture

Picture
Start with a rectangle, filled with a color, no stroke. Use the corner widgets to round the corners slightly. 
Picture
Add a rectangle to the right, shorter than the first.
Picture
Use the Direct Selection Tool to select the upper right corner of the second shape and move the point down.

Picture
Select the shape with the Selection Tool and choose Object> Path> Offset Path. Set the offset to a negative number to create a smaller shape inside the shape. 
Picture
Picture
Select both of the main shapes. Select the Shape Builder Tool (SHIFT + M)​, drag the tool across the two selected shapes to merge them together. 
You can also use the Pathfinder Unite mode to get the same results. 
Picture
Use the Direct Selection Tool to select the two point at the the far right of the combined shape to highlight the the corner widgets and pull them in to the center to round the corners. 

Picture
Use the Direct Selection Tool to select the two point at the the far right of the offset shape to highlight the the corner widgets and pull them in to the center to round the corners. ​
Picture
Draw a rectangle over the offset shape. Select both shapes and choose the Pathfinder Minus Front mode. 
Picture
This is the result. of the Minus Front mode. 

Picture
Select both shapes and use the Pathfinder Exclude mode to knock out the shape to create the handle. 
Picture
Draw a rectangle for the bar that the chain goes around. 
​Send the bar to the back. Object> Arrange> Send To Back. 
Picture
Use the Direct Selection Tool to select the two point at the the far left of the shape to highlight the the corner widgets and pull them in to the center to round the corners fully. 

Picture
Add a circle to the body. Copy the bar, flip it and fill it with a darker color and place it over the bar. 
Picture
Select the circle and body. Use the Shape Builder Tool and hold OPTION to turn the tool into minus mode, then click on the lower part of the circle to remove the excess part of the shape. 
Picture
Select the circle, use the Object> Path> Offset Path to make a smaller shape inside. Fill it with a darker color. 
Picture
Copy and paste the bar. Select the Type on a Path Tool and click on the path of the bar to activate the type on a path. 

Picture
To get the teeth for the saw, I use a font. To explore the optional character fonts have, choose Type> Glyphs. The Glyphs panel allows selection of a font showing all the options. I chose Wingdings 2 that has half circle bumps. 
Picture
Double click on the "character" in the Glyphs panel with the type on a path is selected to display the font on the path. Copy and pasted until the line is filled. OPTION + RIGHT ARROW will kern the characters with more spacing. SHIFT + OPTION + DOWN ARROW will baseline shift the characters down to the baseline. 
Picture
Move the bar with the type and send it to the back behind the bar.

Picture
Draw a triangle with the Polygon Tool.
Picture
Pull the triangle taller. Round the corners with the Corner Widgets. 
Picture
Move it behind the handle, rotate it to make it look like a trigger handle. 

Picture
Select both shapes. Select the Shape Builder Tool​, drag the tool across the two selected shapes to merge them together. 
You can also use the Pathfinder Unite mode to get the same results. ​
Picture
Using the Direct Selection Tool, select all but the bottom two points and pull the corner widgets in slightly to round the edges. 
Picture
Move the handle to the case by the handle. 

Picture
• Add a dark circle at the end of the bar.
• Add two hexagons at the base of the bar where it bolts to the body.
• Add lines on the body for vents, round (hot dog) the ends. 
• Add a darker oval under the handle to anchor it to the case. 
Picture
Draw two line, one at an angle coming off the body, the other vertical at the end point of the angle line. This is the safety bar. 

Picture
Repeat the process for the main grab handle, making the lines weights heavier. 
Picture
Add heavy, darker outlines to the body shapes, bar, trigger. On the body, bar and internal circles, set the stroke to be in the INISDE of the shape in the Stroke Panel

Picture
To add outlines to the safety bar and handle, select both line and join them using COMMAND + J or Object> Path> Join
Picture
Repeat those same steps with the main handle to join them together. 

Picture
Select both shape and convert the strokes to outlines using Object> Path> Outline Stroke. 
Picture
Add a darker heavier stroke to the handles and set the stroke to be on the OUTSIDE of the shape )in the Stroke Panel) so the fills don't get choked. You are done! Nice job, you just created a chainsaw icon.  
0 Comments

INFOGRAPHIC SERIES - Tasty Tacos

11/4/2018

0 Comments

 
Create a Tasty Taco, complete with a crispy shell, lettuce, shredded beef, tomatoes, cheese and even a guacamole on top. Give it some texture and its ready to go. 
Picture

Picture
Create a circle. No fill, heavy stoke (the example uses a 10 pt stroke).
Picture
Use the Direct Selection Tool to select the top point of the circle and delete it to create a half circle. 
Picture
Draw a larger circle, delete the lower half.

Picture
Place the half circles as shown. Use the Outline Mode (COMMAND + Y) to line up the ends of the lines perfectly.
Picture
Duplicate the small half circle and move it over to the right side. Line up the end points. 
Picture
Use the Direct Selection Tool to select the small circles left most point and delete it. 

Picture
Draw a line front the right point to the left the half circle. 
Picture
Duplicate the large half circle and move it over to the left point of the left half circle. Line up the ends exactly. 
Picture
Select shapes 1, 2 and 3. Join them together under Object>Path>Join (COMMAND + J). Select shapes 4 and 5 and join them together.

Picture
Select both joined shapes and use the Pathfinder Divide function to divide the shapes. Ungroup the shapes and deselect. Use the Direct Select Tool to remove the overlapping arc.
Picture
Fill the shapes with a color. Darker in back. Lighter in front. 
Picture
Copy the front shape. Remove the stroke on the shape then choose the Paste In Place Command. Remove the fill on the shape you just pasted.

Picture
Repeat the process with the shape in back. This will leave 2 shapes with fills, no strokes and in front, two shapes with stroke, no fills.
Picture
Use the Scissor Tool (C) to cut section of the front stroked objects and remove the cut sections. Add circles to the cut sections.
Picture
Picture
For the internal taco parts, draw a line, add rounded end caps (hot dog the lines). Apply a Zig Zag Effect (Effect> Distort and Transform>Zig Zag) to the line to create the lettuce wiggles. 

Picture
Create different colors of lettuce. 
Picture
Duplicate the lines and make them darker for shredded beef wiggles. Make the lines thicker.
Picture
Create some tomato bits using squares, round the corners, rotate them at a 45° angle

Picture
Copy the wiggles, make them thinner and make them orange for the cheese. Copy the wiggle for guacamole, shorten the line to make the wiggles closer together. 
Picture
To create a window for the internal taco bits, duplicate the back shape of the taco shell. 
Picture
Add a rectangle to the side of the copied shape lining up the shape with the bottom of the copied shape. 

Picture
Select the two shapes, use the Pathfinder Unite Mode to join the shapes together. 
Picture
Remove the fill and stroke from the shape. Click the Draw Inside button at the bottom of the Tool Bar. 
Picture
Select all the taco bits, group them and copy them. 

Picture
Paste them inside the shape and position and scale them so they fit. Click on the Draw Normal Mode at the bottom of the Tool Bar. 
Picture
Place the shape with the taco internals pasted inside, on the taco. Send the shape backward until it appears behind the front shell. Object>Arrange>Send Backward. 
Picture
Use the Arc Tool to create 1/4 circles for texture on the taco shell. Place them on the shell using different stroke colors to create the shell texture. Enjoy!

0 Comments

    RSS Feed

    Archives

    March 2021
    February 2021
    December 2020
    September 2020
    August 2020
    July 2020
    June 2020
    May 2020
    April 2020
    March 2020
    February 2020
    January 2020
    December 2019
    November 2019
    October 2019
    September 2019
    August 2019
    July 2019
    June 2019
    May 2019
    April 2019
    March 2019
    February 2019
    January 2019
    December 2018
    November 2018
    October 2018
    September 2018
    August 2018
    July 2018
    June 2018
    May 2018
    April 2018
    March 2018
    February 2018
    January 2018
    December 2017
    November 2017
    October 2017
    September 2017
    August 2017
    July 2017
    June 2017
    May 2017
    April 2017
    March 2017
    February 2017
    January 2017
    December 2016
    November 2016
    October 2016
    September 2016
    August 2016
    July 2016
    June 2016
    May 2016
    April 2016
    March 2016
    February 2016
    January 2016
    December 2015
    November 2015
    October 2015
    September 2015

    RSS Feed

Proudly powered by Weebly
  • Home
  • Contact
  • Classes
  • Blog
  • Blog Index
  • Portfolio
  • Max 2022