Jason Hoppe Adobe Certified Expert & Adobe Certified Trainer
  • Home
  • Contact
  • Classes
  • Blog
  • Blog Index
  • Portfolio
  • Max 2022

Design Points n PixelS


award-winning STUDENT work from PANI FULADVAND

2/29/2016

1 Comment

 
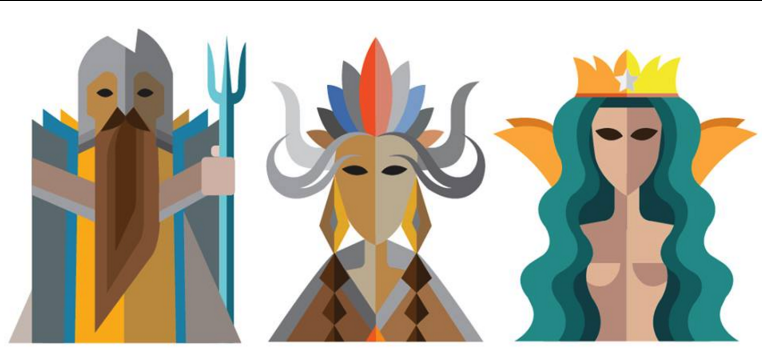
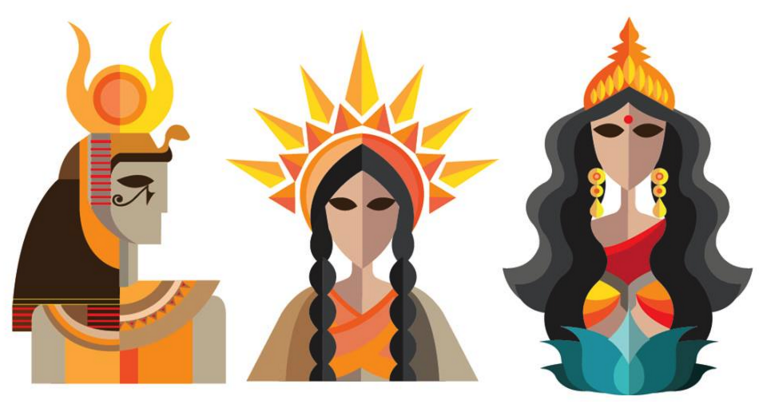
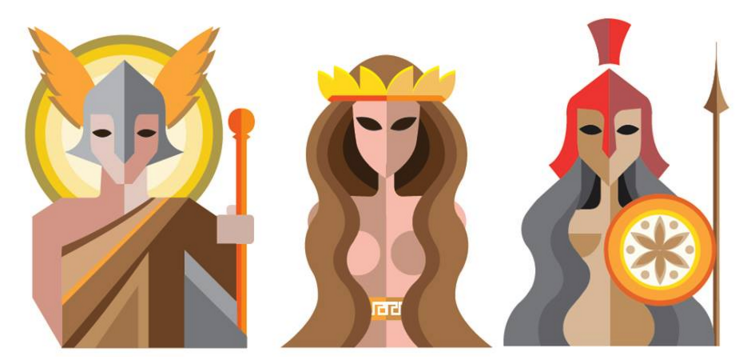
PANI FULADVAND is a student at Seattle Central Design Academy, and she just won the Socola Chocolate t-shirt design contest. Here is her winning design. Pani is in the design program and has found a great love of Illustrator and creating vivid illustrations with a great visual story.
Picture
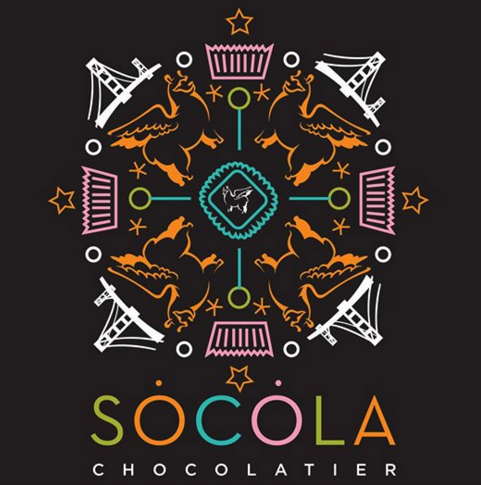
Here is some of her design/illustration work as well.
Picture
Picture
Picture
1 Comment

INFOGRAPHIC SERIES - 3D BUTTON WITH HIGHLIGHTS

2/28/2016

0 Comments

 
3D button with highlights, a nice "gleamie" highlight with the effect of a raised edge and a concave surface. Here is how to create it in Illustrator, and it is quite simple to do!
Picture

Picture
Start with a circle, hold SHIFT to make it a perfect circle.
Apply a linear gradient to the shape
Picture
Open the Gradient panel under the Window menu. Set the right color stop to a SOLID color, set the left color stop to the same color and set the opacity of the left color stop to 20%
Picture
Duplicate the first circle, rotate it 180° and align it with the center of the original circle.

Edit the gradient so the color fades to white.
Picture
Set the gradient of the 2nd circle to fade from the original blue to white at the other end and set the white at 60% opacity.

Picture
Draw a large oval and rotate the oval at about a 30° angle. Fill the shape with white and position it over the shapes a bit off center.
Picture
Set the white oval to 65% opacity. 

Duplicate the oval and make it smaller and place it over the upper edge of the first oval.


Picture
​Select both ovals then use the pathfinder to Minus the Front object. 
Picture
Copy the first circle and then choose Paste In Front. You want the original circle to be in front of everything. I added a red stroke just to see the shape, the stroke disappears when we use the shape as a clipping mask.

Picture
Now the highlight is clipped to the original shape of the circle.
Picture
Draw an arc using the Arc tool. Make it a white stroke.
Picture
From the Stroke Panel, make the stroke 20 pts wide and apply round end caps on the line.
Picture
Use the Width Shape Tool to select the end of the arc, then pull a bit to widen the end of the arc.

Picture
Add an 8 pt white stroke to the inside circle. 
Picture
Open the Appearance Panel from the Window Menu. Select the Stroke portion in the Appearance Panel.
Picture
Go the Effect Menu and go to the lower section (Photoshop Effects area) and choose Blur>Gaussian Blur. Sect the blur to 10 pixels.
Picture
Select the the arc. In the Appearance Panel choose the stroke. Go the Effect Menu and go to the lower section (Photoshop Effects area) and choose Blur>Gaussian Blur. Set the blur to 35 pixels. Set the  fill opacity of the stroke to be 90%.

Here is the final button. Looks 3D with a nice highlight and a "gleamie" arc cast on the edge.
Picture
0 Comments

INFOGRAPHIC SERIES  - PAPER CURL WITH LIVE PAINT

2/24/2016

3 Comments

 
Create a paper curl and use Live Paint as well. Fun and easy, this is a great way to learn about Live Paint. And best of all it is simple and easy to do!
Picture

Picture
Start with a Spiral. Take the Spiral Tool and click on the document and it will call up the Spiral Options Panel
Picture
Create a spiral with 6 segments. Add a stroke to see the shape.
Picture
Take the Spiral and use the Selection Tool to shorten the Spiral.
Picture
Duplicate the Spiral (OPTION + CLICK & DRAG). Them make it smaller and center it under the upper, larger spiral.

Picture
Select both Spirals and apply a COMMAND + J to join the open ends. Do this TWICE. You can also find this under Object>Path>Join.
Picture
Draw a line from the top left edge to the bottom left edge. You cannot join these since they are not open paths.
Picture
Draw another line from the right inside edge as well.
Picture
Select all the shapes, and the choose Object>Live Paint>Make. It will show up as a "group" of objects with "snowflake" corners. Now you are in Live Paint Mode

Picture
Choose the Live Paint Bucket Tool from the Tool Bar.
Picture
With the Live Paint bucket Tool active, you can hover over the shapes, and they will highlight in red. 
Picture
The Bucket will show up with a color bar which you can scroll through using your left and right arrow keys to pick a color then click on the area to apply.
Picture
Here is the result of the Live Paint Bucket Tool and the final filled scroll.

Picture
Choose Object>Live Paint>Expand to break this out into shapes, lines and fills. 
Picture
Then Choose Object>Ungroup to get the outline free of the filled shapes. Ungroup them all again to break apart the filled shapes.
Picture
Select the same colored shapes and use the Pathfinder to Add the same fill colored shapes together.
Picture
Change the colors of the combined shapes to create a more dramatic, contrasted effect.
​
You now have your paper curl effect and learned how to use Live Paint as well!
3 Comments

INFOGRAPHIC SERIES - TAPE OR PAPER ROLLS

2/21/2016

0 Comments

 
A quick tutorial on making wrapped paper or tape effect look like it hangs or wraps around items. Better yet we can also make it look like a roll of ribbon or paper that is continuous. Have fun creating!
Picture
Picture

Picture
Start with a rounded rectangle. While drawing you can adjust the corners using the UP or DOWN arrows.
Picture
Use the Direct Selection Tool to delete the rest of the rectangle with the exception of the 3 points you see here. You'll need these!
Picture
Duplicate the shape, hold shift and OPTION + DRAG  the shape to keep it in-line.
Picture
Select both shapes, and do a COMMAND + J twice. This joins the two open ends, then joins the other 2 open ends creating a closed shape.

Picture
Fill the new object and turn off the stroke.
Picture
Duplicate the shape you just filled.
Picture
Select the 2nd shape and use the Reflect Tool to flip it vertically on its axis.
Picture
Move the shape so that they over lap at the tips.

Picture
Take one shape and fill it with a darker or lighter color, you choose. Overlap them so they look like a curved unit.
Picture
Next draw a circle and fill it. No stroke on this one.
Picture
Picture
Choose Effect> 3D>Extrude...

Click the preview button in the 3D panel to see what is going on. Extrude it 450 pts. Rotate the "rod" so that it is parallel to the page.
Picture
This is what it looks like. 
If you need to edit the angle, choose Window>Appearance and call up the Appearance Panel. Click on the 3D extrude... link and edit the shape
Picture

Picture
Move the "curves" onto the bar. Send one of the curves to the back to make it look like the bar is int he middle.
Picture
Duplicate the set to get a hanging effect.
Picture
Here is another way to make a continuous ribbon. Use one of the curves from the first set and then shear it with the Shear Tool to get it skewed.
Picture
Duplicate that shape and use the Reflect Tool to reflect the new shape over the vertical axis.

Picture
Make the new shape darker or lighter, you choose.
Picture
Take that new shape, duplicate it and rotate it 180°. Line it up at the end of the current shape.
Picture
Take the very first shape, duplicate it and rotate it 180° and move it to the end of the ribbon.
Picture
And here is your continuous tape or ribbon!

​Pass this along!
0 Comments

INFOGRAPHIC SERIES - Pull tab effect

2/20/2016

3 Comments

 
Here is a simple and fun way to create a drop shadow effect on the edge of an object or piece of paper. In this effect you can see the shadow cast on the just one side of the edge!

This is a great and easy way to add a drop shadow to several items without having the shadow bleed off all the sides.
Picture

Picture
Start with a rectangle and fill it with a color. Round the ends if you want by using the Direct Selection Tool, select only the 2 corner points, then adjust the corner widgets to round just the 2 corners.
Picture
Using the Direct Selection Tool, select the lower left corner and using the right arrow, move the selected point to create and angled end.
Picture
Create another rectangle, fill it with black. Make it taller than the original rectangle.
Picture
Rotate the black rectangle to match the angle of the first rectangle edge.

Picture
Make a copy of the rotated black rectangle (you will need it later and it is easy to not have to recreate it).
​
Picture
With one of the black rectangles selected, choose Effect>Blur>Gaussian Blur (under the Photoshop Effects section).
Picture
Set the Blur to 35, make sure you click on the Preview button to see what it looks like.
Picture
This will create a Photoshop Blur Effect on the rectangle.

Picture
Take the copy of the black rectangle and make it larger than the blurred rectangle.
Picture
Place the larger rectangle over the top of the blurred rectangle. Bring to front if needed, making sure the bigger rectangle is on top. 
Picture
Select both objects. Choose Object>Clipping Mask>Make (COMMAND + 7)
Picture
With the Masked object selected, go to the Opacity Menu in the Control bar. Set the Blending Mode to Multiply.

Picture
Move the shadow over on top of the original angled rectangle. Line it up with the edge, adjust the opacity of he shadow if needed.
Picture
Select the angled rectangle, choose Object>Path>Offset path. Set it to a negative number on the offset to make a smaller shape inside the original. 
Picture
With the new box created, bring it to the front. 
Picture
Set the color of the new box to be lighter than the original color. 

Picture
With the Direct Selection Tool, select the left edge of the new box and move it over to the right, hold the SHIFT key down to make sure it stays in line. 
Picture
Add type to the pull tab and you are done! This is a great and easy way to add a drop shadow to several items without having the shadow bleed off all the sides.
3 Comments
<<Previous

    RSS Feed

    Archives

    March 2021
    February 2021
    December 2020
    September 2020
    August 2020
    July 2020
    June 2020
    May 2020
    April 2020
    March 2020
    February 2020
    January 2020
    December 2019
    November 2019
    October 2019
    September 2019
    August 2019
    July 2019
    June 2019
    May 2019
    April 2019
    March 2019
    February 2019
    January 2019
    December 2018
    November 2018
    October 2018
    September 2018
    August 2018
    July 2018
    June 2018
    May 2018
    April 2018
    March 2018
    February 2018
    January 2018
    December 2017
    November 2017
    October 2017
    September 2017
    August 2017
    July 2017
    June 2017
    May 2017
    April 2017
    March 2017
    February 2017
    January 2017
    December 2016
    November 2016
    October 2016
    September 2016
    August 2016
    July 2016
    June 2016
    May 2016
    April 2016
    March 2016
    February 2016
    January 2016
    December 2015
    November 2015
    October 2015
    September 2015

    RSS Feed

Proudly powered by Weebly
  • Home
  • Contact
  • Classes
  • Blog
  • Blog Index
  • Portfolio
  • Max 2022