Jason Hoppe Adobe Certified Expert & Adobe Certified Trainer
  • Home
  • Contact
  • Classes
  • Blog
  • Blog Index
  • Portfolio
  • Max 2022

Design Points n PixelS


INFOGRAPHIC SERIES - Creating Pine Trees with the Symbol Sprayer

12/24/2016

0 Comments

 
Pine Trees, snow, mountains and cold. 'Tis the season. And since I am up in Alaksa writing this blog post at -8°F, what better inspiration is needed. This is a quick way to create in icon of a tree, turn it into a Symbol then use the Symbol Sprayer to create a whole forest full of trees. Enjoy!
Picture

Picture
Create a triangle by using the Polygon Tool. Draw the Polygon and while drawing, hold the DOWN ARROW key to reduce the number of sides. Fill with a lighter green, add a heavy stroke of a darker green. Use the Stroke Panel to round the corners of the Stroke.
Picture
Duplicate the first triangle, then increase the size and place it below the first triangle. Do not scale the stroke & effects while sizing; open the Transform Panel and make sure Scale Stroke and Effects is OFF before you scale. 
Picture
Double Click on the the Blend Tool in the Tool Bar. Set the Blend Options to Specified Steps and choose 3 steps. Steps are what are added in between the first and last items. Click OK.
Picture
With the Blend Tool, click the top triangle in the same location you click the bottom triangle so the blend is in line. (Shown by the red circles.)

Picture
This is the result of the Blend Tool on the triangles. 
Picture
Choose Expand under the Object Menu. Check ONLY the Object button so it breaks it the triangles out of Blend Mode. Click OK.
Picture
Then, Ungroup the set.
Picture
With all the triangles selected, use the Pathfinder Panel to Unite all the shapes into one tree.

Picture
Copy the tree, tun off the stroke then duplicate it over itself in a slight offset as show. 
Picture
Use the Pathfinder Panel Minus Front to leave just a sliver of the tree shape. Fill it with a slightly darker green. COPY this final shape.
Picture
Select the tree, and Select the Draw Inside Mode at the very bottom of the Tool bar. You will see the dashed line around the tree (indicating a Clipping Mask). PASTE the sliver of the tree you just copied into the tree and set the opacity of the cliver to 50%
Picture
Click back on the Draw Normal mode in the Tool bar to go back to normal drawing. 

Picture
Add some horizontal lines with rounded (hot dogged) ends and throw in a circle or two for some character. Select the entire tree with the Selection Tool. 
Picture
Open the Symbols Panel from the Window Menu. Drag the Tree into a free space in the Symbols Panel. 
Picture
This will open the Symbol Options dialog box. Select the Type as Graphic from the drop down window. Set the Type as Dynamic, click OK. 
Picture
A + in the selected tree will indicate that the tree is now a Symbol. 

Picture
You can use the Symbol Tools to Spray the symbol and play with the other Symbol Tools. 
Picture
Select the Symbol Sprayer and click and move the mouse around, "spraying" trees while you drag the mouse OR just click each time you want a tree to appear instead of holding the mouse down and dragging.
Picture
This is what the bunch of symbols will look like when you are done. 
Picture
Add the trees to any scene you create and you now have a winter wonderland!
0 Comments

INFOGRAPHIC SERIES - Wreath with a Red Bow

12/11/2016

0 Comments

 
'Tis the season and so I though a nice holiday wreath would be cool to create. This one uses the Draw Inside feature as well as opacity to give the dimensional effect on the bow and wreath. The bold outline gives it a great look. Enjoy!
Picture

Picture
Create a circle, fill with a lighter green, add a darker heavy green stroke to the edge.
Picture
Select the circle, the select the Rotate Tool. hold OPTION then click away from the selected circle as shown. 
Picture
This will open the dialog box and set the center of rotation. Set the copy angle to 15° the click COPY. 
Picture
Use COMMAND + D to create circles to form a complete set.

Picture
Select all the circles and use the Pathfinder Shape mode UNITE to make it all one shape. 
Picture
Draw a Polygon with 3 sides. Fill with red then add a darker heavy red stroke to the outside. 
Picture
Use the Corner Widgets to round all the corners slightly. 
Picture
Draw a rectangle. Use the Eyedropper tool to select the triangle to pick up the attibutes and apply them to the rectangle.

Picture
Use the Curvature Tool to select the center bottom anf move it up to round the end. 
Picture
Draw a circle and use the Eyedropper tool to select the triangle to pick up the attibutes and apply them to the circle. Arrange all the shapes to make the bow. 
Picture
Add some lines to make the bow lok like it is pulled together into a knot.
Picture
Duplicate one of the traingles, use the Direct Selection Tool to delete the points of two of the tips, leaving just the "candy cane"

Picture
Take the candy cane, set the opacity to 35%, then copy it. Click on the wing and choose the Draw Inside Mode at the bottom of the Tool Bar. Paste the candy cane "into" the wing, position it to create a shadow. Click back onto the Normal drawing mode button at the bottom of the Tool bar to exit out of Draw Inside mode (this is just another way of creating a clipping mask).
Picture
Select the 2 bottom tails, Unite them using the Pathfinder Panel shape mode UNITE.
Picture
Draw a circle, fill it with the dark red and set it to 35% opacity. Cut it, then select the tails, click the Draw Inside Mode at the bottom of the Tool Bar. 
Picture
​Paste the circle "into" the tails and position it as shown. Click back onto the Normal drawing mode button at the bottom of the Tool bar to exit out of Draw Inside mode.

Picture
Add a highlight noodle to the knot by using the Arc Tool. 
Picture
On the wreath, create a circle from the middle of the wreath, fill it with the dark green and set the opacity to 35%.
Picture
Cut the circle, then use the Draw Inside mode to place it "into" the wreath. Then go back to Normal Drawing mode. 
Picture
Add a higlight noodle to the wreath. 

Picture
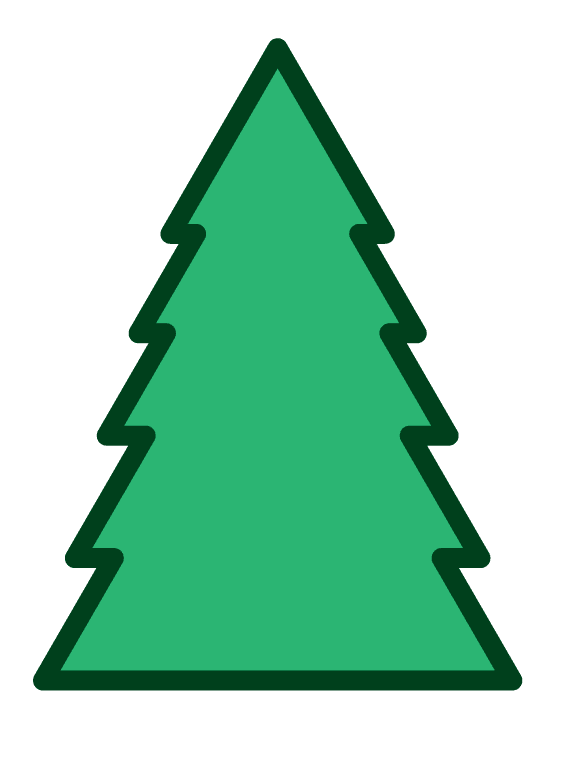
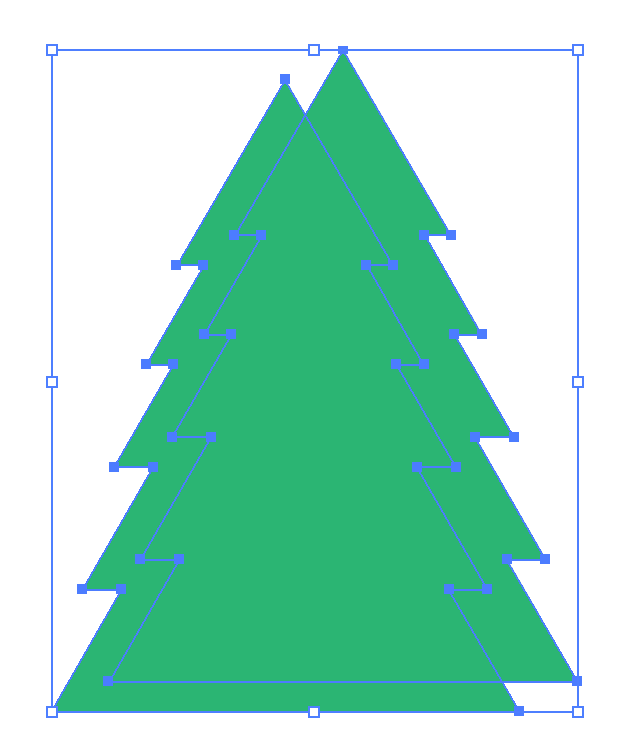
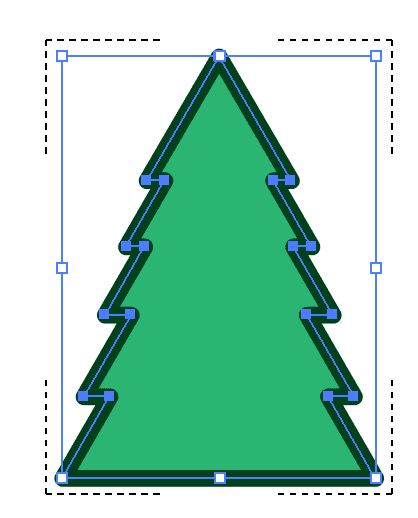
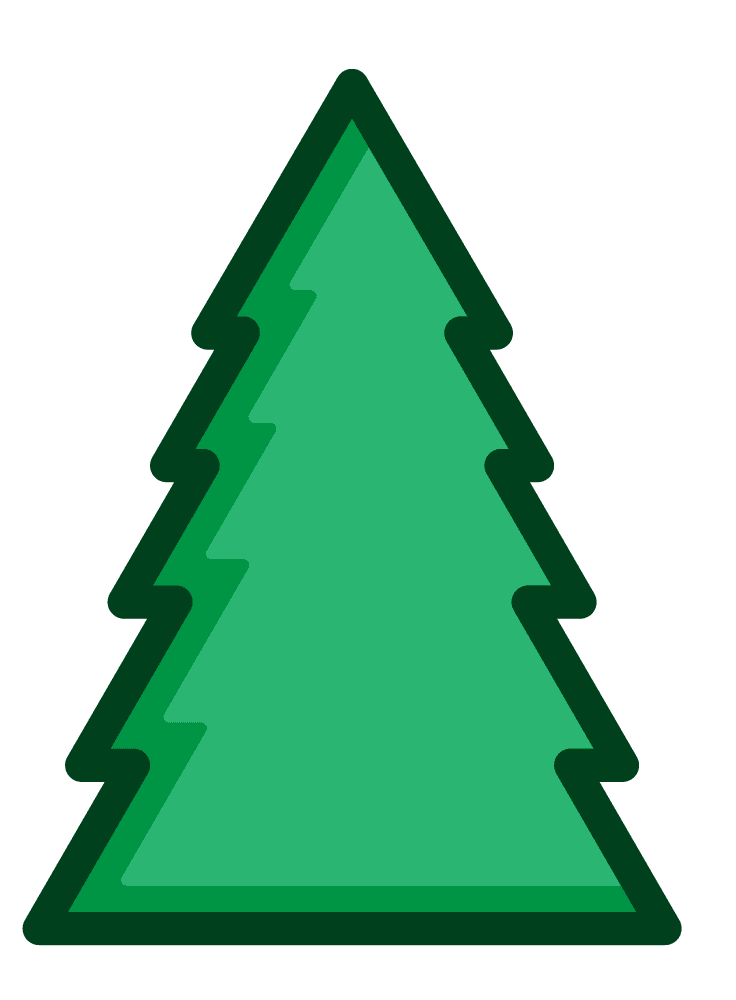
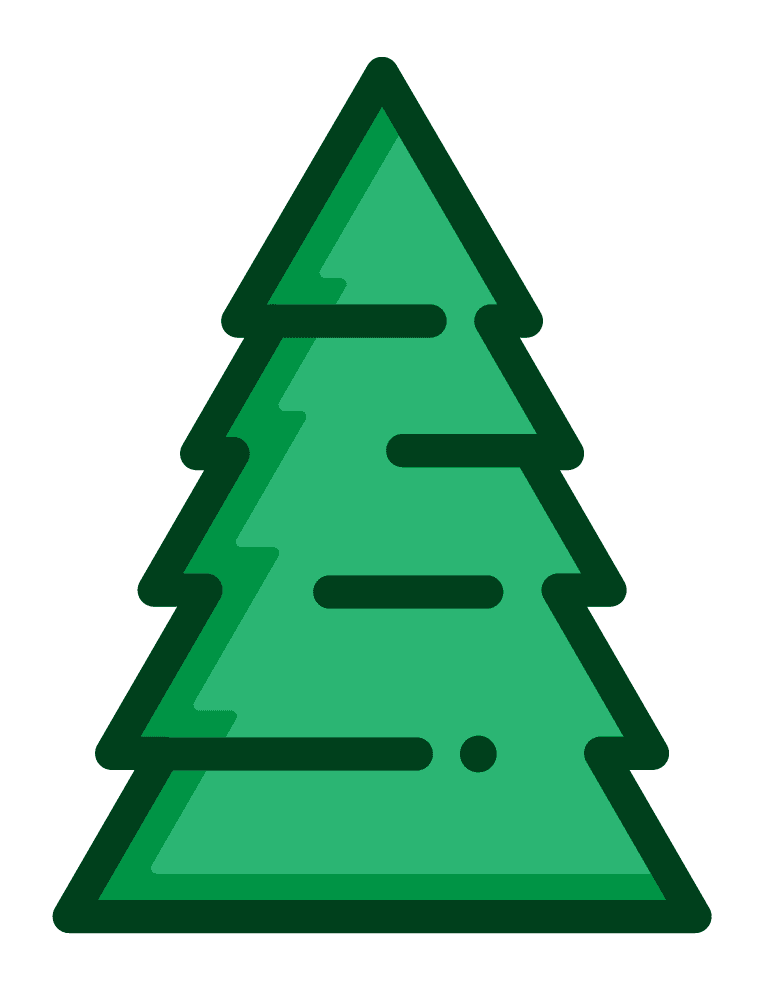
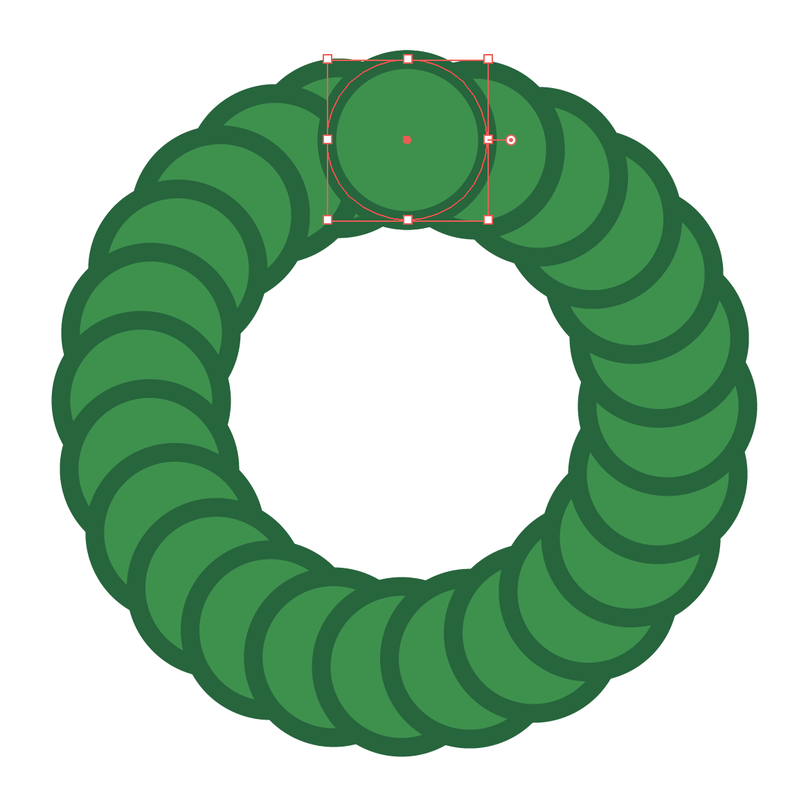
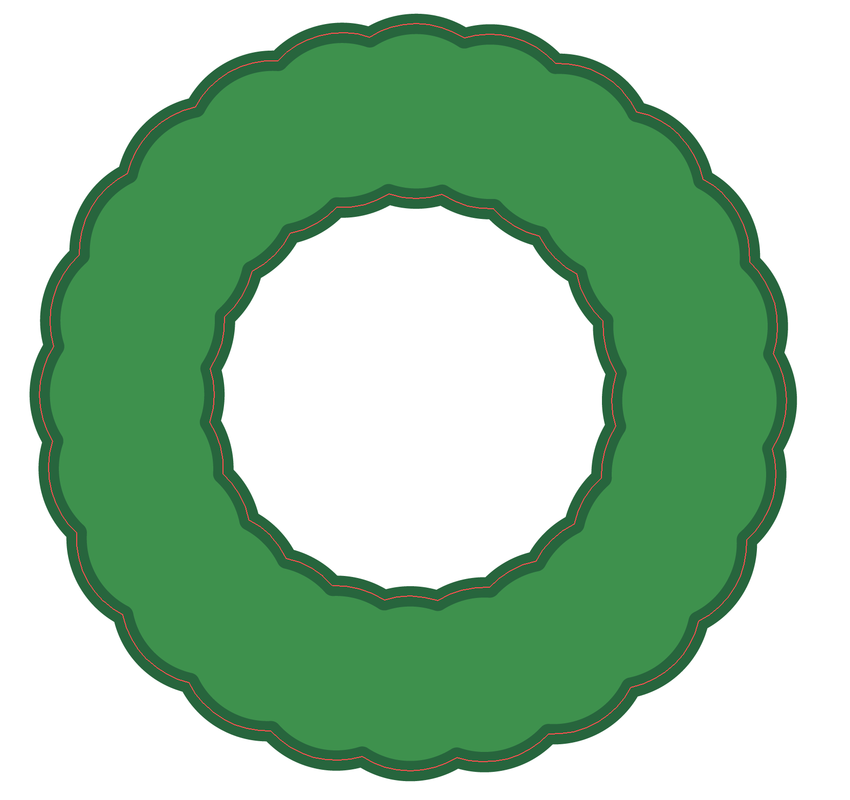
And you are done. Happy holidays everyone, enjoy the time
​with friends and family and use the time to create more cool icons too!!
0 Comments

INFOGRAPHIC SERIES - Create A Spring 

12/8/2016

0 Comments

 
Something as simple as a spiral is easy, until you have to create one and it can really mess with your mind!! This is an easy way to create a spring.
Picture

Picture
Create an oval. Add a stroke, no fill. 
Picture
Use the Direct Selection Tool, select the left hand point on the oval and Cut the half of the oval. 
Picture
Paste the cut piece of the oval, then reduce the height of the pasted half of the oval. 
Picture
Align the two halves of the ovals at the bottom.

Picture
Select the set of half ovals, then duplicate ( OPTION + CLICK & DRAG) the shapes and drag them down to line up with the top end of the top oval with the open end of the other end of the oval.
Picture
Use COMMAND + D to duplicate the ovals as needed to create the spring. Select all the segements a join them all together by using COMMAND + J. ​
Picture
​Add a thicker stroke and round the ends to finish it off. Looks easy, but if you ahve ever tried to draw one, you know it is not easy at all.

0 Comments

Infographic Series - CREATE EYES

12/5/2016

1 Comment

 
Here are a few ways to make a set of eyes. As always, super simple build in Illustrator and just a few quick steps to make these. 
Picture

Picture
Start with a cirlce, fill it with a color, no stroke. 
Picture
Duplicate the circle over the other circle, 1/2 way. 
Picture
Select both circles, then use the Intesect Shape Mode option in the Pathfinder Panel to just end up with the overlapping shapes.
Picture
Rotate the "eye" so that it is horizontal. 

Picture
Draw another circle in the center of the eye. Fill with white, black stoke of 4 pts. 
Picture
Draw another circle in the center, fill with black and no stroke. 
Picture
Draw another smaller circle on the outer path of the inner circle.
Picture
Select both the small circle and the inner circle and use the Minus Front Shape Mode in the Pathfinder Panel.

Picture
Add a stroke to the outer eye. 
Picture
Use the Width Shape Tool to pull the stroke wider on the left side of the eye.
Picture
Duplicate the eye and rotate just the blue portion to create a mirror image of the eye.
1 Comment

    RSS Feed

    Archives

    March 2021
    February 2021
    December 2020
    September 2020
    August 2020
    July 2020
    June 2020
    May 2020
    April 2020
    March 2020
    February 2020
    January 2020
    December 2019
    November 2019
    October 2019
    September 2019
    August 2019
    July 2019
    June 2019
    May 2019
    April 2019
    March 2019
    February 2019
    January 2019
    December 2018
    November 2018
    October 2018
    September 2018
    August 2018
    July 2018
    June 2018
    May 2018
    April 2018
    March 2018
    February 2018
    January 2018
    December 2017
    November 2017
    October 2017
    September 2017
    August 2017
    July 2017
    June 2017
    May 2017
    April 2017
    March 2017
    February 2017
    January 2017
    December 2016
    November 2016
    October 2016
    September 2016
    August 2016
    July 2016
    June 2016
    May 2016
    April 2016
    March 2016
    February 2016
    January 2016
    December 2015
    November 2015
    October 2015
    September 2015

    RSS Feed

Proudly powered by Weebly
  • Home
  • Contact
  • Classes
  • Blog
  • Blog Index
  • Portfolio
  • Max 2022