Jason Hoppe Adobe Certified Expert & Adobe Certified Trainer
  • Home
  • Contact
  • Classes
  • Blog
  • Blog Index
  • Portfolio
  • Max 2022

Design Points n PixelS


Pitcher of Lemonade

5/27/2019

2 Comments

 
Summer is here, sit back and enjoy a nice glass of lemonade you made.
Picture

Picture
Start with an oval for the body of the pitcher.
Picture
Create a circle with the center point at the center top of the oval. Select both shapes and combine them using the Pathfinder Unite mode.
Picture
Draw a rectangle over the top half of the top circle area. 

Picture
Select all the shapes and use the Pathfinder Minus front mode to delete the top portion.
Picture
Using the Direct Selection Tool, select the two inner points and pull the Corner Widgets out to round the pitcher. 
Picture
Draw a rectangle over the bottom area. to create a flat spot. Select all the shapes and use the Pathfinder Minus front mode to delete the bottom portion.

Picture
Select the Curvature Tool and click on the top line and pull one point down, add another point and pull it up.
Picture
Create an oval with a heavy stroke. Rotate the shape and position it for the handle.
Picture
Choose Path>Outline Stroke to convert it to a shape. 

Picture
Select the main part of the pitcher, choose path>Offset Path and set the offset to a negative number to create a a shape inside.
Picture
Fill the handle and larger pitcher shape with a light gray, keeping the inside offset path yellow. 
Picture
Select both gray shapes and combine them using the Pathfinder Unite mode.

Picture
Draw a rectangle over the top portion of the inner area. Select all the inner shape and the rectangle  and use the Pathfinder Minus front mode to delete the top portion. 
Picture
For the lemon create a circle with a heavy stroke. Make the stroke darker than the fill. 
Picture
To create segments inside the lemon, select the Polar Grid tool nested with the line tool in the Tool Bar. Click with the Polar Grid Tool to bring up the options. Set 0 concentric dividers and 8 radial dividers.

Picture
Fill the segments with the same yellow as the lemon, add a heavy white stroke to create divisions.
Picture
Add the segments to the lemon and group the shapes together. 
Picture
To create half a lemon, draw a rectangle and click on the Draw Inside Mode at the bottom of the Tool Bar. 

Picture
Copy and paste the lemon into the rectangle, position it so the half shows then click on the Draw Normal Mode at the bottom of the Tool Bar. 
Picture
Add lemons into the lemonade. 
Picture
Draw a rectangle over half of the shape, set the Blending Mode in the Opacity Panel to be Multiply. 

Picture
Select the gray rectangle and the gray portion of the pitcher and select the Shape Builder Tool (SHIFT + M). Hold OPTION/ALT to set the cursor to subtract and click on the extra outside the main shapes to delete.
Picture
Use the Curvature tool to add a point and pull the shape to the side to curve the shadow
Picture
Select the shadow and choose Path>Offset Path. Offset the path a negative number to create a smaller shape.

Picture
Delete the original shadow shape, keeping the smaller shadow shape.
Picture
This is what the inset shadow looks like giving the glass an appearance of thickness.
Picture
Add a color circle behind the lemonade.

Picture
Copy the gray part of the pitcher, Paste it Behind the original pitcher and change the color to a darker gray and set the Blending Mode in the Opacity panel to Multiply. 
Picture
Add a slip shadow by adding an effect from Effect> Distort & Transform> Transform. Set the horizontal and vertical offset to a small number and set the copies to be enough to create a slip shadow beyond the edge of the circle. 
Picture
Cut the shadow. Select the background circle and click on the Draw Inside Mode at the bottom of the Tool Bar. 

Picture
Paste the Slip shadow back in using Paste In Place to paste it in the same place you cut it from.
Picture
Select the gray portion of the pitcher, add a darker gray stroke INSIDE the shape in the Stroke Panel Align Stroke section. 
Picture
Enjoy your pitcher of lemonade. 
2 Comments

Fast, easy Patterns

5/19/2019

0 Comments

 
Creating quick, easy patterns without using the Pattern panel. This uses a few Effects and the Appearance Panel to quickly change the look of these patterns. 
Picture

Picture
Start with any object or shape. It can be an open line or a closed shape. 
Picture
Select the shape and choose Effect>Distort & Transform> Transform.
Picture
Set the Move section - Horizontal to 20 mm to offset the shape. Set the number of copies at the bottom of the Transform Panel. Click OK. This will create a set of duplicate shapes. 

Picture
Duplicate the first shape using COMMAND + D. Create several duplicates. 
Picture
Select all the shapes, add a Pucker & Bloat filter from the Effect menu. Effect>Distort & Transform>Bloat at 50%.
Picture
This creates a quick pattern.

Picture
Edit the Pucker & Bloat to make quick changes to the shapes. 
Picture
This is a Pucker added to the circle. 
Picture
To edit the effect easily, edit the Effect in the Appearance Panel. 

Picture
Try different Pucker & Bloat effects.
Picture
Try adding a Zig Zag. 
Picture
This is the Zig Zag with rounded corners. 

Picture
Try a staggered set of circles. 
Picture
Add a Warp Effect, in this case with a Fish Warp
Picture
This creates a scale pattern like a fish.

Picture
Try some triangle shapes. 
Picture
Apply a Pucker Effect.
Picture
This makes some nice integrated patterns. 

Picture
Set the Align Stroke to the inside of the shape. 
Picture
This will create a very cool flying triangle pattern. 
Picture
When all the shapes are created, you can Expand the shapes into actual shapes (not a shape with an effect on it). Select the shapes and choose Object>Expand Appearance. 
0 Comments

TOUCH TYPE TOOL

5/12/2019

1 Comment

 
The Touch type Tool in Illustrator is a tool that many people have no idea exists. It is very cool to be able to adjust each character while the text is live text and not outlined. Check it out. 
Picture

Picture
To start, set some type using any of the type tools. Do not outline the type, the Touch Type tool works on active type only. 
Picture
From the type tool menu, choose the last option on the list, the Touch Type tool. 
Picture
With the Touch Type tool, click on a letter you want to edit the size, scale and position. 

Picture
When you click on the letter, there are 5 points to click on and change the letter. Click on the corresponding point to scale, rotate or move the letter. 
Picture
Each letter can be individually scaled, moved, rotated or scaled to make the letter fit into the overall look of your text. 

Picture
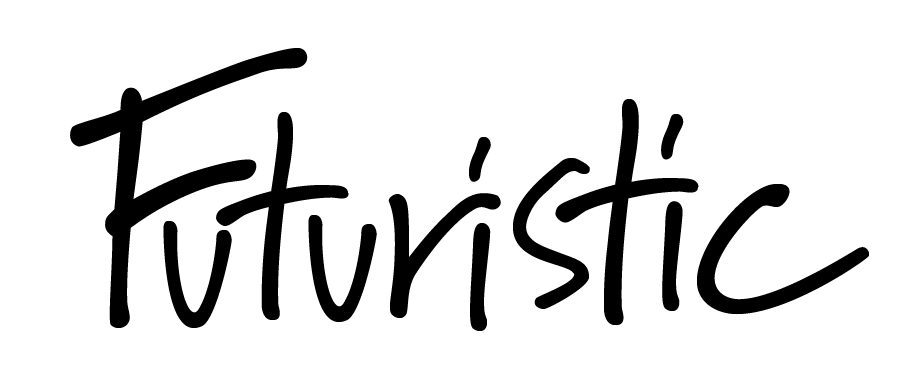
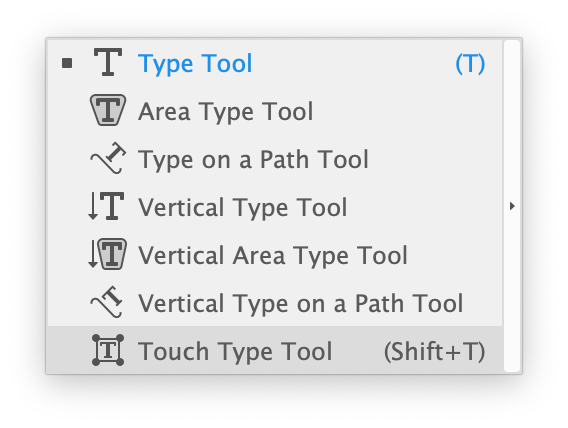
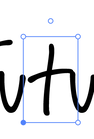
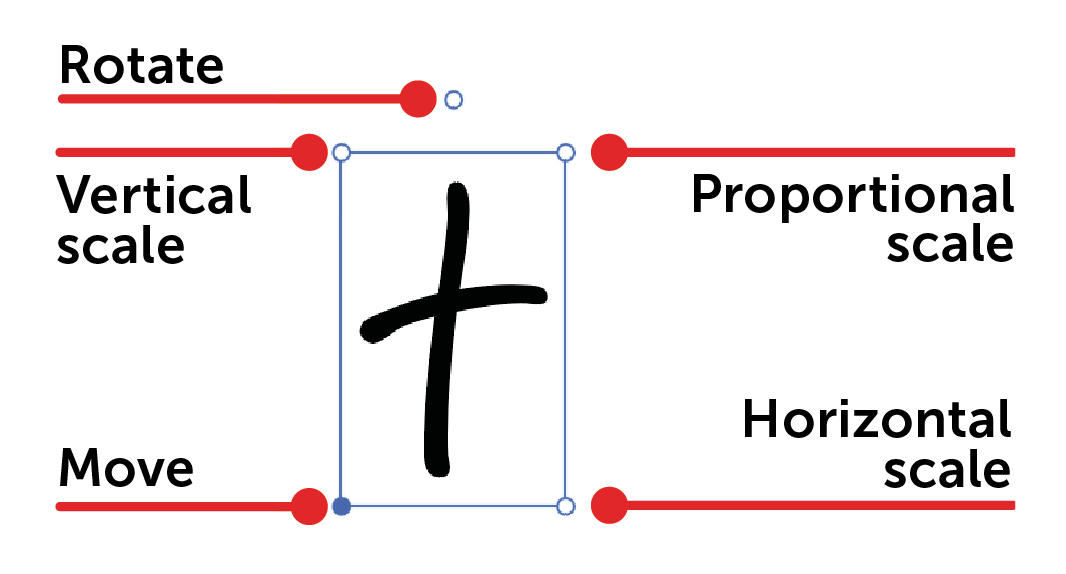
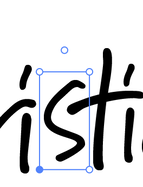
This typeface is Marydale-Regular which is available on the www.fonts.adobe.com website or through your text menu in Illustrator by clicking on the Find More section at the top of your font menu to add fonts.. Using the Touch Type tool you can move, scale, position any character of active type and create a dynamic look with your text. 
1 Comment

Arrow with Target

5/5/2019

1 Comment

 
This target uses The Polar Grid tool to make the concentric rings. Add the arrow and you have hit the bulls eye.
Picture

Picture
Select the Polar Grid tool (nested with the line tool). Click on the artboard to open the Polar Grid options. Set the number of Concentric Dividers to 4, radial dividers at 0. Click on both boxes to Create a compound path and fill the grid. 
Picture
Fill the target with red. The Compound path feature will allow the circles to fill every other set of circles. 
Picture
Create a circle the same size as the target. Choose the Ellipse Tool and click on the artboard to open the options. Set the size to the same size as the target.  

Picture
Fill the circle with white, add a 4pt stroke. 
Picture
Open the Stroke Panel and set the stroke to be on the inside of the circle. 
Picture
Select the circle and chose Effects>Distort & Transform> Transform. Set the move to .25mm on both the horizontal and vertical settings. Set the number of copies to 25. Click OK.

Picture
Move the circle behind the target to create a dimensional look. 
Picture
Draw a rectangle. 
Picture
Use the Direct Selection Tool to select the left edge and pull the Corner Widgets in to round the end. 
Create a duplicate the shape for later.
Picture
Apply a gradient from the Swatches Panel. Open the gradient panel and set the angle to -90° to get the gradient to go from light at the top to dark at the bottom. 
Picture

Picture
Create a rectangle. 
Picture
Use the Direct Selection Tool to select the top edge and move it to the left. 
Picture
Use the Direct Selection Tool to select the upper left corner and pull in the corner widget. 

Picture
Duplicate and flip the shape and move the fins to the arrow. 
Picture
Select the lower fin and click on the Draw Inside Mode at the bottom of the Tool Bar. 
Picture
Draw a rectangle in the shape. Fill it with 40% gray. Set the blend mode to Multiply in the Opacity Panel. Click on the Draw Normal mode. 

Picture
Select all the shapes and group them together. 
Picture
Rotate the arrow and place it on the target. 
Picture
Use the duplicate rectangle to create a shadow from the arrow. Fill it with 40% gray. Set the blend mode to Multiply in the Opacity Panel. Done!
1 Comment

    RSS Feed

    Archives

    March 2021
    February 2021
    December 2020
    September 2020
    August 2020
    July 2020
    June 2020
    May 2020
    April 2020
    March 2020
    February 2020
    January 2020
    December 2019
    November 2019
    October 2019
    September 2019
    August 2019
    July 2019
    June 2019
    May 2019
    April 2019
    March 2019
    February 2019
    January 2019
    December 2018
    November 2018
    October 2018
    September 2018
    August 2018
    July 2018
    June 2018
    May 2018
    April 2018
    March 2018
    February 2018
    January 2018
    December 2017
    November 2017
    October 2017
    September 2017
    August 2017
    July 2017
    June 2017
    May 2017
    April 2017
    March 2017
    February 2017
    January 2017
    December 2016
    November 2016
    October 2016
    September 2016
    August 2016
    July 2016
    June 2016
    May 2016
    April 2016
    March 2016
    February 2016
    January 2016
    December 2015
    November 2015
    October 2015
    September 2015

    RSS Feed

Proudly powered by Weebly
  • Home
  • Contact
  • Classes
  • Blog
  • Blog Index
  • Portfolio
  • Max 2022