Jason Hoppe Adobe Certified Expert & Adobe Certified Trainer
  • Home
  • Contact
  • Classes
  • Blog
  • Blog Index
  • Portfolio
  • Max 2022

Design Points n PixelS


INFOGRAPHIC SERIES - How to Make Pattern in Illustrator

8/20/2018

1 Comment

 
If you have ever tried to make a pattern in Illustrator manually, you know how hard it is to make it perfect, if not impossible. Using the Pattern Options Panel you can create any pattern seamlessly and perfectly every time. However, it is not straight forward or intuitive so here is a quick tutorial in making Patterns work for you.
Picture

Picture
First step in making a pattern is creating artwork that you want to be the basis of you pattern. Any fills, strokes, styles and colors will work. 
Picture
Open the Pattern Options Panel from the Window Menu. It will be grayed out and it looks like you cannot do anything with it.

Picture
Select your artwork, Group it to make things easier later, and click on the Pattern Option Cheese Grater to get the fly out menu. Click the Make Pattern option. 
Picture
This will SAVE the pattern to the Swatches Panel even before you did anything. Yes, it is confusing, but this is not a linear process. Click OK and move along.

Picture
The Pattern Options Panel will then show the artwork to be set up in the style of pattern you want. 
Picture
You will see the content on screen with a center area that contains your editable original artwork. The area around this will be the repeated pattern that is not editable. It will be dimmed back to show you how the pattern repeats. You can set the Dim copies to any percentage you want at the bottom of the Pattern Options Panel. 

Picture
The artwork inside the edit space can be copied, changed, rotated, edited or remove to create the pattern. The dim areas around will reflect any and all changes made to the artwork.  
Picture
The layout of the Pattern can be changed by choosing the Tile Type drop down menu. Once you choose an option, you will get further options shown in the next step. 

Picture
The Tile Type option will then allow different offsets to become available. Choose the type of offset you want and the pattern will update accordingly. 
Picture
If you want to see more or less repeats on the screen, choose the Copies drop down menu to change the repeat. This is for you visually and does not effect the final Pattern, they repeat into infinity regardless of how many copies you choose here.  

Picture
Once you are done with your pattern options and layout, click the DONE button at the upper left of your screen. The Pattern was saved when it was created (doesn't make sense but that is how it is) so no need to click Saved a Copy unless you want TWO patterns in your Swatch Panel... which you don't!
Picture
To see how your pattern works, create a shape and use the Swatch Panel to choose the new Pattern Fill. 

Picture
If you want to Edit your pattern after the fact, select the shape with the pattern fill, choose the Edit Pattern from the Pattern Options Cheese Grater.
Picture
Once you are done with your pattern editing click the DONE button at the upper left of your screen. The Pattern was saved when it was created so do not click Saved a Copy.

Picture
Patterns show in the swatch panel for further use. 
Picture
One frustrating item with Patterns is that they do NOT scale with the shape by default. To scale the pattern when you scale an object, open the Transform Panel, click on the Cheese Grater and Choose Transform BOTH if you want both the Object and the Pattern to scale together.

Picture
You can edit the pattern anytime through the Pattern Options Panel.
Picture
Picture
If you edit the Pattern and want to keep the original Pattern as well, then Choose the Save a Copy to get your new copy saved to the Swatches Panel. 

Picture
When you save a copy of the pattern, both will appear in the Swatches panel for use. 
Picture
Two hidden tricks in the Swatches Panel!!
1. If you select your shape, click ONCE on the fill in the swatch panel it will scale the Pattern back to 100% if you have scaled it. 
2. Double click on the Pattern in the swatch panel will open the Pattern Options Panel to edit the pattern. 

1 Comment

INFOGRAPHIC SERIES - Isometric patterns

8/13/2018

3 Comments

 
This post was a request from a viewer about creating isometric vector patterns. They look cool and they are fun and they can be created using any shapes. 
Picture

Picture
Start with the Polygon Tool to draw a rectangle. Drag the Diamond on the upper ride side of the bounding box down to create 3 sides. 
Picture
Select the triangle, then select the Rotate Tool. OPTION + CLICK just above the top of the triangle. OPTION opens the dialog box, click places the point of rotation.
Picture
Here is the dialog box for rotation. TIP! To create the right number of triangles, use the inout field as a calculator! I used 360° divided by 6 and just type that in as 360/6. click the COPY button to copy the shape.

Picture
This is the result of the rotate and copy. Use COMMAND + D to redo the rotate/copy command.
Picture
Here is the COMMAND + D 4 more times. 
Picture
Select all the shapes, and OPTION + DRAG to duplicate the set. 

Picture
Use the COMMAND + D to duplicate the shapes several times.
Picture
Select each set and add a white stroke to each one progressively. Add the STROKE to the INSIDE of the shape.
Picture
Select the shape and click on the Align Stroke to Inside in the stroke panel. 

Picture
The white stroke around then shapes will show up if you place this on a colored background.
​ If you are using this on a white background, you can skip these next few steps in removing the white stroke.
Picture
This is set to Outline Mode under the View Menu to show the outline and shape.
Select the shape and choose Object>Path>Outline Stroke. This will create a shape out of the path. 
Picture
Select the shapes and choose Object>Compound Path>Release. Then delete the outer stroke shape, leaving the middle shape, then ungroup them.
The middle shapes will have lost their color fill, so select them and fill them again. 

Picture
Select the middle shapes of each section and OPTION + DRAG them to the side and position them to fill in the space. 
Picture
Select the entire set and OPTION + DRAG the set again. Use COMMAND + D to duplicate the duplicate as many times as you want. Nice job!

Picture
Picture
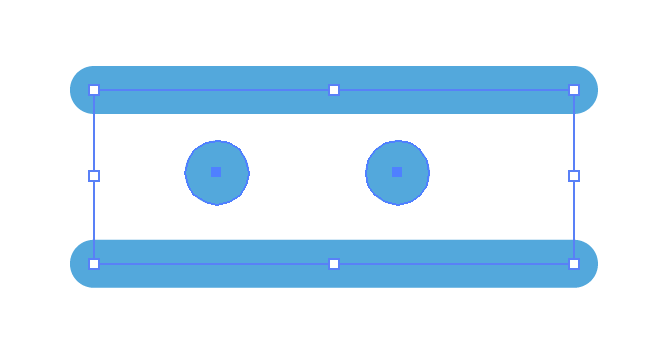
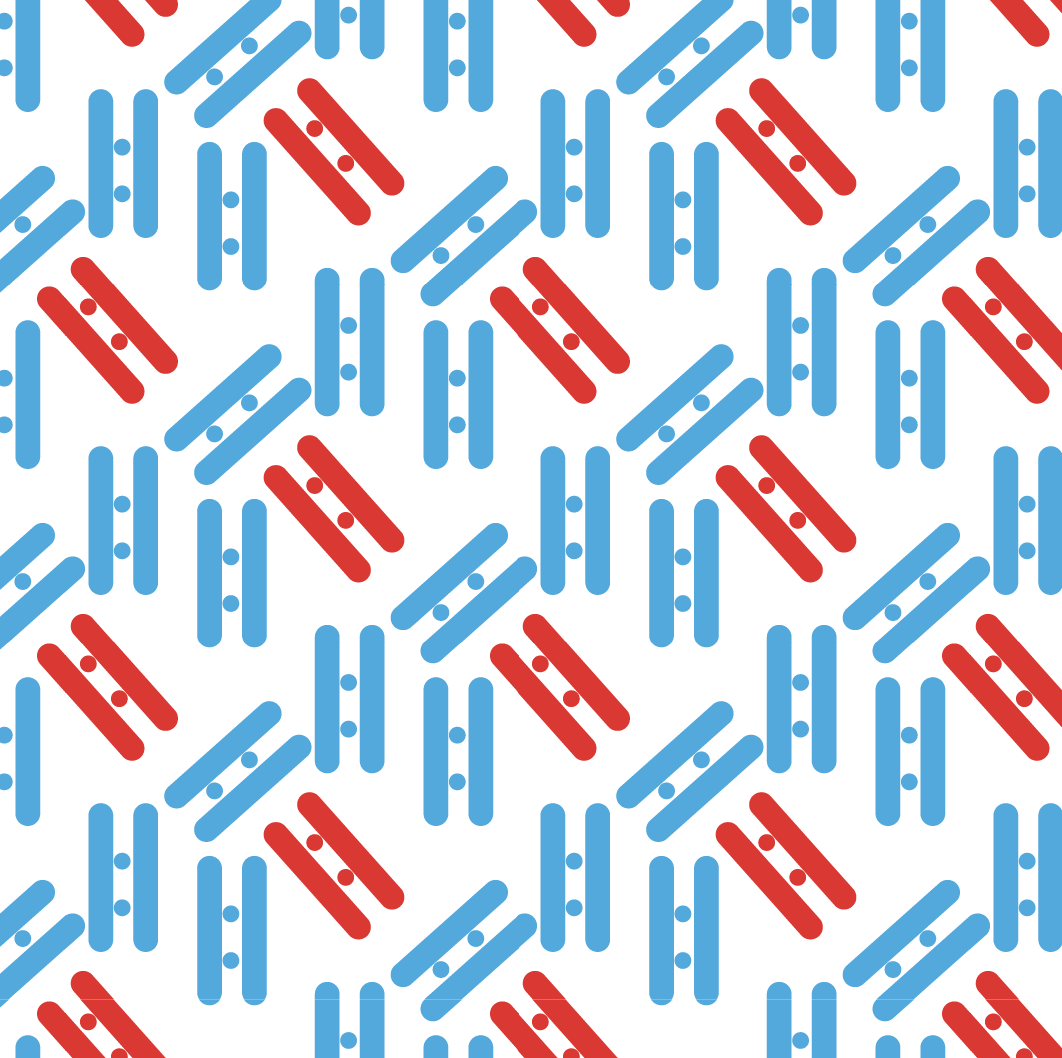
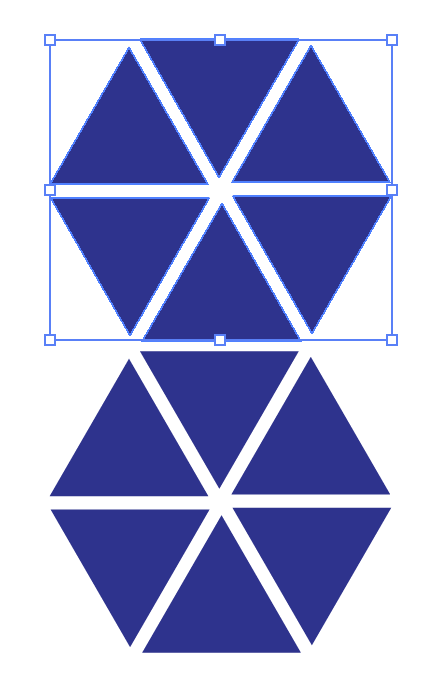
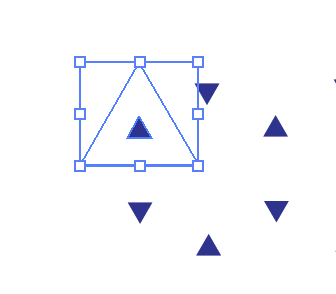
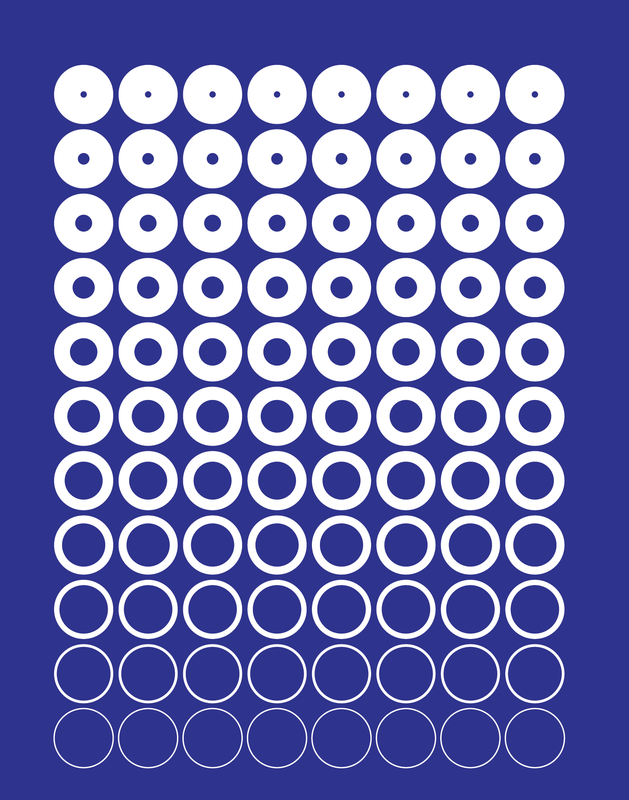
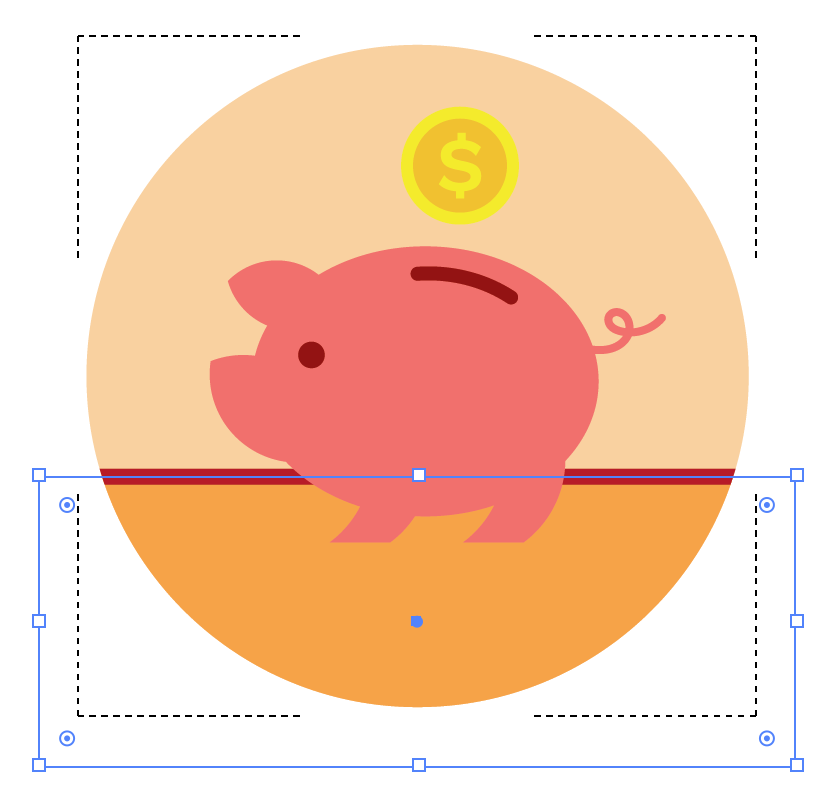
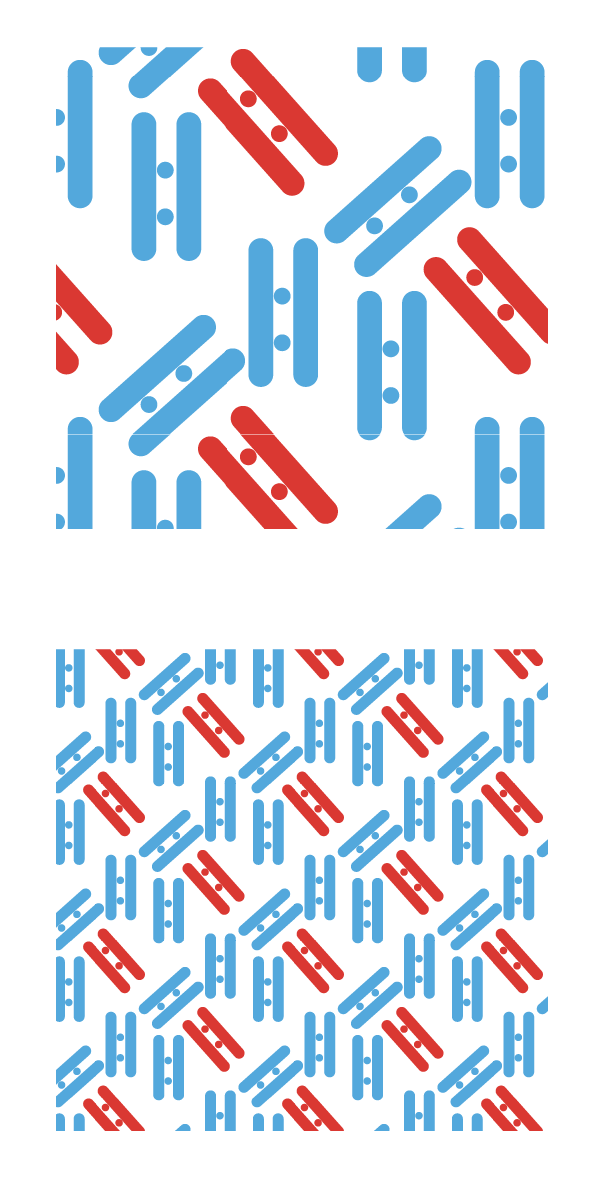
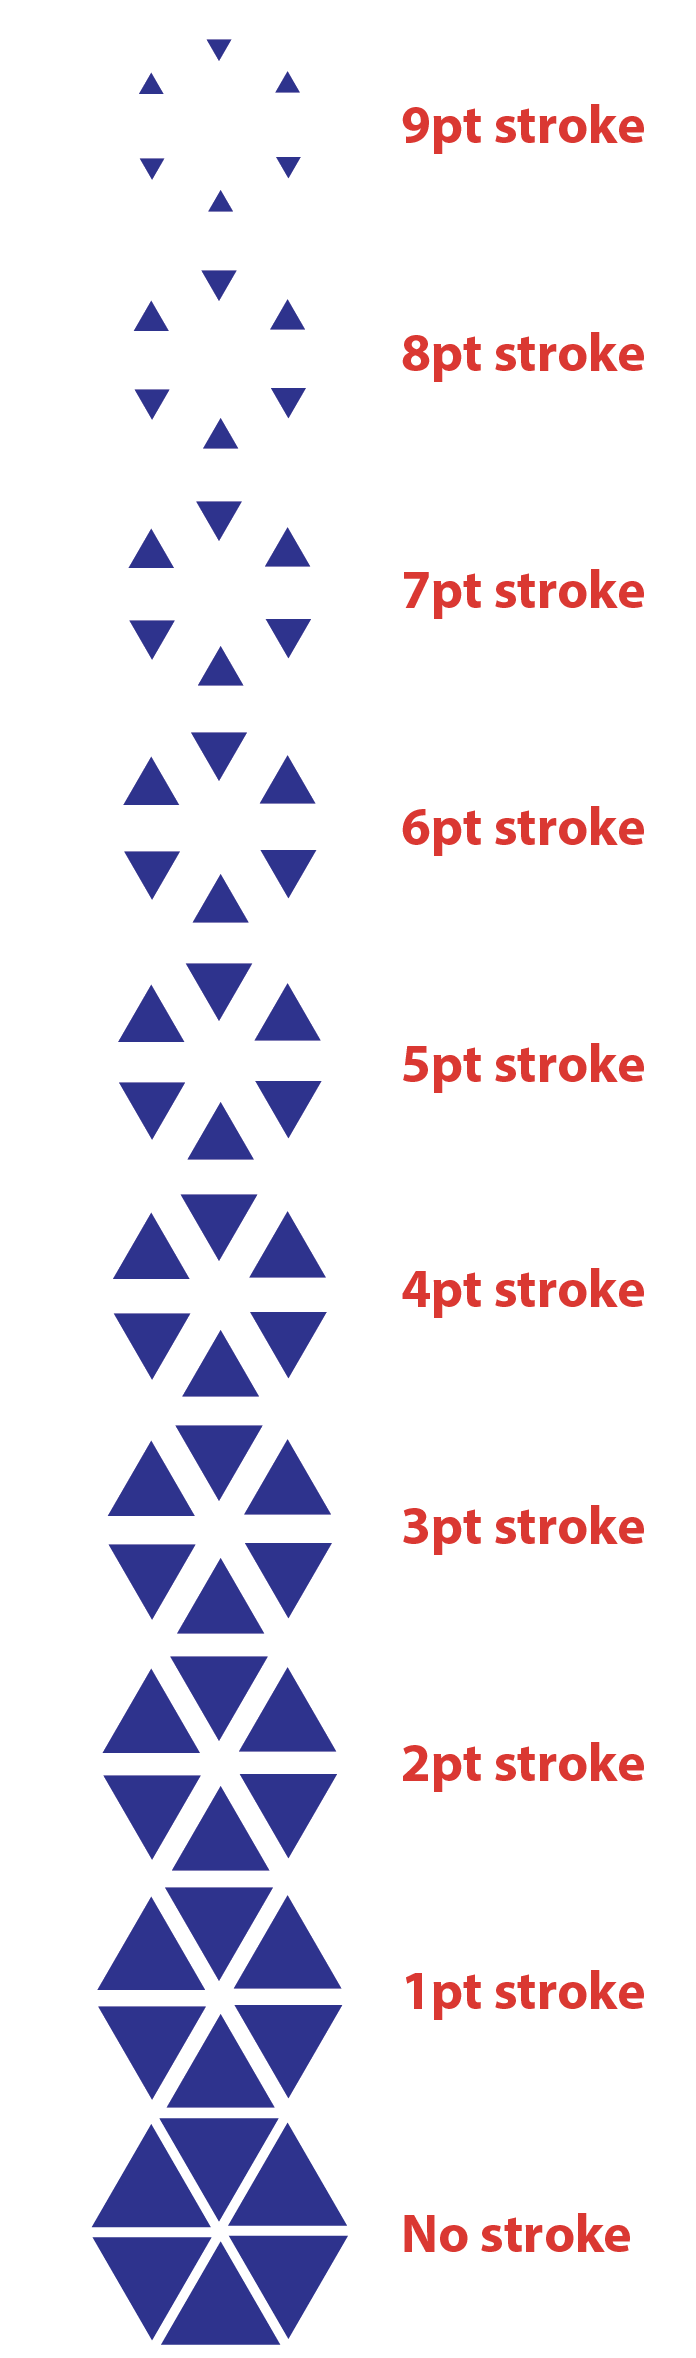
Try it with different shapes and backgrounds.
3 Comments

INFOGRAPHIC SERIES - Create a Piggy bank

8/6/2018

0 Comments

 
Fun piggy bank creation. Simple and quick; make a great icon for saving money!
Picture

Picture
Create the body using an oval. 
Picture
For the legs, start with two overlapping circles. 
Picture
Select both circles and in the Pathfinder Panel use the Minus Front Mode. This creates a moon shape for the legs.

Picture
Place the moon shape in the leg positions.
Picture
Draw a rectangle over the legs to cut them off. Copy this rectangle since we will need it again. Select the rectangle and one leg (have to do one leg at a time) and choose the ​Pathfinder Panel Minus Front Mode.
Picture
Choose Paste In Place to repaste the rectangle in the same location. ​Select the rectangle and other leg and choose the ​Pathfinder Panel Minus Front Mode.

Picture
For the ear, this will be two overlapping circles as well.
Picture
Select both circles and Select the rectangle and choose the ​Pathfinder Panel use the Intersect Mode. This creates the ear and snout.
Picture
Position the ear and copy it for the snout. Put them both in position and size and rotate them for fit. 

Picture
Add an arc for the coin slot and an eye as well. 
Picture
Double click on the Pencil Tool in the tool bar. Slide the Fidelity settings to Smooth. Click OK.
Picture
Use the Pencil tool to draw the tail. Any choppiness will be smoothed out. 

Picture
Draw a circe fr the coin. Fill and stroke the coin. 
Picture
Add a monetary symbol to the coin. Draw a lighter circle behind the piggy bank. 
Picture
Select the circle behind and click on the draw inside mode at the bottom of the tool bar. Draw a darker rectangle with a stroke to provide a foreground to anchor the piggy bank. Click on the Draw Normal mode and you are done!

Picture
0 Comments

    RSS Feed

    Archives

    March 2021
    February 2021
    December 2020
    September 2020
    August 2020
    July 2020
    June 2020
    May 2020
    April 2020
    March 2020
    February 2020
    January 2020
    December 2019
    November 2019
    October 2019
    September 2019
    August 2019
    July 2019
    June 2019
    May 2019
    April 2019
    March 2019
    February 2019
    January 2019
    December 2018
    November 2018
    October 2018
    September 2018
    August 2018
    July 2018
    June 2018
    May 2018
    April 2018
    March 2018
    February 2018
    January 2018
    December 2017
    November 2017
    October 2017
    September 2017
    August 2017
    July 2017
    June 2017
    May 2017
    April 2017
    March 2017
    February 2017
    January 2017
    December 2016
    November 2016
    October 2016
    September 2016
    August 2016
    July 2016
    June 2016
    May 2016
    April 2016
    March 2016
    February 2016
    January 2016
    December 2015
    November 2015
    October 2015
    September 2015

    RSS Feed

Proudly powered by Weebly
  • Home
  • Contact
  • Classes
  • Blog
  • Blog Index
  • Portfolio
  • Max 2022