Jason Hoppe Adobe Certified Expert & Adobe Certified Trainer
  • Home
  • Contact
  • Classes
  • Blog
  • Blog Index
  • Portfolio

Design Points n PixelS


INFOGRAPHIC SERIES - Watchful Owl

11/26/2017

0 Comments

 
Create a sleepy or an alert owl. One relaxed or attentive and watchful. Simple shapes is what makes this so easy and fun to create. 
Picture

Picture
Start with the eyes by creating a square.
Picture
Use the Direct Selection Tool to select the 3 corner widgets and pull them into the center.
Picture
Right+Click on the shape and choose Transform> Reflect and click COPY.

Picture
Line up the Eyes.
Picture
Create a white circle for the background and another circle for the eyes. 
Picture
For the crown of the head, create an oval. 

Picture
Duplicate the oval slightly above the first one. 
Picture
Use the Minus Front command in the pathfinder panel with both selected to get the crown. 
Picture
Add a 15 pt white stroke to the crown and place it above the eyes. 

Picture
For the body create a rectangle. 
Picture
Use the Direct Selection Tool to select the 1 corner widget and pull it into the center.
Picture
Place the body under the eyes.

Picture
Right+Click on the shape and choose Transform> Reflect and click COPY. Size the copied part slightly smaller. 
Picture
For the nose create a square and rotate it 45°. 
Picture
Use the Direct Selection Tool to select the top point and move it up. 

Picture
Place the nose between the eyes. 
Picture
Add a 15 pt white stroke to the wing for separation. 
Picture
Select the left wing and choose Object>Path>Offset Path. 

Picture
Offset the path -30 and click OK. 
Picture
Select the newly offset path and repeat the Offset Path at -30 and click OK. 
Picture
Arrange the wing panel behind the other objects. 

Picture
Bring the right wing above or send the left wing behind to get the effect of the layered wings. 
Picture
To create sleepy eyes, duplicate the eyes slightly offset. 
Picture
Use the Minus front Command in the pathfinder panel with both circles selected. 

Picture
To change the crown, duplicate the nose and widen the diamond shape. 
Picture
With the wide diamond shape over the head, duplicate the wide shape again and change the height of it. I colored the shapes to make it easier to see. Use the Minus Front Command in the Pathfinder Panel to get the crown shape. 
Picture
Fill the crown shape with brown and add a 15 pt white stroke. 

Picture
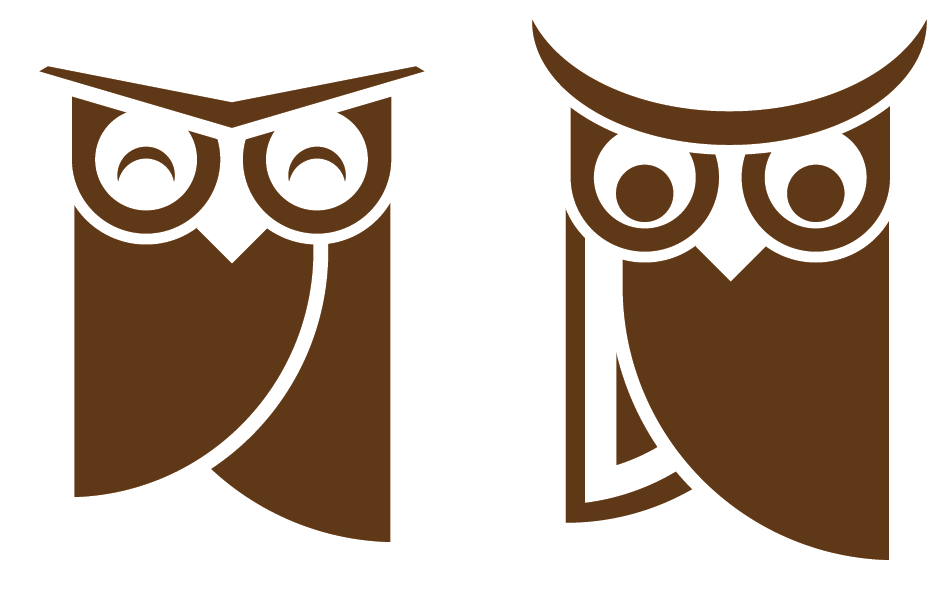
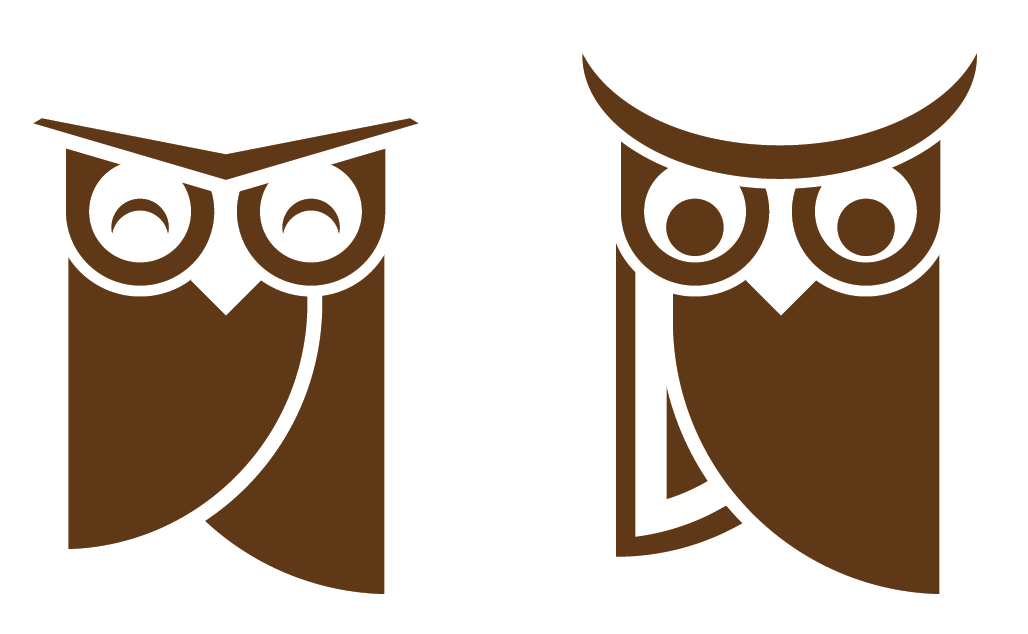
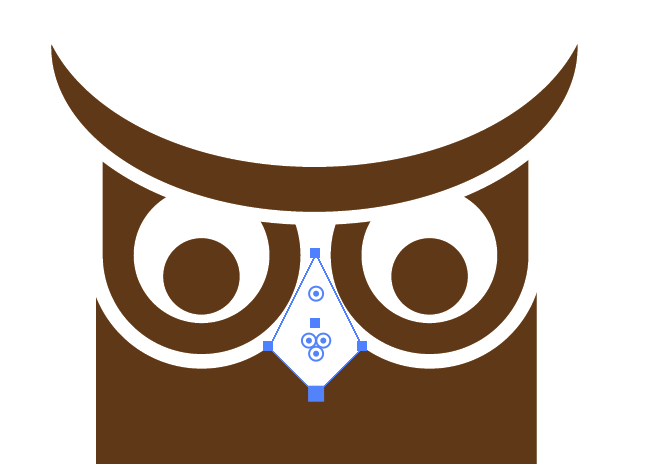
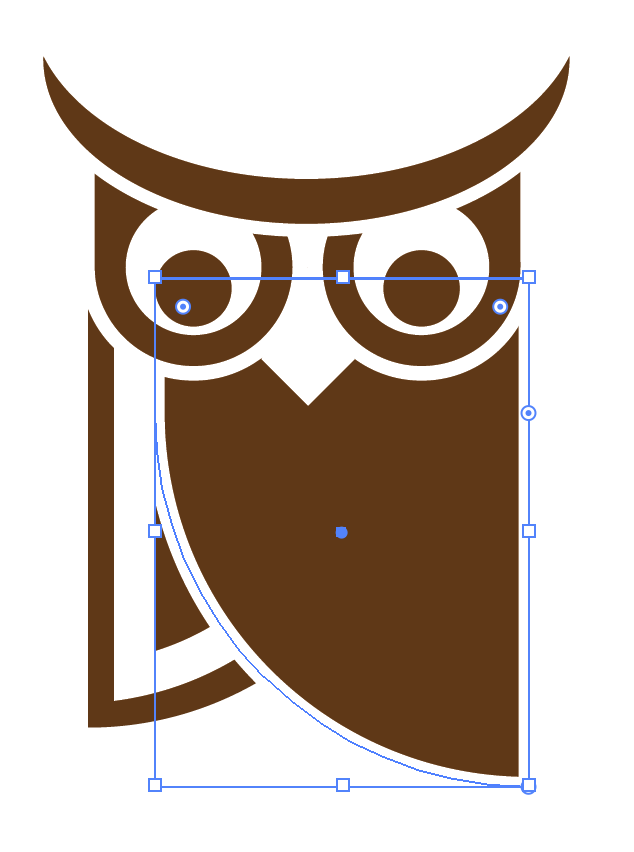
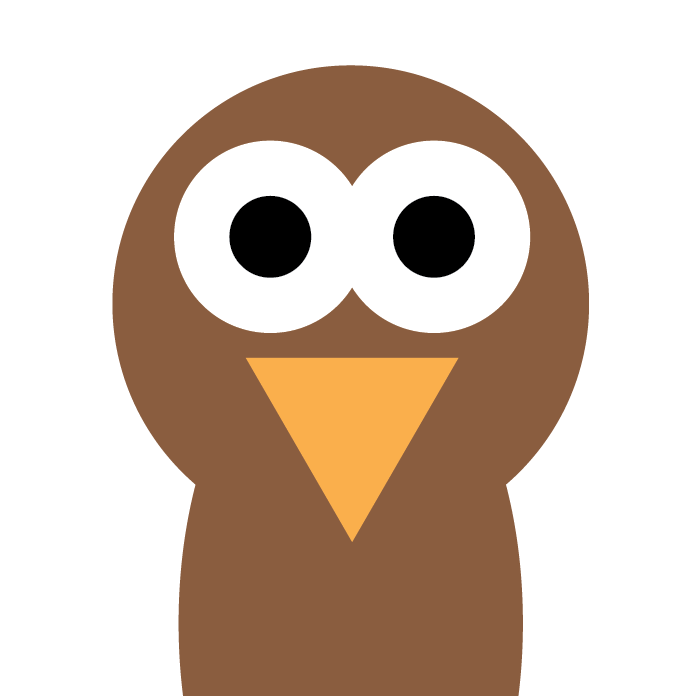
Change the layering of the wings, the crown and the eyes to create many different looks to the owl.
0 Comments

INFOGRAPHIC SERIES - THE PERFECT TURKEY

11/19/2017

0 Comments

 
Picture
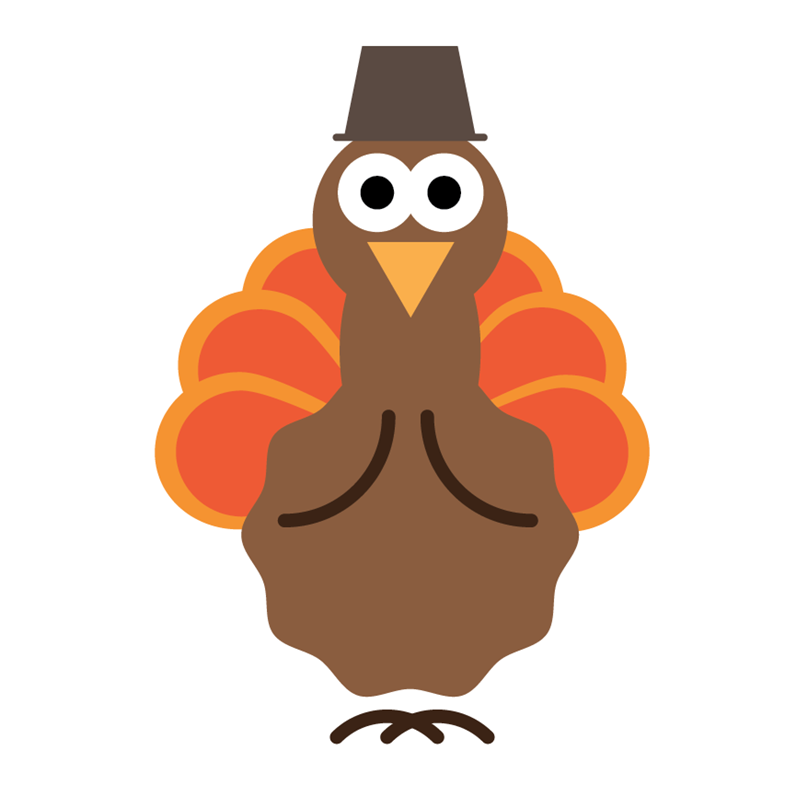
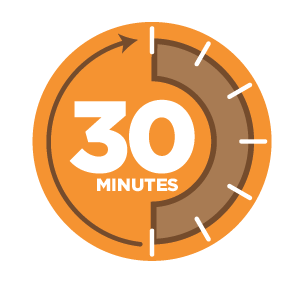
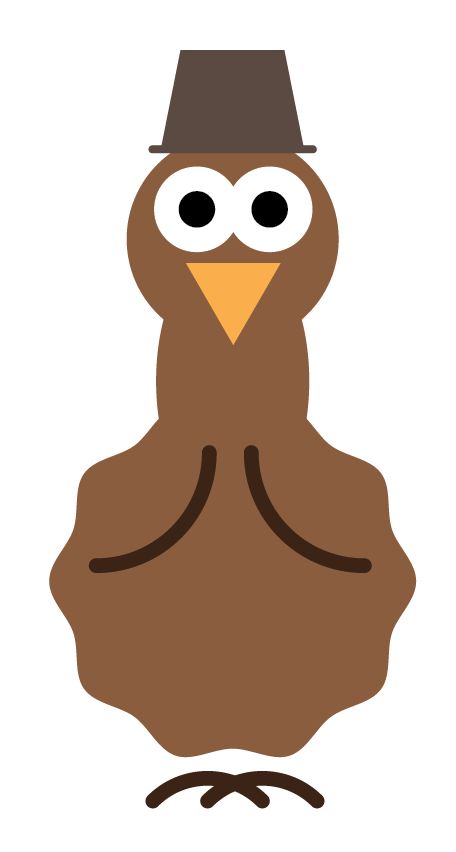
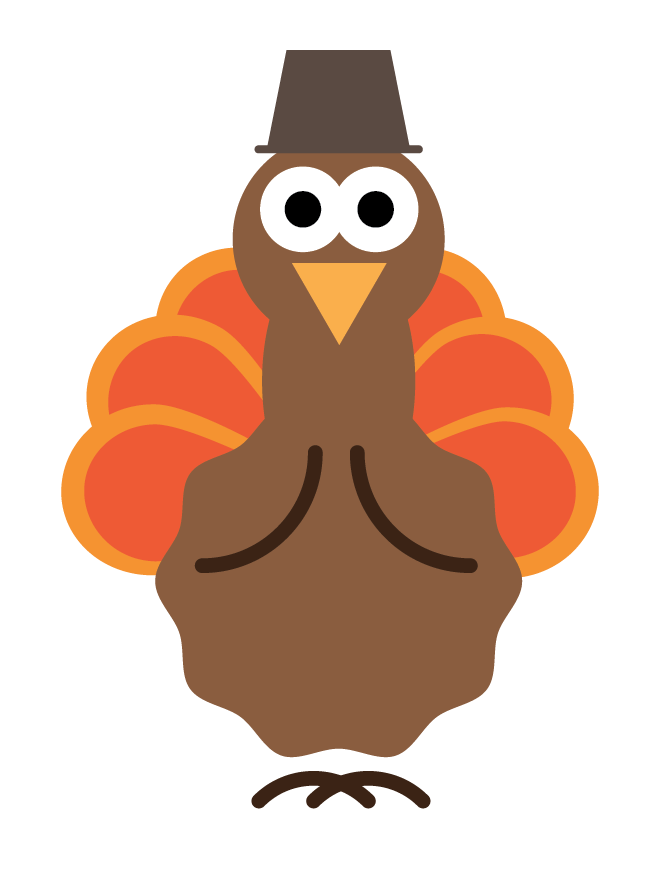
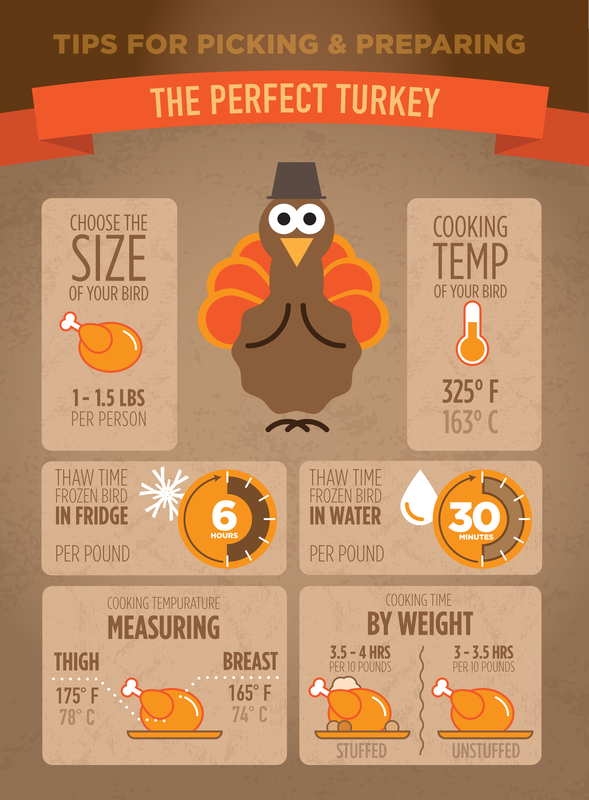
Happy Thanksgiving everyone. Here is an infographic on how to cook the turkey the right way. I have listed the components and how I made it with several of my other lessons from before. Enjoy and have a safe and happy holiday.  
Picture
The turkey build can be found here.
Picture
Thermometer can be found here.

Picture
The paper background is a picture of a paper bag and the tutorial can be found here.
Picture
Pie charts can be found here and here for radius lines.

Picture
Rain drop creation is here.
Picture
Create a snowflake from this link here. 

Picture
For the turkey roast, create an oval.
Picture
For the leg, create a circle and use the Direct Selection Tool to select and drag the top point up. 

Picture
The plate is a rectangle with the 2 lower corner widgets pulled in.
Picture
The leg is 2 circles and a rectangle that are united as one using the pathfinder. 
0 Comments

INFOGRAPHIC SERIES - Turkey Icon

11/12/2017

1 Comment

 
Thanksgiving is right around the corner and what better time to get your turkey perfect than now. 
Picture

Picture
Start with a circle, fill it with a color for the body.
Picture
Add a wavy edge to it under Effect>Distort & Transform>Zig Zag. 
Picture
Create an oval in the top center of the body. 
Picture
Draw a circle on the top center of the neck. 

Picture
Use the Polygon Tool to create a triangle for the nose. 
Picture
Add 2 white circles and 2 black circles for the eyes.
Picture
Use the Arc Tool to create an arc, rotate the arc 45°, round the line ends and duplicate the arc for the feet.
Picture
Duplicate an arc from the feet and add it to the breast of the chicken to show the wing edges. 

Picture
Create the hat with a square. 
Picture
Use the Free Transform Tool to pull the lower edges out wider. 
Picture
Add a line with rounded ends for the edge of the hat. 
Picture
Place the hat on the head.

Picture
Start the wings with a circle. 
Picture
Add a heavy stroke. 
Picture
Use the Direct Selection Tool to pull the top of the circle up.
Picture
With the top point selected, use the Convert Anchor Point in the Control Bar to pull the handles in to create a corner point.

Picture
This is the corner point at the top of the wing. 
Picture
Rotate the wing 90°. Use the Width Shape Tool to pull the stroke wider on the large end. 
Picture
Place the wing to the left of the body and the point of the wing in the center of the body, Change the size to get it to fit.
Picture
Select the Rotate Tool and OPTION/ALT + CLICK on the pointy tip of the wing. This sets the rotate point AND opens the Rotate dialog box. 

Picture
Click the Preview button. Set the rotate to 30° and click COPY.
Picture
To duplicate the Rotate, used COMMAND + D several times.
Picture
Select the left 3 wings and bring them to the front in succession to bring the front most one forward and stack the other ones behind. 
Picture
You have just completed your Turkey!
1 Comment

INFOGRAPHIC SERIES - Whale

11/5/2017

0 Comments

 
Fun take on a whale that is so much fun to look at and just as fun to build. 
Picture

Picture
Create a square with rounded corners for the body.
Picture
Create a smaller rectangle for the beginning of the tail. 
Picture
Place the tail at the lower part of the bod, align it with the bottom of the body.
Picture
Create a rectangle the width of the tail section. 

Picture
Use the Direct Selection Tool to select the 2 lower points and pull the corner widgets into the center to round the end. 
Picture
Place the rounded end onto the tail section. Select both the tail and the rounded shape.
Picture
Use the Pathfinder mode Minus Front to create the tail "flip".
Picture
For the water spout create a rectangle. 

Picture
Use the Direct Selection Tool to select the 2 left points and pull the corner widgets into the center to round the end. 
Picture
Use the Direct Selection Tool to select the upper right point and pull the corner widget into the center to round the end. 
Picture
Rotate the shapes into position above the body. 
Picture
For the flipper, create a rectangle.

Picture
Use the Direct Selection Tool to select the 2 lower points and pull the corner widgets into the center but keep a small center section flat. 
Picture
Duplicate the flipper and make the copy slightly larger on top.
Picture
Select both shapes, the use the Pathfinder mode Minus Front to create the tail flipper.
Picture
Create a small rectangle above the center of the flipper.

Picture
Use the Direct Selection Tool to select the 2 lower point and pull the corner widgets into the center. OPTION + CLICK the corner widgets to cycle through the options. Choose the Inverse Rounded corner. 
Picture
Select both shapes, the use the Pathfinder mode Minus Front to create the tail ident.
Picture
Place the flipper on the tail.
Picture
Create a larger white circle for the eye, add a small black circle to finish the eye.

Picture
Create an Arc for the mouth, add a stroke, add rounded end caps (hot dog the ends).
Picture
Create circle for the bubbles. Use the Type Tool to type in an asterisk to show the bubble pop. Select the type and Choose Type>Create Outlines.
Picture
Place the bubble in front of the mouth. You have create a whale!
0 Comments

    RSS Feed

    Archives

    March 2021
    February 2021
    December 2020
    September 2020
    August 2020
    July 2020
    June 2020
    May 2020
    April 2020
    March 2020
    February 2020
    January 2020
    December 2019
    November 2019
    October 2019
    September 2019
    August 2019
    July 2019
    June 2019
    May 2019
    April 2019
    March 2019
    February 2019
    January 2019
    December 2018
    November 2018
    October 2018
    September 2018
    August 2018
    July 2018
    June 2018
    May 2018
    April 2018
    March 2018
    February 2018
    January 2018
    December 2017
    November 2017
    October 2017
    September 2017
    August 2017
    July 2017
    June 2017
    May 2017
    April 2017
    March 2017
    February 2017
    January 2017
    December 2016
    November 2016
    October 2016
    September 2016
    August 2016
    July 2016
    June 2016
    May 2016
    April 2016
    March 2016
    February 2016
    January 2016
    December 2015
    November 2015
    October 2015
    September 2015

    RSS Feed

Proudly powered by Weebly
  • Home
  • Contact
  • Classes
  • Blog
  • Blog Index
  • Portfolio