Jason Hoppe Adobe Certified Expert & Adobe Certified Trainer
  • Home
  • Contact
  • Classes
  • Blog
  • Blog Index
  • Portfolio
  • Max 2022

Design Points n PixelS


INFOGRAPHIC SERIES - Frosty Root Beer Float

5/29/2018

0 Comments

 
Summer is near, a frosty treat is great for fun in the summer time. And it's easy to create this frosty mug of root beer in Illustrator. 
Picture

Picture
Start with a rectangle. 
Picture
Select the shape and pull the Corner Widgets into the center a bit to round all the edges. 
Picture
Draw another rectangle, round the corners, and add a lighter color fill. 

Picture
Duplicate the shape to create the ridges on the glass. 
Picture
To create the foam, draw 3 circles, different sizes, and place them on each other in a random arrangement.
Picture
Select all 3 shapes, use the Pathfinder Unite mode to create on shape from the 3.

Picture
Draw a rectangle over the bottom half of the shape. 
Picture
Select both shapes and use the Pathfinder Minus Front Mode to remove the lower portion. ​
Picture
Create a rectangle for the drips, select the bottom two corners with the Direct Selection Tool and pull the corner widgets in. 

Picture
Place the foam on the top of the mug. Add the drips down the side of the mug, set the opacity 75% to show the mug through. Add a highlight using the arc tool, round the ends of the arc. 
Picture
Create the handle; start with a rectangle, add a stroke, no fill. Select the 2 left corners with the Direct Selection Tool and pull the corner widgets in to round the corners. 
Picture
Add an inner glow to the mug for a frosty look. Select the mug shape and apply the inner glow under Effects>Stylize>Inner Glow. 

Picture
Under the appearance Panel, select the fill portion of the mug and apply the Inner Glow to that. This way it only applies to the fill and not the stroke. 
Picture
Add a rectangle for the straw, place it behind the mug. 
Picture
Select the handle and Expand the shape under the Object Menu. 

Picture
Apply an inner glow to the handle, set the size smaller to fit the handle. 
Picture
Copy the top foam, make the color darker than the straw. 
Picture
Select the straw and click on the Draw Inside Mode at the bottom of the Tool Bar. 

Picture
Paste the shape into the straw to create a shadow. Click on the Draw Normal mode.
Picture
Select the ridges on the glass, apply the inner glow to the shapes and set the opacity to 75%.
Picture
Enjoy your frosty mug of root beer. You earned it!
0 Comments

INFOGRAPHIC SERIES - Message in a Bottle

5/21/2018

1 Comment

 
Message in a bottle uses a combination of cool tricks and the Live Paint feature as well as a few nifty tips with the appearance panel. 
Picture

Picture
Start the bottle with a rectangle. 
Picture
Select the top 2 points with the Direct Selection Tool and pul them in to round the top. 
Picture
Hover over the Corner Widget Target and OPTION + CLICK on it to cycle through the corner styles to get to the flat corners. 

Picture
Create another rectangle on the top portion of the original rectangle for the neck of the bottle. Select both shapes. 
Picture
Use the Pathifinder Unite Tool to add both of the shapes together. 
Picture
Select the 4 middle points with the Direct Selection Tool and pull them in to round the edges. 

Picture
This will give the bottle a rounded look. 
Picture
Add a rectangle for the neck of the bottle. 
Picture
Draw a rectangle for the cork. 

Picture
Use the Free Transform tool, in perspective mode to pull the lower 2 handles into the middle to taper the shape. 
Picture
This will create the cork. 
Picture
Place the cork on the bottle. 

Picture
To create the paper scroll, go HERE on my blog to see how it's done. This uses the Spiral Tool and Live Paint to create the rolled paper look.
Picture
Fill the bottle with a lighter color, place the scroll on the bottle and set the opacity of the scroll to 50% to make it look like it is in the bottle.
Picture
Rotate the bottle and contents 45°. Draw a line for the water waves. 

Picture
Apply a Zig Zag effect under Effect>Distort & Transform. 
Picture
This will create a wave look. Outline the path under Object>Path>Outline Stroke.  
Picture
Add a white stroke around the wave shape. Set the stroke to the outside under the Stroke Panel. 

Picture
Setting the stroke to the outside will add to the stroke beyond the edge of the wave and not interfere with the wave itself. 
Picture
Open the Appearance Panel under the Window Menu and open the Stroke section. Set the Opacity of the stroke to 65%. This will only make the stroke transparent, not the fill. 
Picture
Duplicate the waves and you have a message in a bottle, floating in the waves. 
1 Comment

INFOGRAPHIC SERIES - Stack of Pancakes

5/14/2018

0 Comments

 
Dish up a fresh stack of yummy pancakes with some easy shapes, blending mode for the syrup and  tasty butter on top. 
Picture

Picture
Start the stack with a rectangle, fill and stoke the shape. 
Picture
Duplicate the shape, remove the stroke and add a darker fill.
Picture
Click on the original shape, choose the Draw Inside Mode at the bottom of the Tool bar. Paste the shape inside.

Picture
Position the shape to create a slip shadow and then click on the Draw Normal Mode.
Picture
Duplicate and stack the pancakes. 
Picture
Draw a rectangle, duplicate it and make it shorter, taller and position each duplicated shape touching each other. 
Picture
Use the Pathfinder Unite Mode to join all the shape into one solid shape. 

Picture
Use the Direct Selection Tool to select all the lower edges of the shape, pull the Corner Widgets in to round the edges. 
Picture
Set the shape to Multiply under the Opacity Link in the Control Bar. 
Picture
Place the syrup shape over the stack of pancakes

Picture
Add a rectangle on top for butter. Create highlights with a line, heavy stroke, hot dog the ends of the lines, set the opacity of the white lines to 50%
Picture
Create a rectangle for the plate under the stack of pancakes. 
Picture
Select the lower corners and pull the Corner Widgets to round he corners.

Picture
Duplicate the plate and reduce the size. When sizing down, you may run into a problem where the ends won't scale. 
Picture
Open your Transform Panel and click on the Scale corners to get the shape to scale with the Corner Widgets. 
Picture
Serve up a fresh stack of yummy pancakes!
0 Comments

INFOGRAPHIC SERIES - Crate of Apples

5/6/2018

0 Comments

 
Create a crate full of apples. Simple and easy way to create the apple, leaves and a stem; build a quick crate and pile all the apples in. 
Picture

Picture
Start the apple with a circle, fill it with a color, create a darker color stroke. 
Picture
Pull the sides in to create more of an oval, rotate the oval slightly. 
Picture
Duplicate and rotate the oval and overlap it over the first one. Select both shapes.

Picture
Use the Pathfinder Unite mode to add both shapes together. ​
Picture
Use the Arc Tool to create a stem, round the end caps in the Stroke Panel.
Picture
Create a leaf by starting with a circle. 

Picture
Duplicate the circle over the over half of the first circle. ​Select both shapes.
Picture
Use the Pathfinder Intersect mode to add both shapes together. 
Picture
Place the leaf behind the stem. 

Picture
Create a darker red rectangle in front of half the apple. Cut the rectangle. 
Picture
Select the apple, click the Draw Inside Mode at the bottom of the Tool Bar. Paste the rectangle into the shape. 
Picture
Move the rectangle over to the side then click on the Draw Normal mode when done. Select all the apple parts and group them together. 

Picture
Create the crate by drawing a rectangle, round the ends using the corner widgets. 
Picture
Duplicate the bars, keeping the space consistent. 
Picture
Create darker vertical bars and place them behind the bars, on the left and right sides. 

Picture
Create nails for the ends of the boards. Create a circle, copy it, click the Draw Inside Mode and paste the circle into it, change the color to be lighter, offset the shape. Click on the Draw Normal Mode. 
Picture
Copy the "nails"  and paste them randomly on the ends of the boards. 
Picture
Do this on both sides of the boards. 

Picture
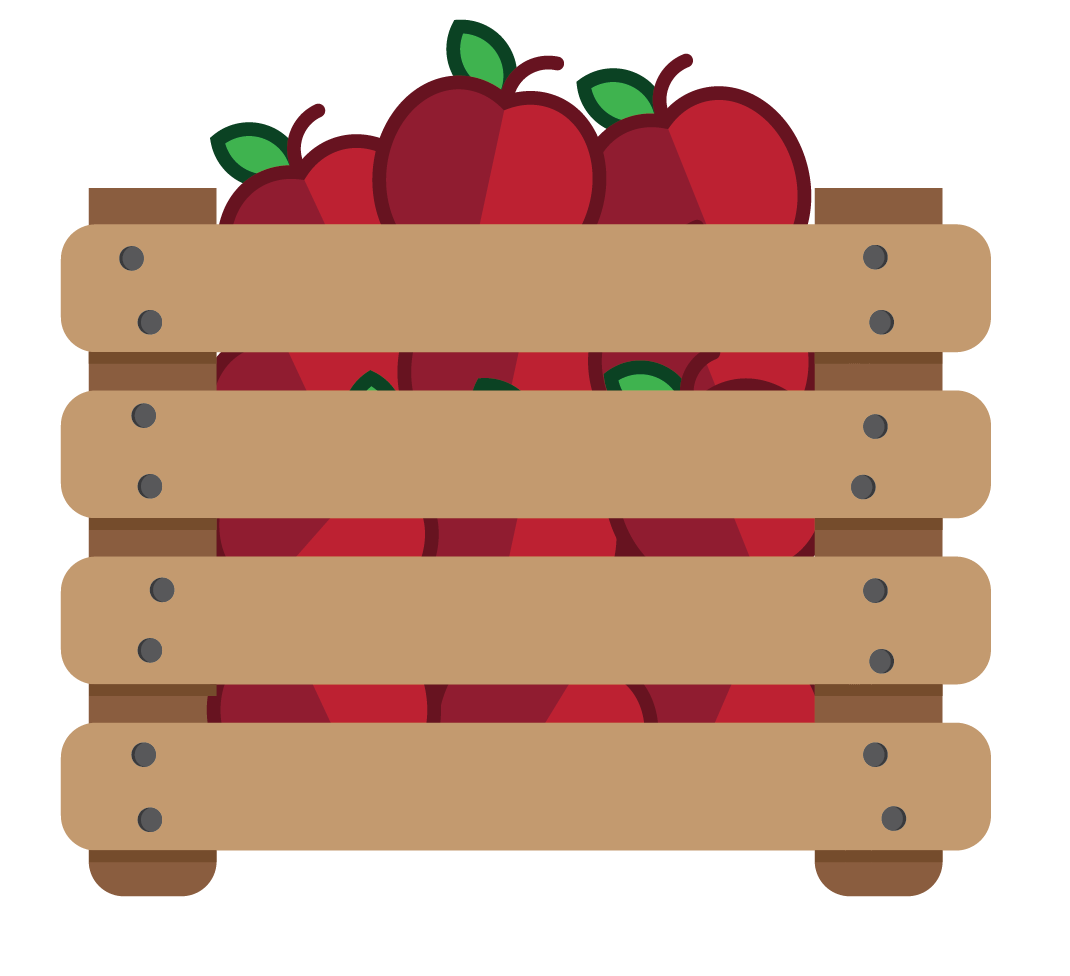
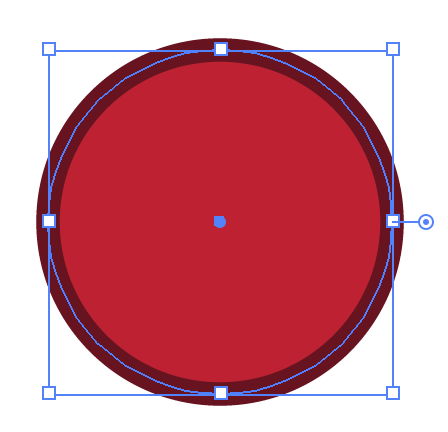
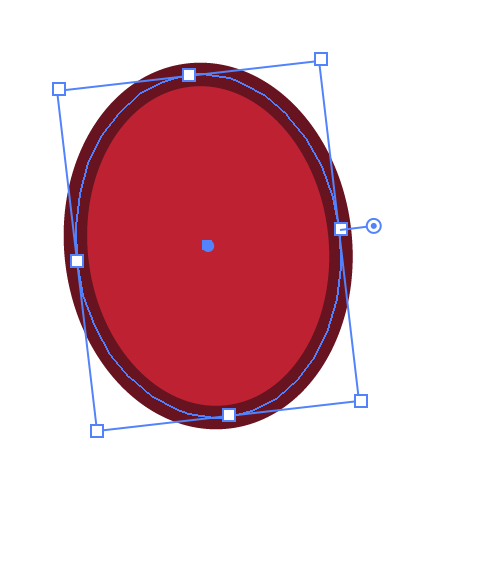
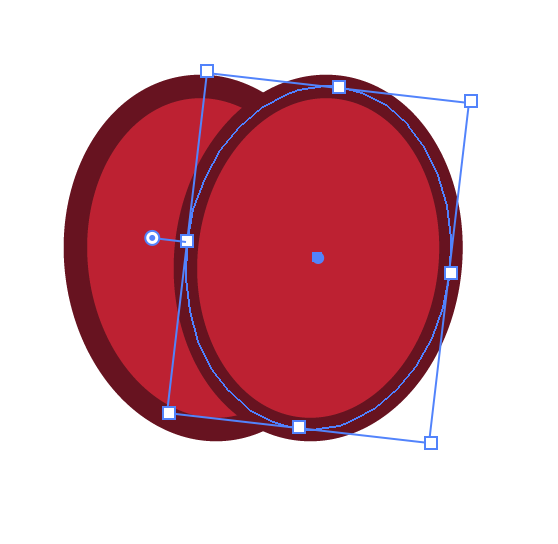
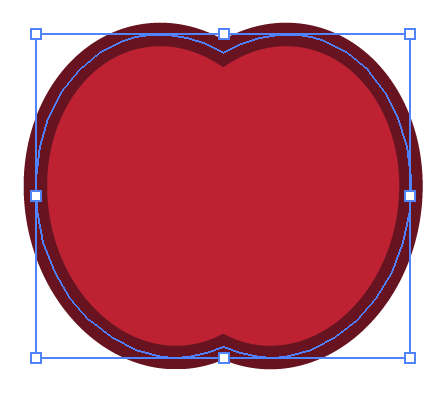
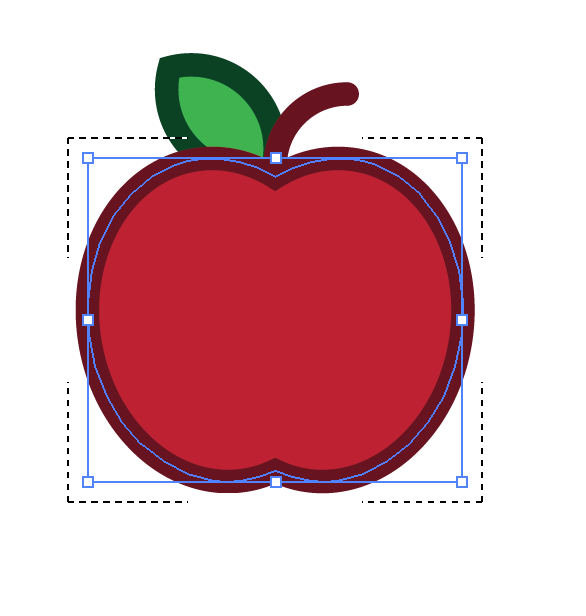
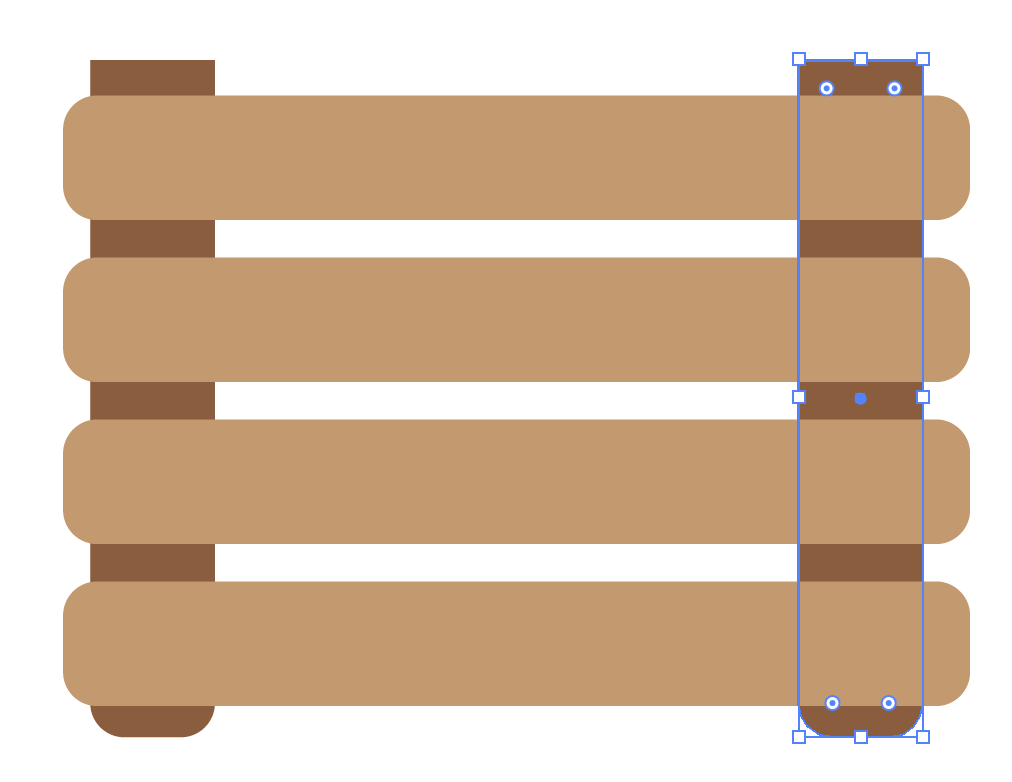
Duplicate and rotate the apples and place them behind the box. Stack them up and you have a crate full of apples. Enjoy!
0 Comments

    RSS Feed

    Archives

    March 2021
    February 2021
    December 2020
    September 2020
    August 2020
    July 2020
    June 2020
    May 2020
    April 2020
    March 2020
    February 2020
    January 2020
    December 2019
    November 2019
    October 2019
    September 2019
    August 2019
    July 2019
    June 2019
    May 2019
    April 2019
    March 2019
    February 2019
    January 2019
    December 2018
    November 2018
    October 2018
    September 2018
    August 2018
    July 2018
    June 2018
    May 2018
    April 2018
    March 2018
    February 2018
    January 2018
    December 2017
    November 2017
    October 2017
    September 2017
    August 2017
    July 2017
    June 2017
    May 2017
    April 2017
    March 2017
    February 2017
    January 2017
    December 2016
    November 2016
    October 2016
    September 2016
    August 2016
    July 2016
    June 2016
    May 2016
    April 2016
    March 2016
    February 2016
    January 2016
    December 2015
    November 2015
    October 2015
    September 2015

    RSS Feed

Proudly powered by Weebly
  • Home
  • Contact
  • Classes
  • Blog
  • Blog Index
  • Portfolio
  • Max 2022