Jason Hoppe Adobe Certified Expert & Adobe Certified Trainer
  • Home
  • Contact
  • Classes
  • Blog
  • Blog Index
  • Portfolio
  • Max 2022

Design Points n PixelS


Pointers and Connectors

4/27/2020

0 Comments

 
Picture
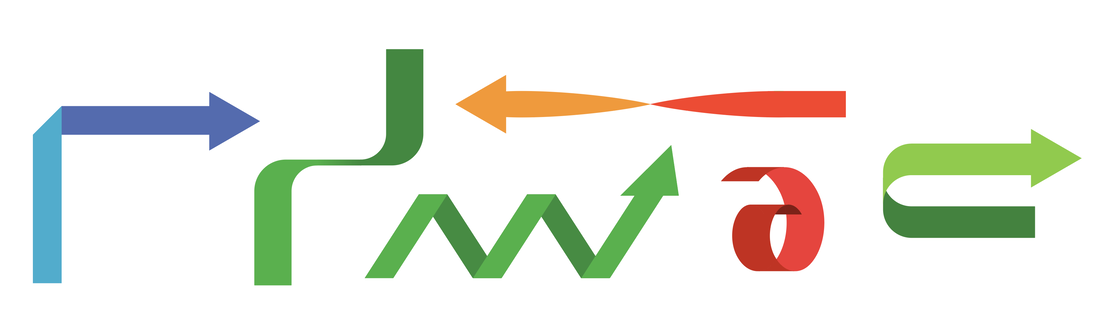
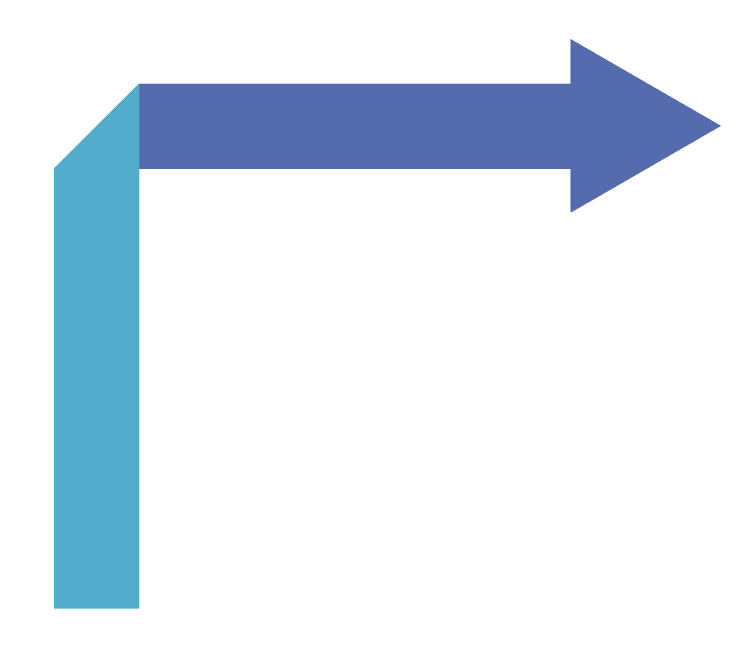
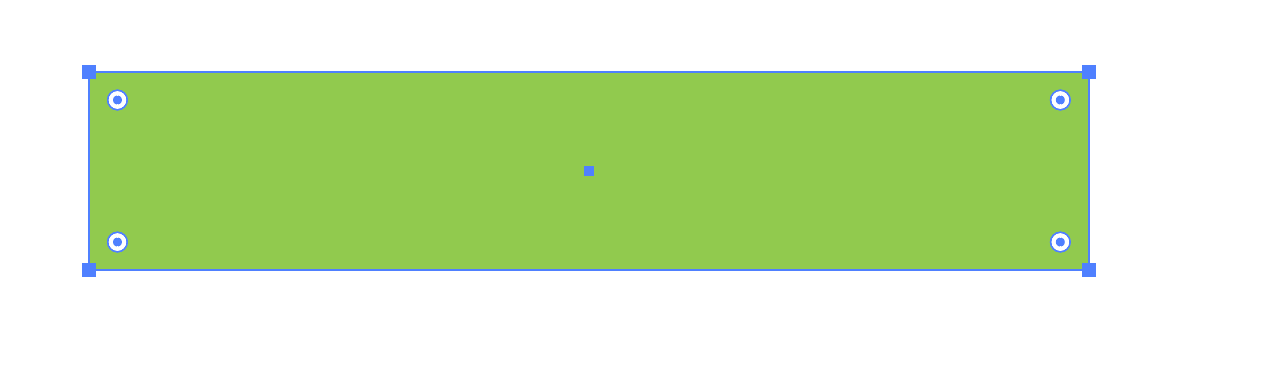
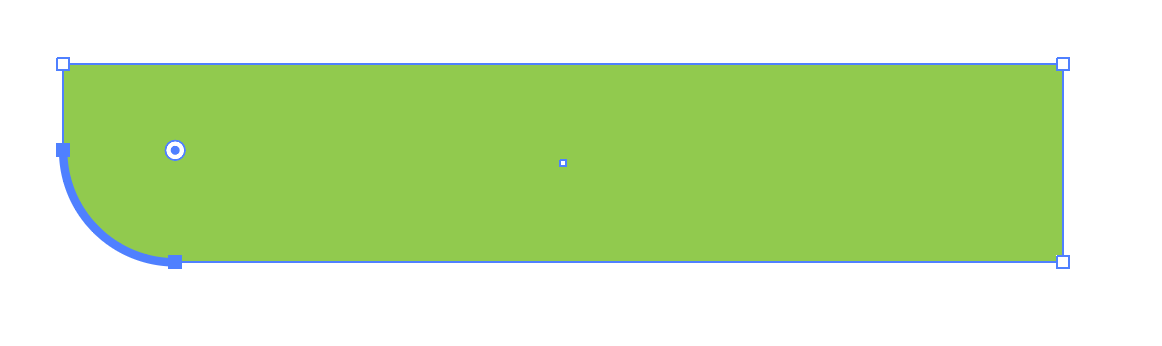
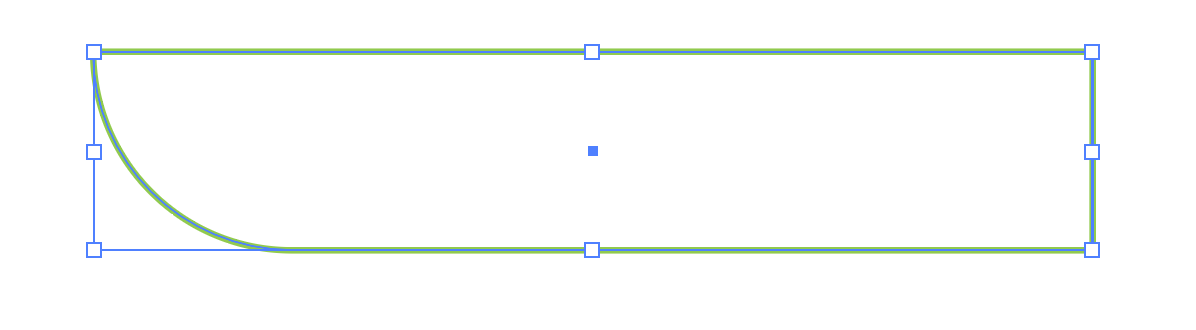
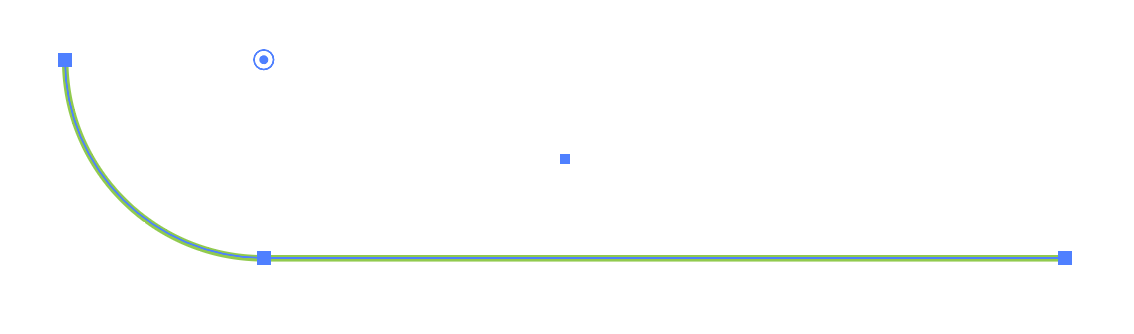
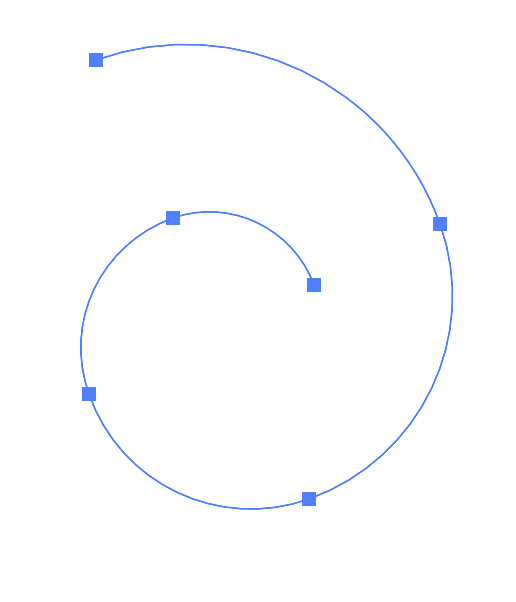
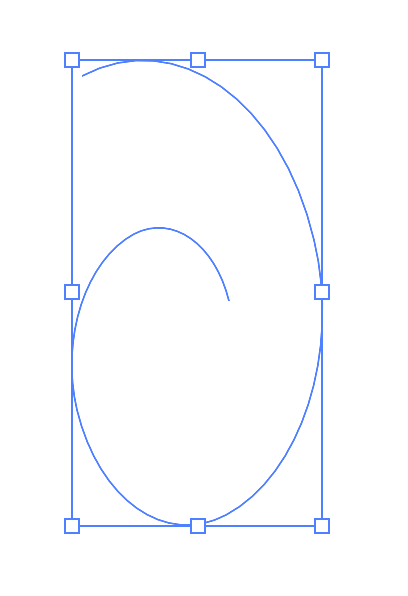
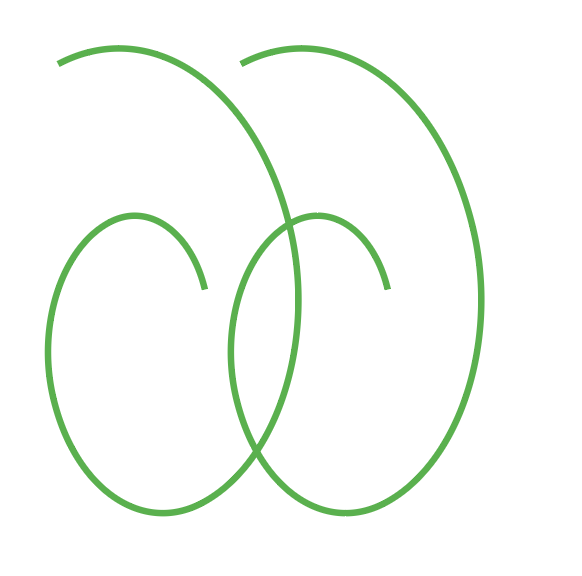
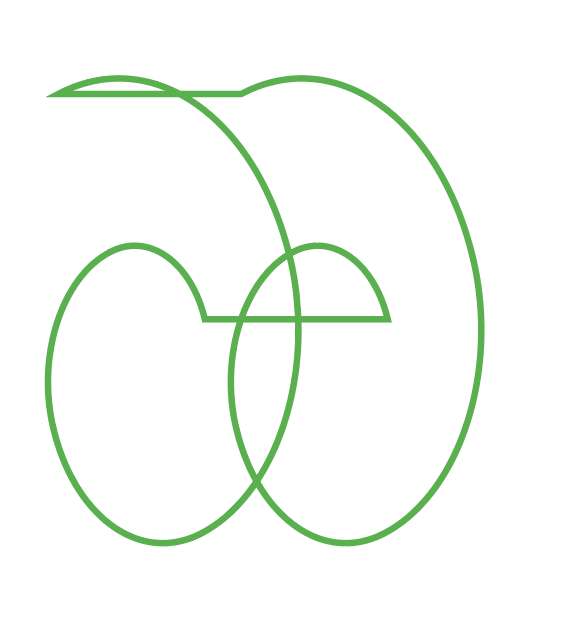
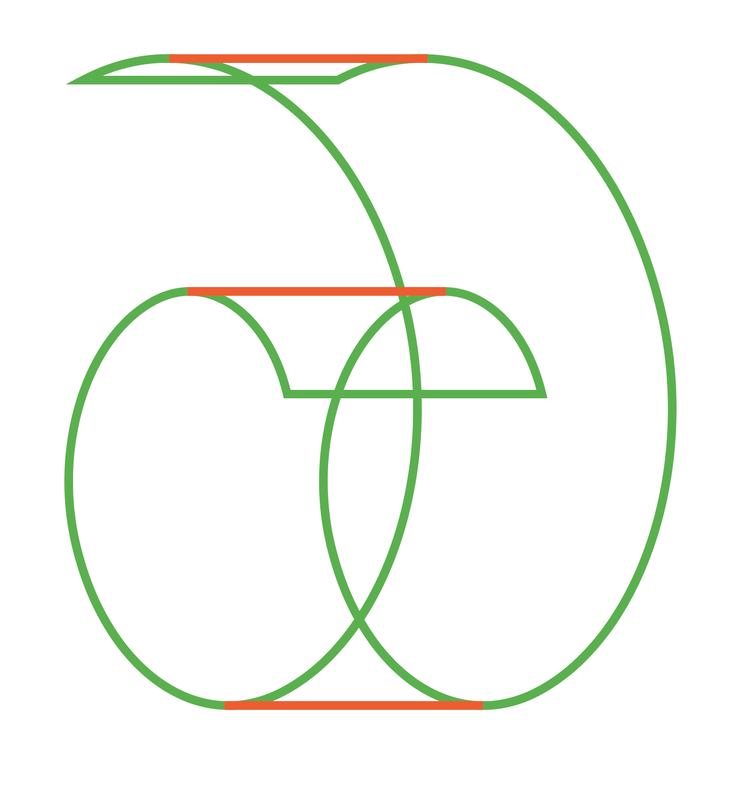
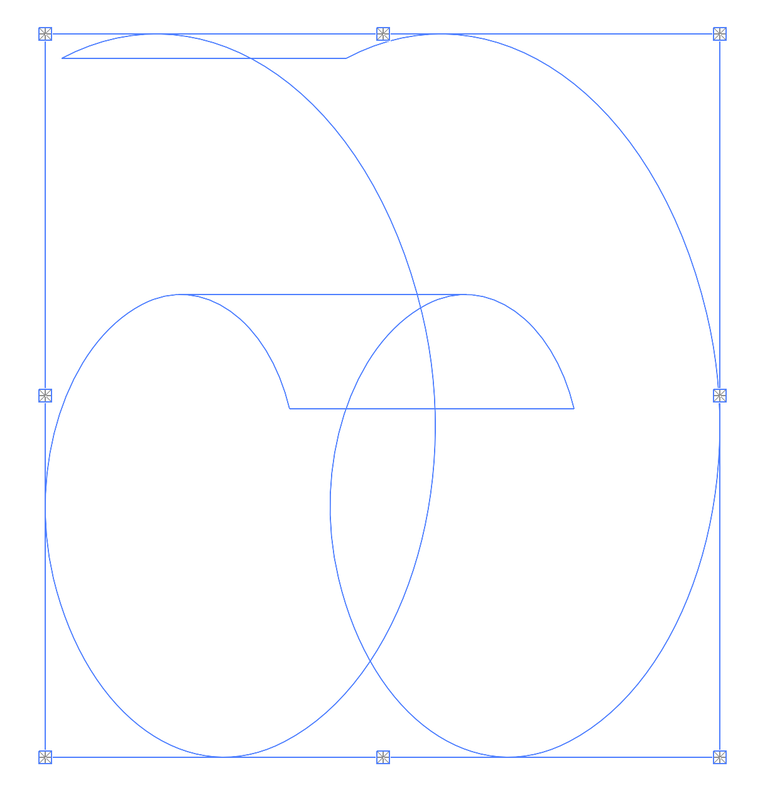
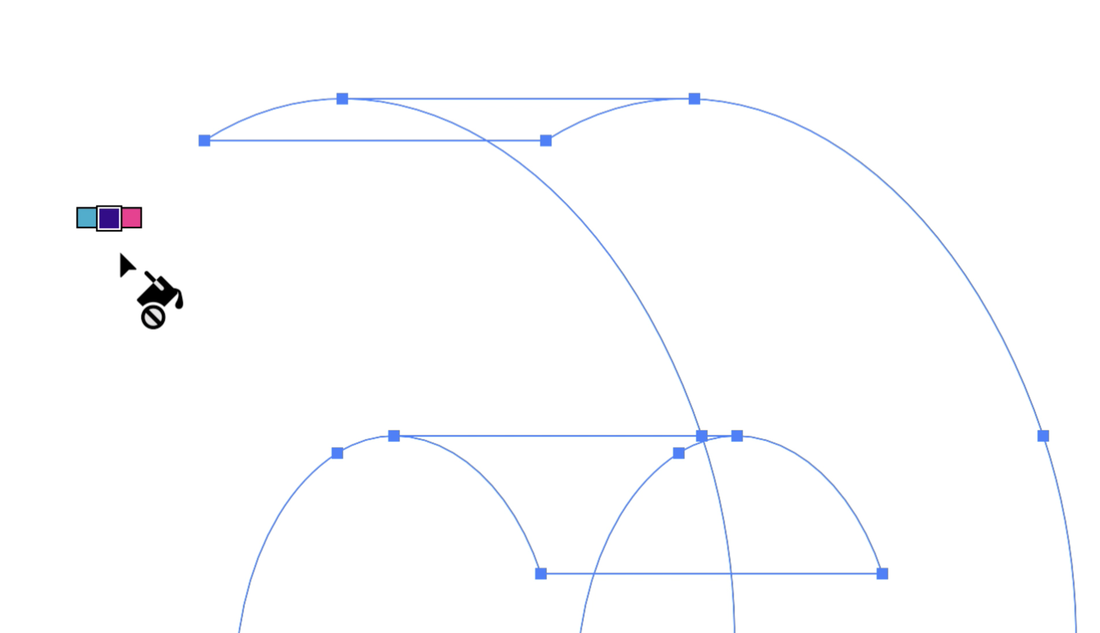
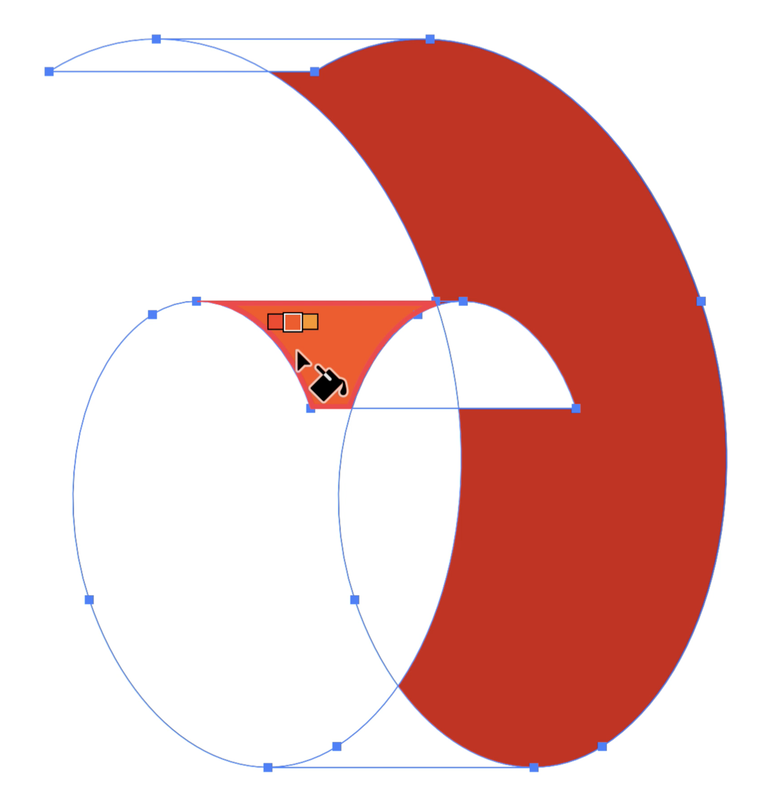
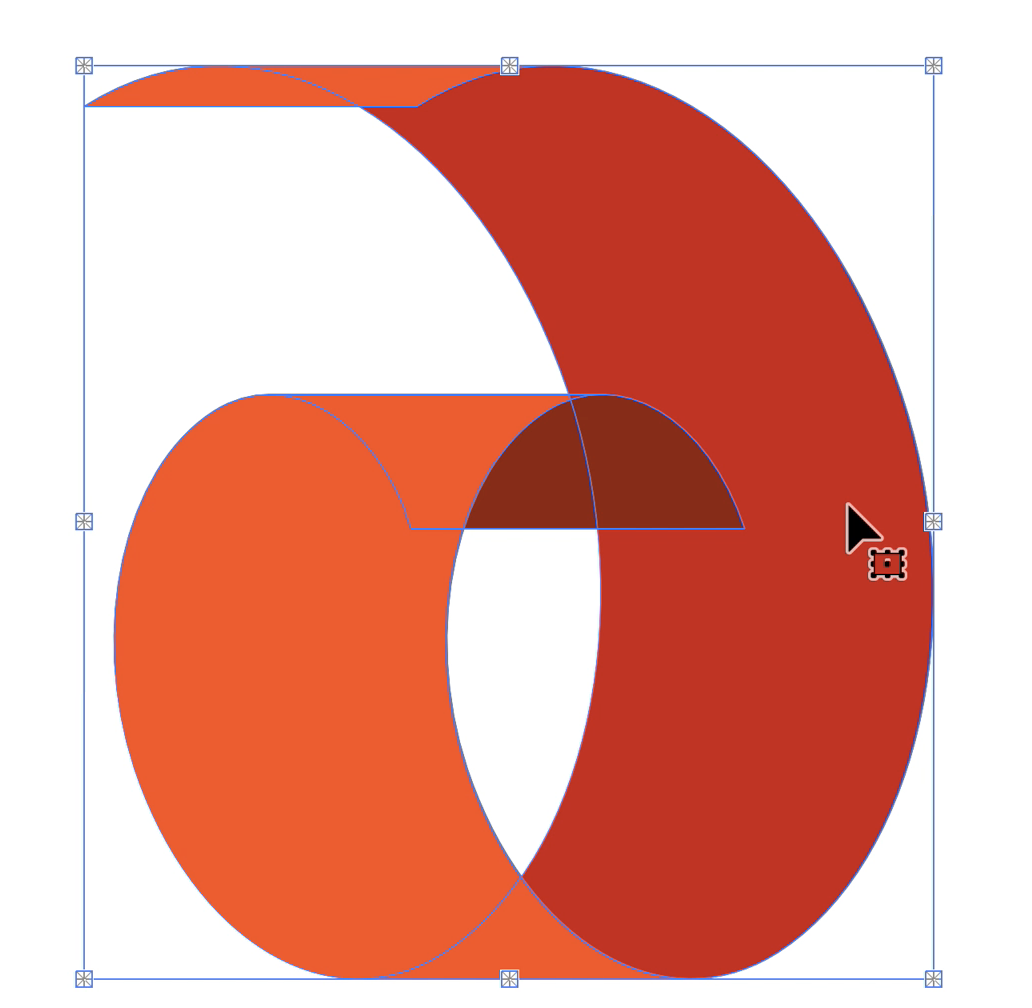
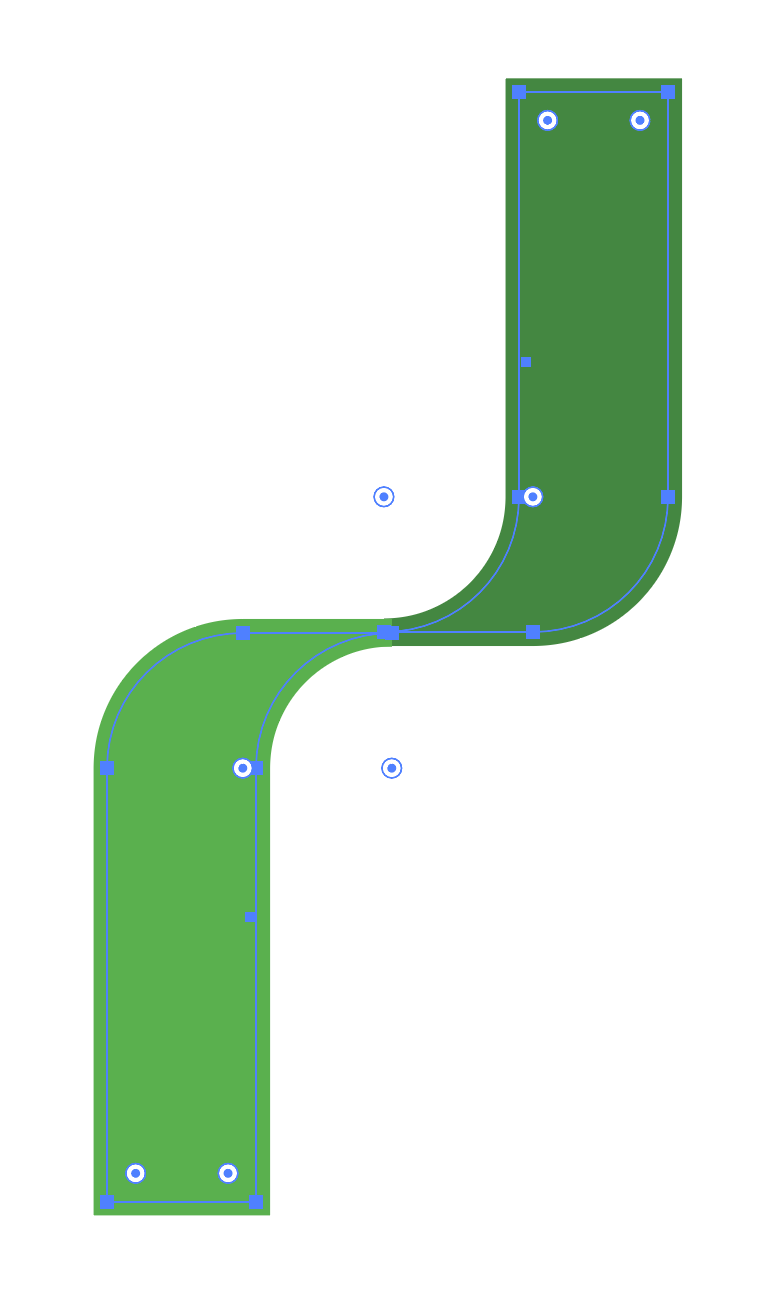
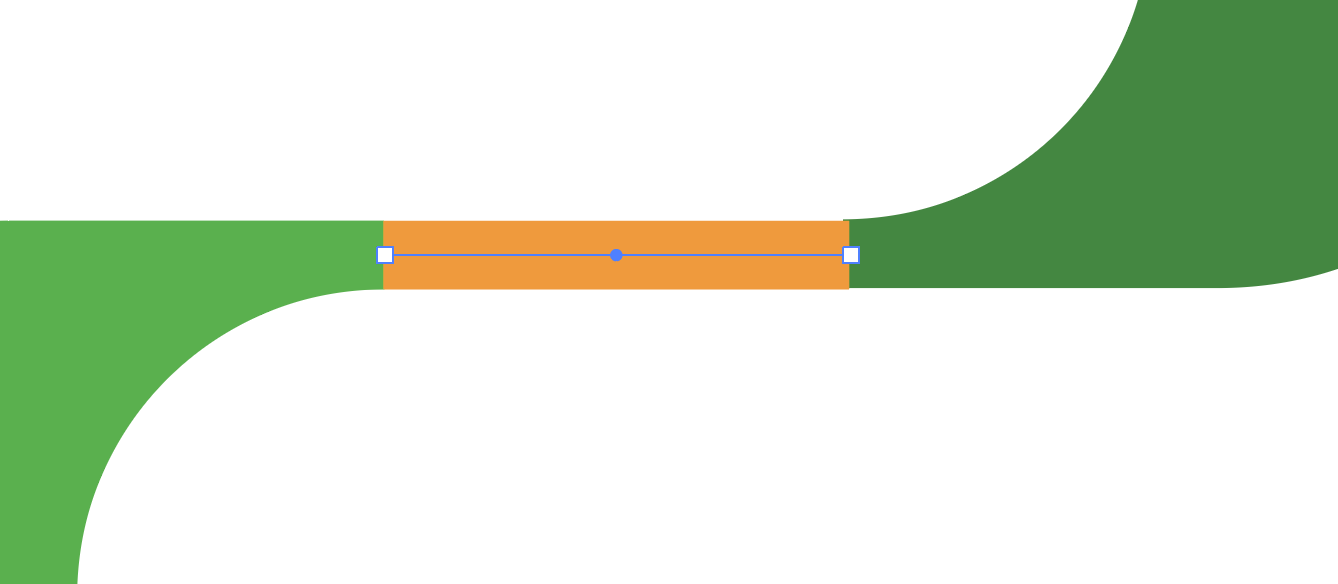
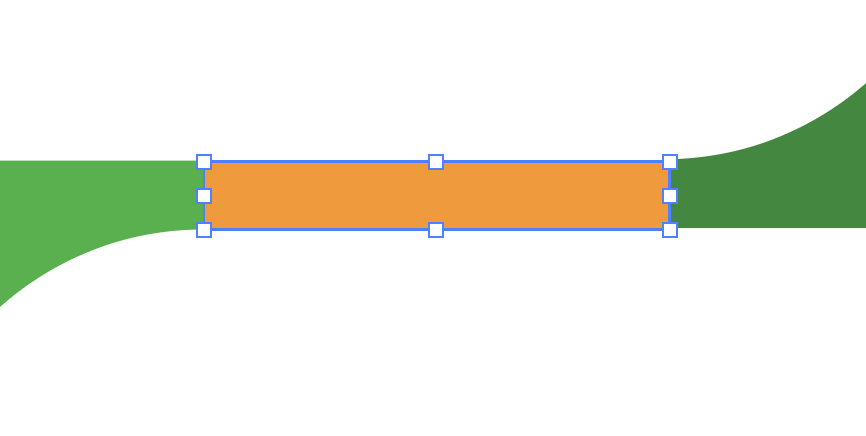
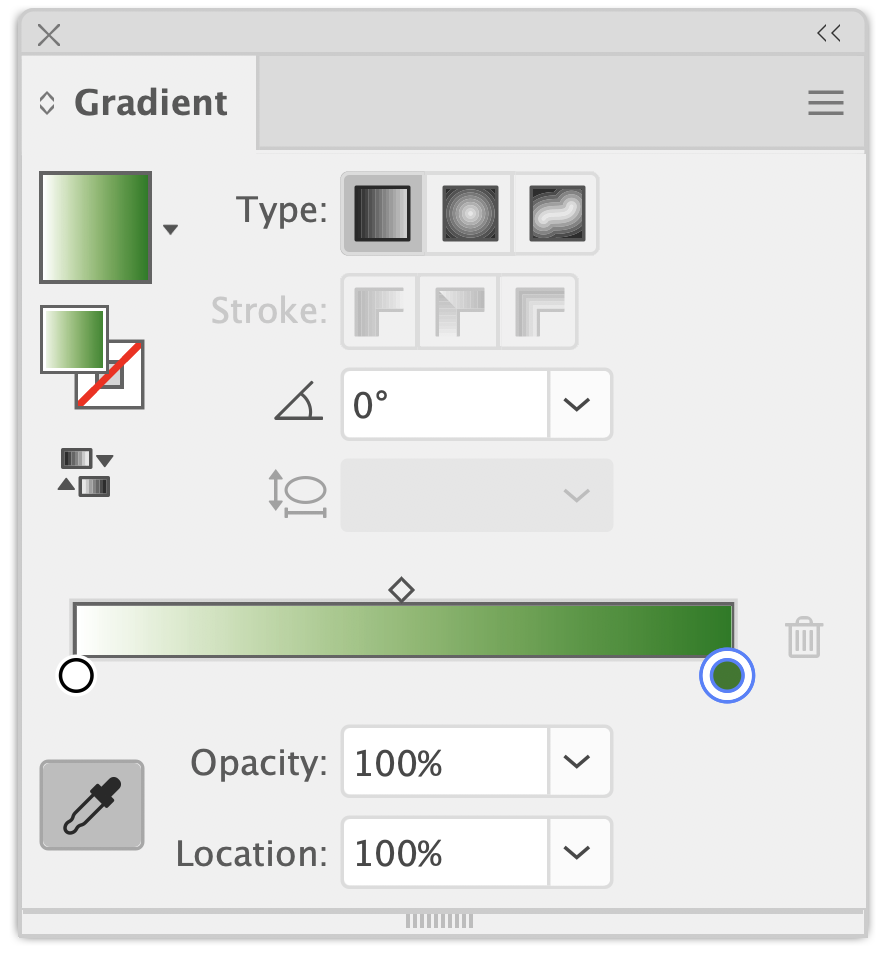
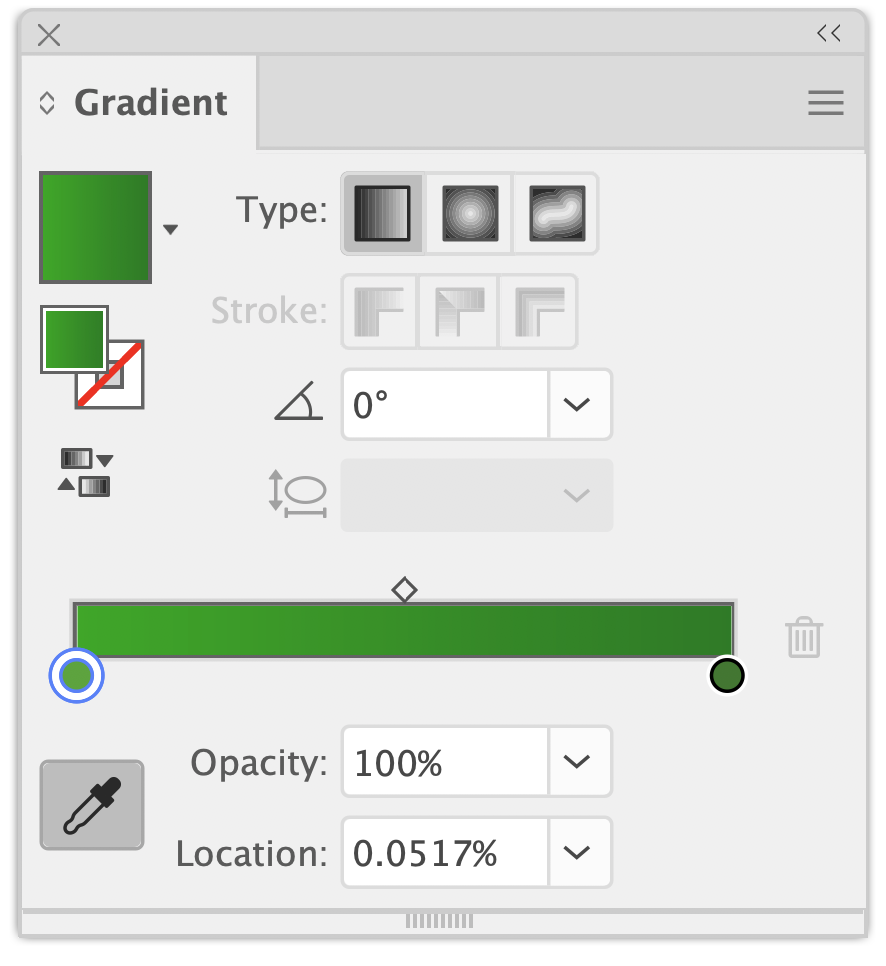
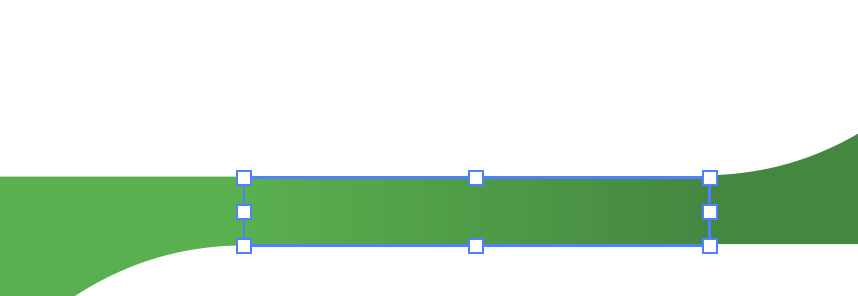
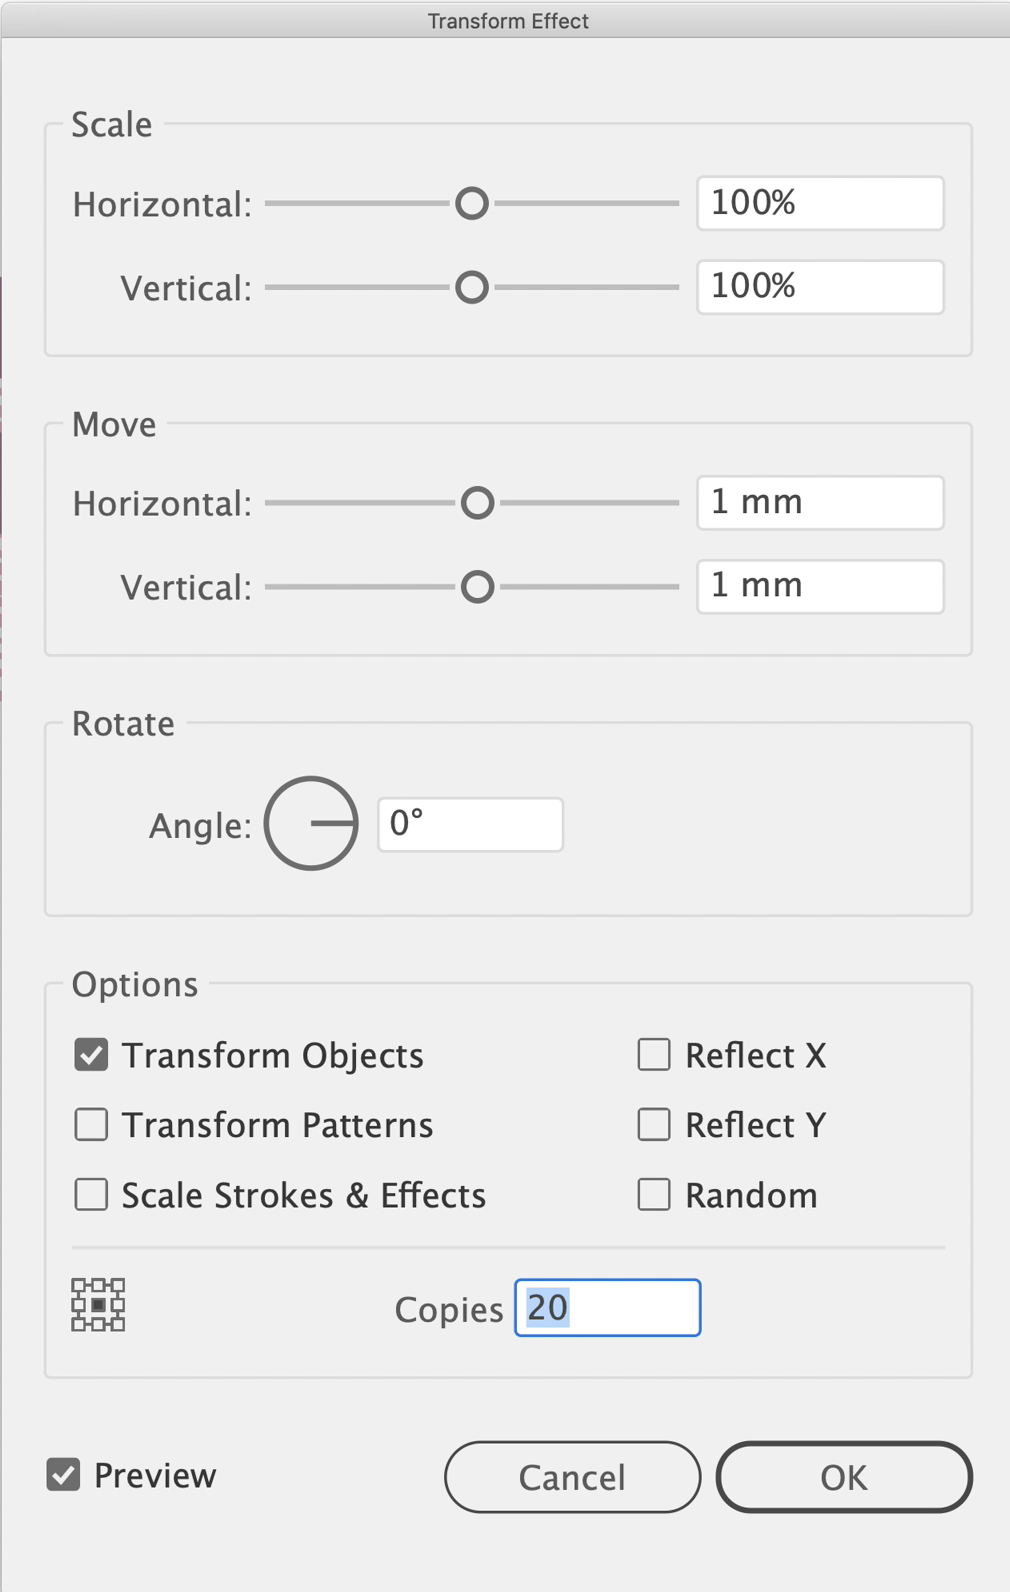
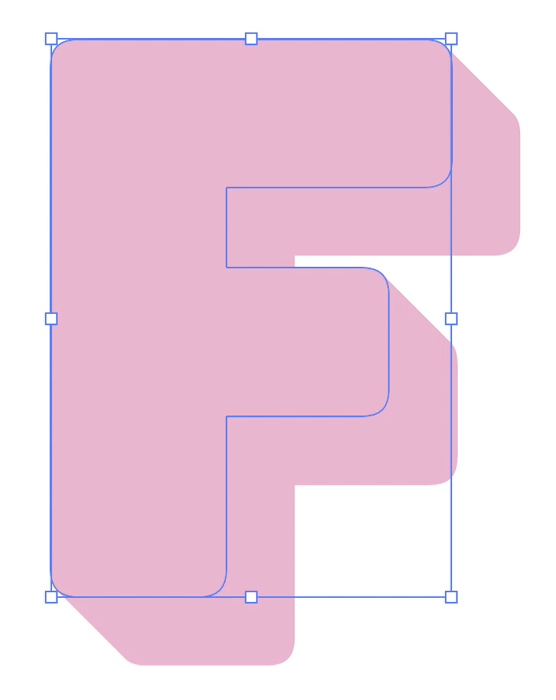
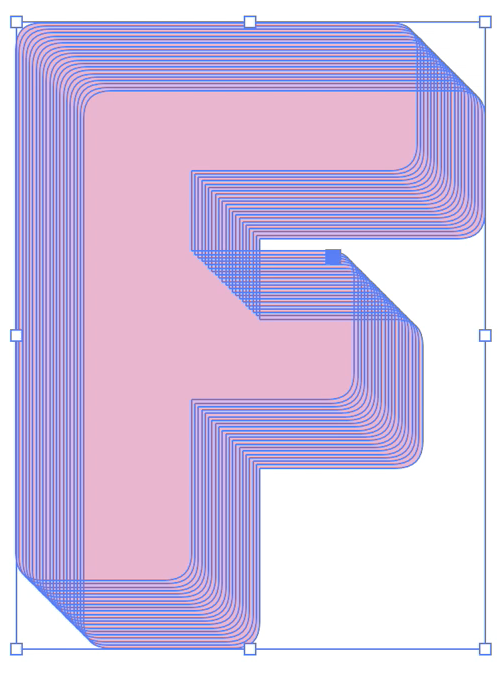
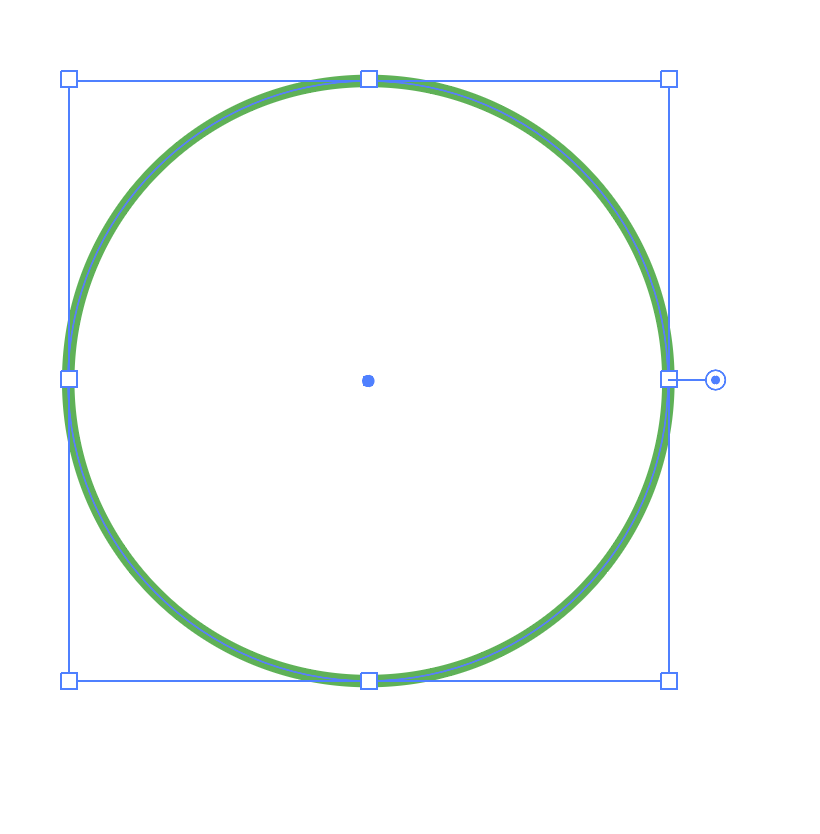
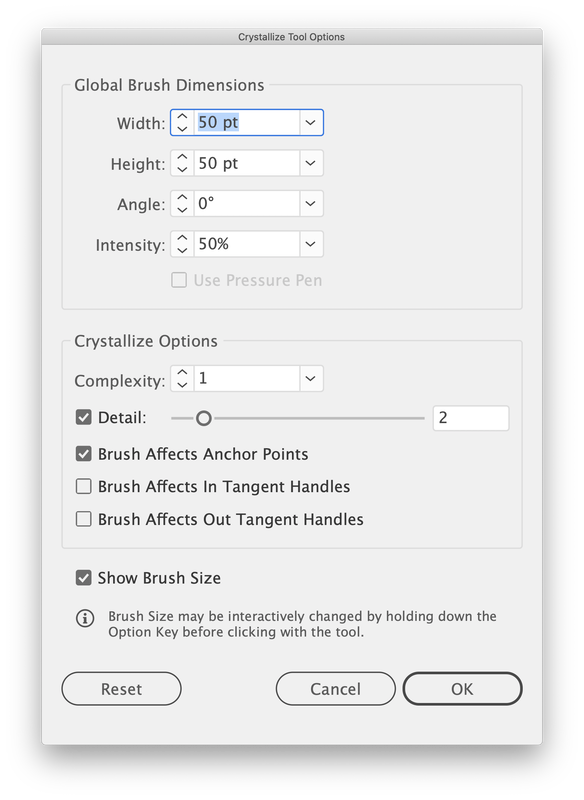
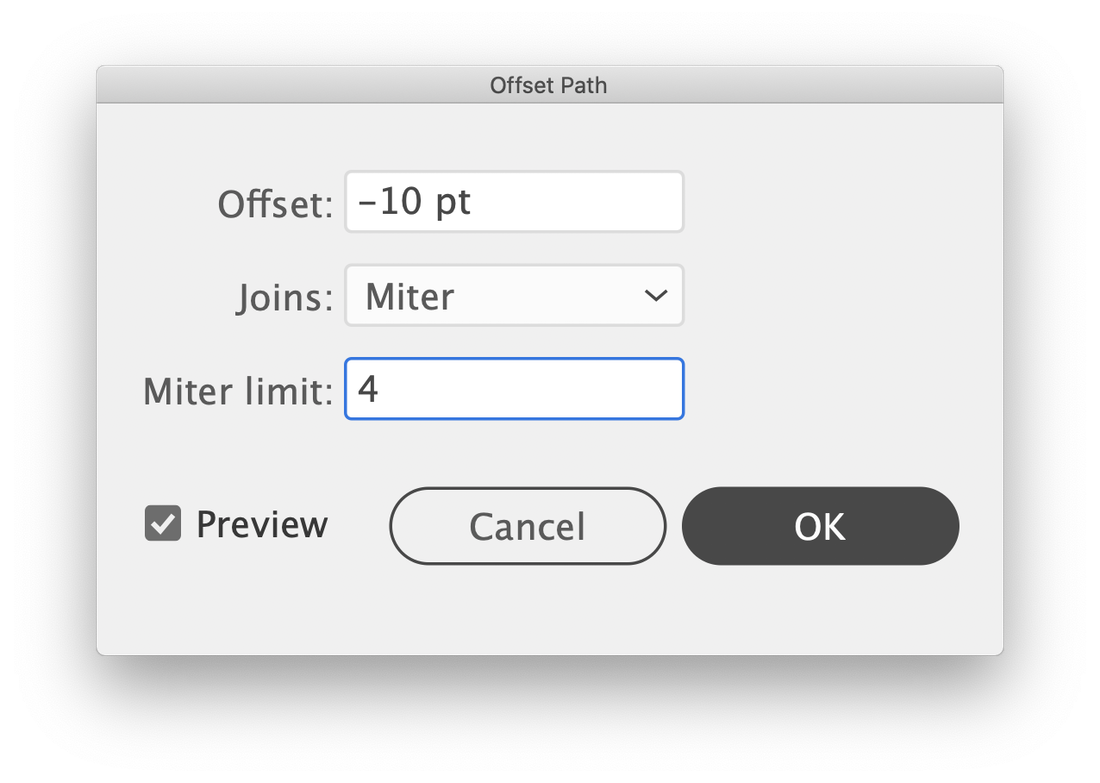
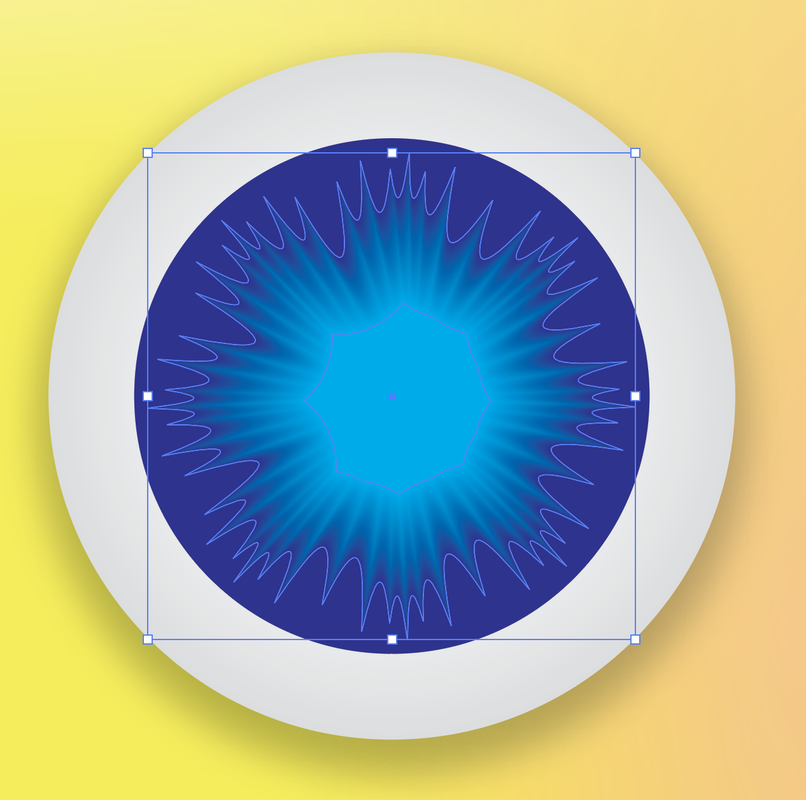
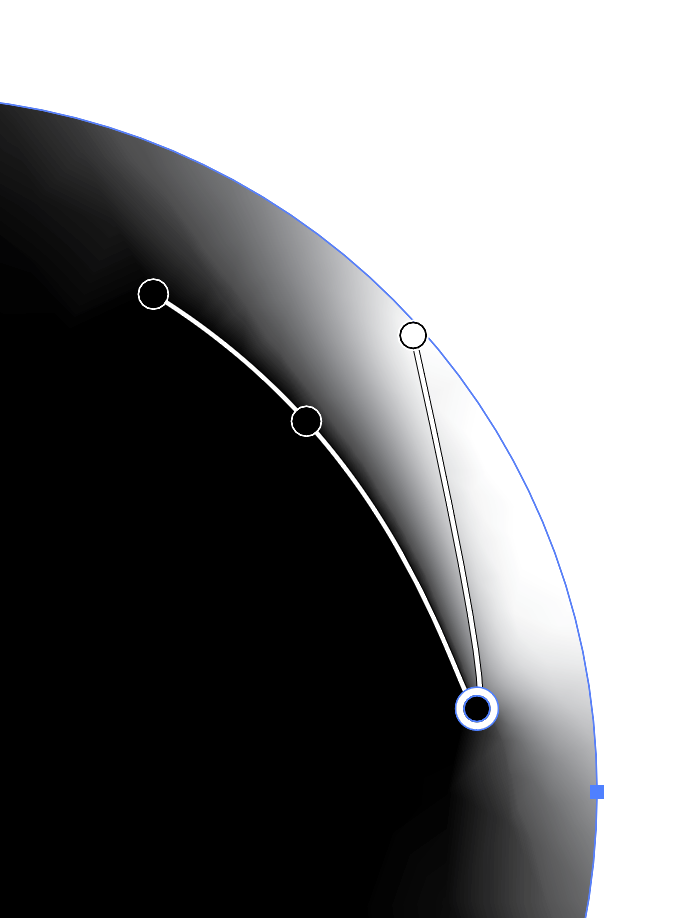
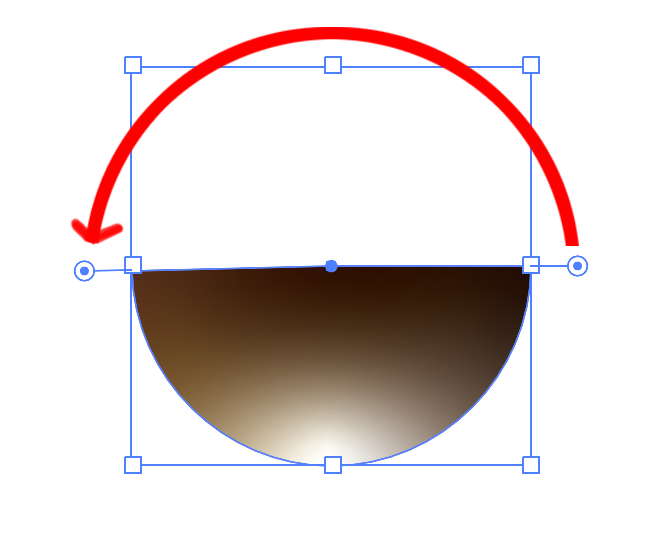
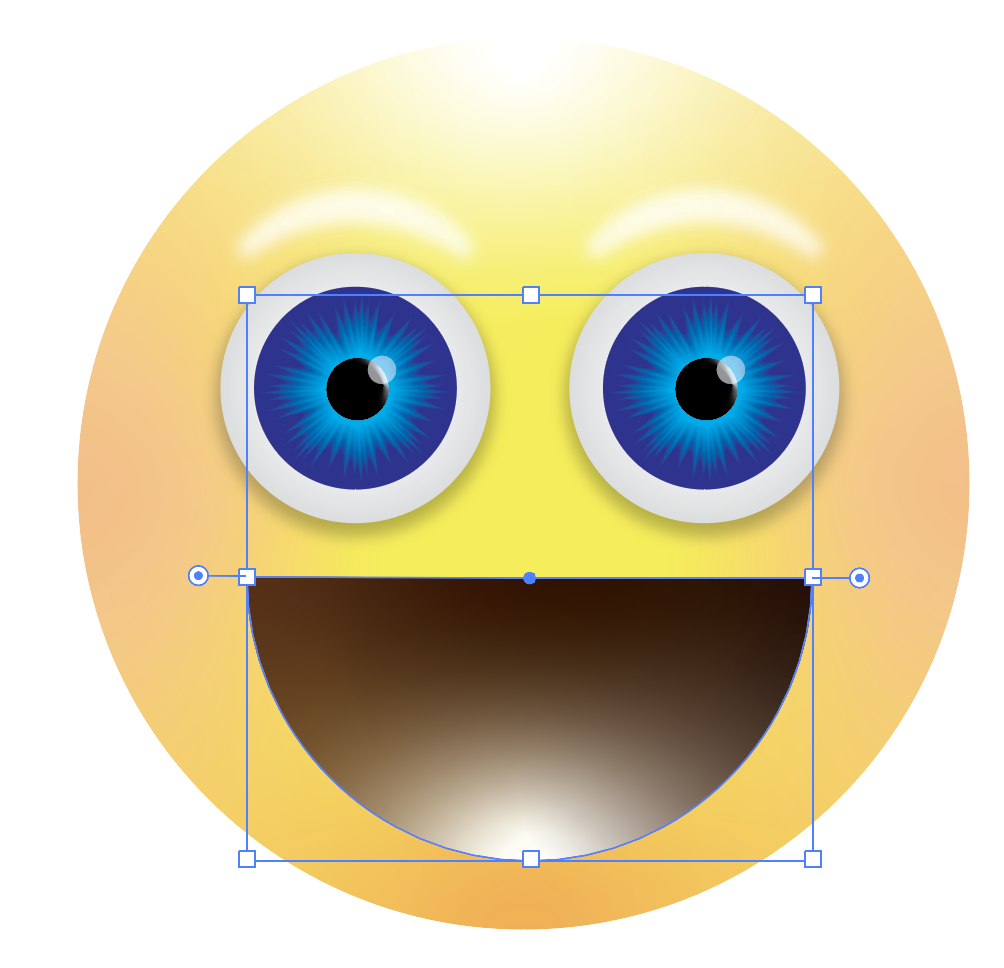
Creating infographics or instructions are made better by good arrows, pointers and connectors. Some of the clip art out there is just not good. So make your own pointers, connectors and create your own flow. See the complete video here on YouTube.

Picture
Start with a rectangle, add a fill, no stroke. 
Picture
Duplicate the rectangle, turn it 90° and fill it with a darker color.
Picture
Move the rectangles so the inner corners touch. Select the upper right corner of the rectangle with the Direct Selection Tool.

Picture
With the corner point selected, move the corner up to the top of the darker rectangle
Picture
This creates a nice fold effect. Add a polygon for an arrow head.
Picture
For this flip direction, it uses the same basic shapes as the first set. 

Picture
Start with a rectangle. 
Picture
With the Direct Selection Tool, select the lower left point the pull the corner widget in toward the center to its max widgetness.
Picture
With the Direct Selection Tool, select the upper right point.

Picture
Delete the upper right corner and that will remove the horizontal and vertical lines. 
Picture
Duplicate the line. 
Picture
Select both of the lines and choose Object > Path > Join. Do this step twice. You can use COMMAD/CTRL + J as a shortcut. Remove the stroke and add a fill to the shape. 

Picture
Duplicate and flip the shape on the Properties panel. Add a darker fill to one of the shapes. 
Picture
Move the shapes over each other at the tops to create this flip over effect. Add a polygon for the arrowhead. 
Picture
For the flip over effect, this is done with lines. 

Picture
Draw a lines, add a hefty stroke to it. 
Picture
Select the Width Shape tool, click on the right end and pull the edges in to create a point. 
Picture
Click on the center of the line with the Width Shape Tool and pull out from the center of the line to create a bow in the line. Choose Object > Expand Appearance to outline the path. 

Picture
Draw a rectangle to match the widest part of the shape. 
Picture
Select both shapes and use the Pathfinder Unite mode to join them together. ​
Picture
Copy and flip the shape. Add a darker color fill

Picture
Put an arrow head on the end and you hace the twist pointer.
Picture
For the zig zag, this is made of rectangles. 
Picture
Draw a rectangle, add a fill, no stroke. 

Picture
Select the Free Transform Tool. 
Picture
Select the top of the rectangle and shift it off to the side. 
Picture
Duplicate and flip the shape, add a darker fill color to the new shape. 

Picture
Repeat these sections.
Picture
At the end, draw a polygon for the arrow head. 
Picture
Select the Free Transform Tool and skew the top of the arrow to match the angle and direction of the lines. 

Picture
Send the darker lines to the back to make it look like they are behind the lighter lines. Choose Object > Arrange > Send to back on the dark ones. 
Picture
This is the paper roll. Looks complicated... there is some skill required for this. 
Picture
Select your Spiral tool and draw a spiral. Use the p/down arrow keys to make 5 segments. 

Picture
Or click on the document with the Spiral tool if you want to set the settings instead of using the shortcuts while drawing.
​
Picture
Select the spiral and reduce the width of the overall shape. 
Picture
Duplicate the spiral directly to the side. I added strokes to see the steps, in the end we will remove the stroke. 

Picture
Select both shapes and choose Object > Path > Join. Do this twice to close the shapes. 
Picture
Draw lines and the top, bottom and center top. These will not join, these are just lines that will define the area once we get into the Live Paint Mode. 
Picture
Select all the shapes and lines, remove the stroke on all. Choose Object >Live Paint > Make. The selection will now show the pull handles with snowflakes in them, this is LivePaint mode.

Picture
Choose the Live Paint Bucket Tool  (K). This is the only way to fill in these areas. in the upper left of the Paint Bucket icon is your swatches that mimic the swatches panel. Use you left/right arrows to scroll through the colors while the Live Paint Bucket Tool is active. 
Picture
Choose a color and begin to fill in the sections with color. Refer back the initial image in this section to see how this is to be filled, this can make your brain hurt, trying to figure out how this curves.
Picture
In the end, you will have the darker areas inside the curl, lighter on the outside. This can remain in Live Paint mode or can be converted back to shapes by choosing Object > Live Paint > Expand. 

Picture
For the cross over, we are using the components of the flip. 
Picture
With the two legs of the flips, we can make this crossover effect. 
Picture
Flip the darker color shape. 

Picture
Line up the shapes at the tips. 
Picture
Add a stoke to each shape with the corresponding fill color. I made this a 5 pt stroke. 
Picture
Move the shapes apart.

Picture
Draw a line in between the tips. Make the weight the same as the outline of the shapes. 
Picture
Choose Object > Expand to outline the line. 
Picture
Open the Gradient Panel. Double click on the black gradient stop (dot). Click on the Eyedropper tool in the lower left of the Gradient Panel, then click on the right leg of the shape to sample the color. 
Picture
Repeat this process with the left color stop dot. Select the color from the lighter green leg.
Picture
The result is a gradient bridge that can be adjusted in with how ever far apart or close together you want the legs. 
Picture
And your cross over is done. 
0 Comments

Slip Shadow Effects

4/20/2020

0 Comments

 
Create cools slip shadow effects with all types of characters. See all the different options you can create with this slip shadow effect  here on my YouTube Channel.
Picture
Picture

Picture
Start with a letter. Choose a character that you want to create a slip shadow on.
Picture
Choose Type > Create Outlines to outline the type. This tutorial won't work on active type. Duplicate the letter and perform the next step on the duplicated character. 
Picture
Choose Effect > Distort & Transform > Transform. Set the Move: Horizontal & vertical offset to 1mm or 1 pt. This offset the shape to the right and down. Set the number of Copies to create the slip shadow effect. Click OK. 

Picture
This is the result of the Transform Effect.
Picture
Choose Object > Expand Appearance to break this into shapes. 
Picture
Choose the Unite mode in the Pathfinder panel to create one single frame that is the slip shadow.

Picture
To create the slip shadow lines, draw a line. 
Picture
Choose Effect > Distort & Transform > Transform. Set the offset to 5mm or 5 pts. This offset the line to the down create a set of lines. Set the number of Copies to 80. Click OK. 
Picture
This is the result of the Transform Effect. Make a duplicate of this so you can edit it for other effects.

Picture
Select the slip shadow frame and set the fill to none. Click on the Draw Inside Mode at the bottom of the tool bar. 
Picture
Copy the set of lines, paste them into the slip shadow frame. Click on the Draw Normal mode to return to editing. 
Picture
Select the original letter you outlined, fill it with a color and position. it on top of the slip shadow.

Picture
With your duplicated set of lines, you can add other effects to the lines.
Picture
Select the lines and choose Effect > Distort & Transform > Zig Zag. You can create this wavy effect on the lines.
Picture
To add this new slip shadow effect to the slip shadow frame, duplicate the slip shadow frame, choose Object > Clipping Mask > Release. This will release the lines "clipped" inside the shape. Then delete the lines
Picture

Picture
Click on the slip shadow frame and then click on the Draw Inside Mode. If the Draw Inside is not available, that means the clipping mask has not been released. See the last step to release the clipping masks, then you can use the Draw Inside. 
Picture
Paste the new set of wavy lines inside the slip shadow frame. Click on the Draw Normal mode when done. 
Picture
Nice job!
0 Comments

Decorated Easter Egg

4/12/2020

0 Comments

 
Here is a simple and fun way to create a pattern and wrap it on an egg using the 3D feature in Illustrator. Faster than decorating the real thing and the design possibilities are endless. 
Picture

Picture
Create a pattern that you want to wrap around the egg. This one starts with triangles. 
Picture
Add more colors and shapes. 
Picture
Add some circles, you can do fills and strokes and try different combinations. 

Picture
Try different colors. 
Picture
Add some lines and use the Effects to make them wavy. 
Picture
Select all the shapes and make sure the are expanded. This will not work if there are lines or effects. Choose Object > Expand Appearance (if there are effects) the choose Object > Expand to outline all the paths. 

Picture
Open the Symbols panel from the Window Menu. Select the expanded shapes and drag them into the Symbol Panel. Name the symbol and click OK. 
Picture
The graphic will now show up in the Symbols Panel, ready to be mapped to the egg. 
Picture
Create an egg by starting with a circle. 

Picture
Select the top point with the Direct Selection Tool and move the top point up to create the egg. 
Picture
Select the left point with the Direct Selection Tool and delete it, leaving half the egg. Set the stroke color to the color you want the egg to be. 
Picture
Choose Effect > 3D > Revolve. This will create a 3D egg. Click on the Map Art… button.

Picture
From the Map Art dialog box, choose the Symbol from the menu that you want to map to the egg. Move the symbol the the light gray area on the mapped area. Scale it to fit the egg. Click OK. 
Picture
The end result will be the artwork mapped to the egg. 
Picture
If you need to edit the 3D artwork, open the Appearance panel and click on the 3D Revolve link to open the 3D panel again. 
0 Comments

Create an Emoji

4/6/2020

0 Comments

 
Have some time on your hands? Want to express how you feel? Then you can create an emoji of how you feel!
Picture
Picture

Picture
Start with a circle. 
Picture
Open the Gradient Panel on click on the Freeform Gradient Icon next to the Linear and Radial icons. 
Picture
Dots will appear on the circle and they may not be any color that you have chosen, but you can change that and move the dots around. 

Picture
Move the dots so there is one top, bottom, left, right and center. In the center dot, double click and make that yellow. The top and bottom dots, double click and make those very light. On the left and right dots, double click and make those more of an orange-red like blushing cheeeks.
Picture
Add a circle for the base of the eye. 
Picture
Make it a radial gradient fill with white in the center going to about a 20% gray at the edges. 

Picture
Inside that gray circle, add a dark blue circle. Then add a smaller, lighter blue circle. 
Picture
Select the Crystalize Tool that is nested in under the Width Tool. Double click on the Crystalize Tool to open the preferences. 
Picture
In the Crystalize Tool preferences, set the size of the tool to be slightly larger than the small blue circle. Click OK. 

Picture
Select the blue circle then click on it with the Crystalize Tool. Do this a few times to get the Crystalize look. I did this 3 times to make it look like this. The Crystalize shape may be bigger than the dark blue circle so you may need to scale it down. 
Picture
Select the Crystalize shape, the go to Object > Path > Offset Path. Set the offset to -10 then click OK. 
Picture
This will create a smaller shape in the middle. 
Picture
Select the large blue circle the Crystalized shape and the smaller shape inside that as well. Go to Object > Blend > Make. This will blend the colors in a smooth look. 

Picture
Create a black circle in the center of the eye. Click on the Free gradient in the Gradient Panel and add 3 dots as show with a black fill and one with a white fill at the edge.
Picture
Click on the Lines button in the Gradient Panel when you are in Freeform Gradient mode. Then click on the dots as shown to connect them together to create a gradient blend. This gives a highlight effect at the edge of the circle. 
Picture
Picture
This is the result of the Freeform gradient, adding a highlight to the edge of the black circle. 

Picture
Add another circle, filled with white, opacity at 20%. Move it off to the upper left of the center part of the eye to create a specular highlight. 
Picture
Create an arc above the eye, heavy white stroke. 
Picture
Use the Width Tool to select the center and pull the arc wider in the middle, leaving the ends thinner. 


Picture
Choose Effect > Blur > Gaussian blur and blur the eye brow.
Picture
Duplicate the eye and the eyebrow to the other side. 
Picture
For the mouth, create a circle. In the Gradient Panel, create a Freeform gradient. Add two points in the upper part filled with brown, one point on the lower part filled with white. 

Picture
Duplicate the circle over Itself by about 25%. Choose the Minus Front Mode in the Pathfinder Panel to leave the upper crescent. 
Picture
Move that upper crescent over the mouth and set the opacity to 30% and add a blend mode of Multiply. 
Picture
Picture
To create a happy face, duplicate the round mouth and grab the handle that comes out the right side of the circle. Swing it around to the left to create a half-circle. 

Picture
Place it on a copy of the emoji and scale it larger. 
Picture
With the Curvature tool, click on the the center top line and pull it down a bit. 
Picture
Then, double-click on the center top point to curve the line. 

Picture
For a tongue, create two red-orange circles. Use the Pathfinder Unite mode to merge them together. 
Picture
Duplicate the mouth shape, remove the fill color. Click on the Draw Inside mode at the bottom of the Tool bar. Copy the tongue, paste it into the mouth shape and scale and position it as shown. When complete, click on the Draw Normal mode. 
Picture
Position the mouth with the tongue on top of the mouth. Move the eyes closer together to create a happy face!
0 Comments

    RSS Feed

    Archives

    March 2021
    February 2021
    December 2020
    September 2020
    August 2020
    July 2020
    June 2020
    May 2020
    April 2020
    March 2020
    February 2020
    January 2020
    December 2019
    November 2019
    October 2019
    September 2019
    August 2019
    July 2019
    June 2019
    May 2019
    April 2019
    March 2019
    February 2019
    January 2019
    December 2018
    November 2018
    October 2018
    September 2018
    August 2018
    July 2018
    June 2018
    May 2018
    April 2018
    March 2018
    February 2018
    January 2018
    December 2017
    November 2017
    October 2017
    September 2017
    August 2017
    July 2017
    June 2017
    May 2017
    April 2017
    March 2017
    February 2017
    January 2017
    December 2016
    November 2016
    October 2016
    September 2016
    August 2016
    July 2016
    June 2016
    May 2016
    April 2016
    March 2016
    February 2016
    January 2016
    December 2015
    November 2015
    October 2015
    September 2015

    RSS Feed

Proudly powered by Weebly
  • Home
  • Contact
  • Classes
  • Blog
  • Blog Index
  • Portfolio
  • Max 2022