Jason Hoppe Adobe Certified Expert & Adobe Certified Trainer
  • Home
  • Contact
  • Classes
  • Blog
  • Blog Index
  • Portfolio

Design Points n PixelS


Isometric Construction

7/29/2019

4 Comments

 
Isometric drawing is way of presenting designs/drawings in three dimensions. In order for a design to appear three dimensional, a 30 degree angle is applied to its sides. Here is how easy it is to set this up and create!
Picture

Picture
To make creating isometric drawing easier, set up your Construction Guides to be at 30°. Do this under the Preferences>Smart Guides. Turn on the Construction Guides check box and add 30 and -30 into the fields. 
Picture
Using the Line Tool, draw a line and rotate it -30° in the Transform or Properties panel. 
Picture
Select the line then OPTION (ALT) click and drag the line down a bit. Use COMMAND + D to duplicate the line several times.

Picture
Select all the lines and use the Flip icon in the Properties Panel to flip the set. Move the lines over each other to create a 30° grid.
Picture
Select all the lines and choose View>Guides>Make Guides. This takes all the lines and turns them into a grid structure to allow points and lines to snap to them.
​Make sure your Smart Guides are on, your Guides are visible and the Snap to Point is turned on. All of these are under View>Guides.
Picture
The easiest way to draw isometric panels or shapes is with the Pen Tool. The points will snap right to the grid and the Smart Guide hints will show you when the points snap.

Picture
To draw anything flat, follow the grid and complete the shape. 
Picture
To draw a vertical panel, you will need to follow the lines top and bottom, then create vertical lines. 
Picture
These basic horizontal and vertical shapes will be used to create many different constructions.

Picture
When creating the panels, if there is a Stroke applied, the corners will be sharp and create odd points.
Picture
Set the shapes to have rounded corner strokes in the Stroke panel. This only applies to a stroke, not the shape. 
Picture
This only applies to a stroke, not the shape and solves the problem with a stroked object having odd overlapping corner points.

Picture
Duplicate the panels and send them backwards to create the outer back panels.
Picture
Duplicate the side panels to create the roof panels. Draw a vertical line from the center of the front panel up past the rood point.
Picture
Use the Direct Selection Tool to select the top path of the roof panel and move it until the corner touches the vertical line. 

Picture
Use the Direct Selection Tool to select the top path of the back roof panel and move it until the corner touches the vertical line. Delete the line when done. 
Picture
Select the shapes and select the Shape Builder Tool (Shift+M). With the Shape Builder Tool, drag across the three shapes to create one shape.
Picture
Fill the shape with a color and you have the end panel of the house.

Picture
Another way to create shapes is to draw them shape then use the Skew Tool to skew it 30° horizontally or vertically.
Picture
With the shape selected, select the Skew Tool and double-click on the skew Tool to call up the dialog box. Click the Preview button to see what is Changing. Set the shear angle to 30° or -30° and click on horizontal or vertical shear to get the anlge desired. 
Picture
This is how you can add windows and doors without drawing and snapping to the grid. 

Picture
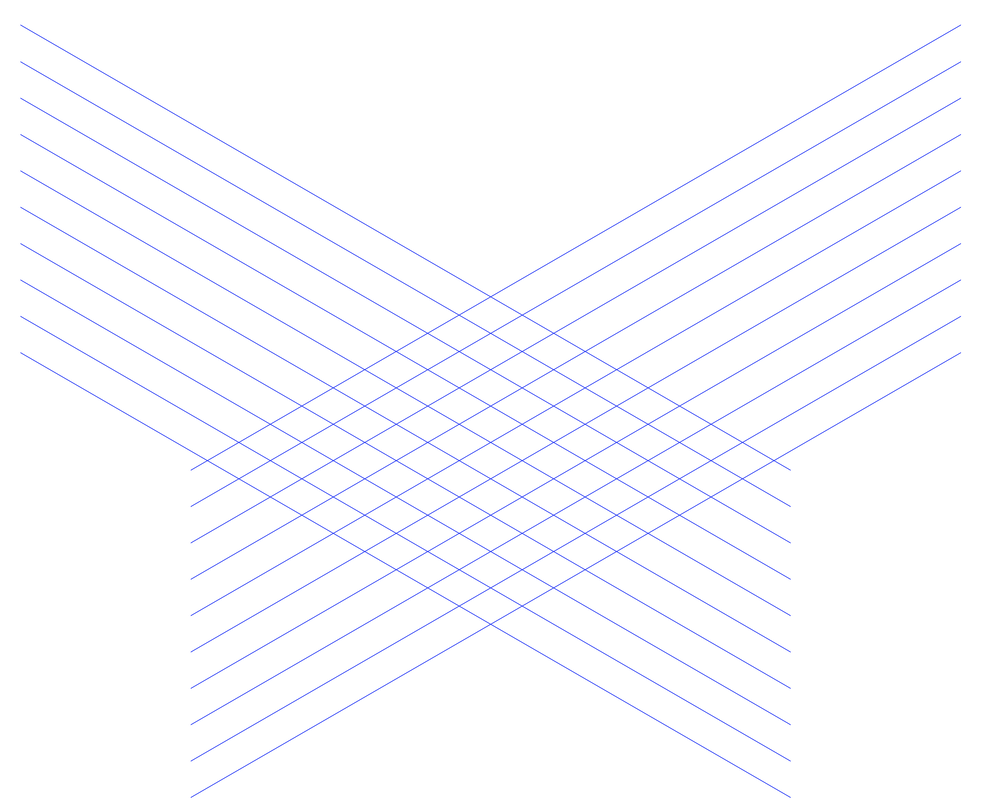
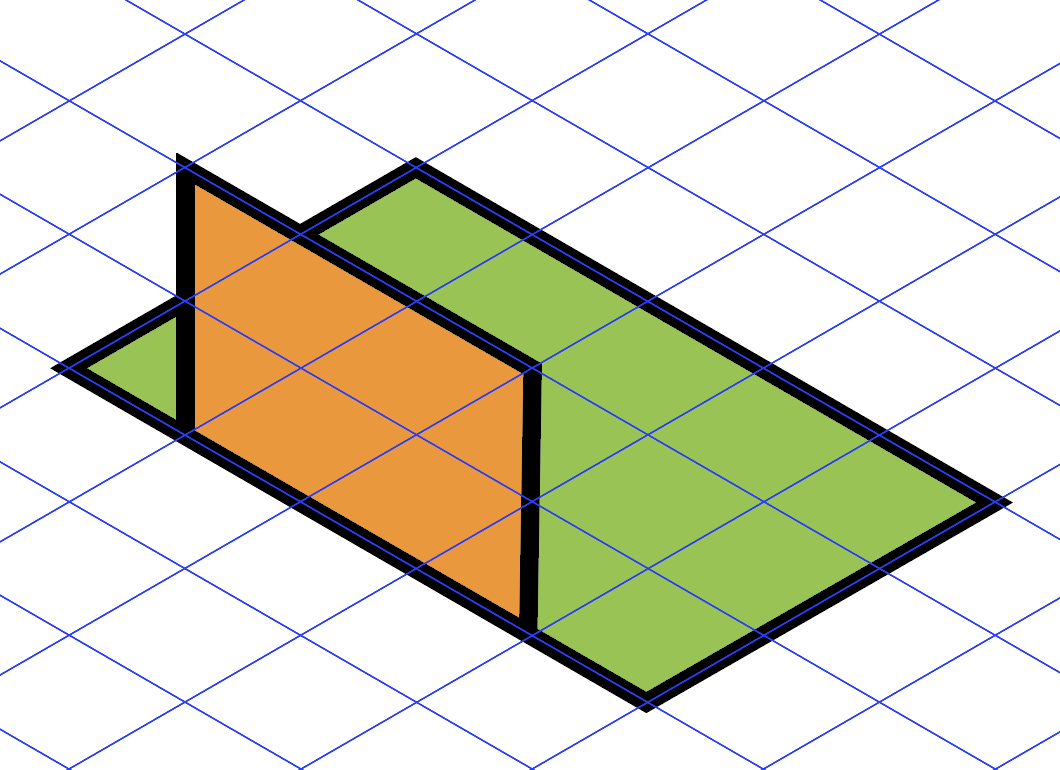
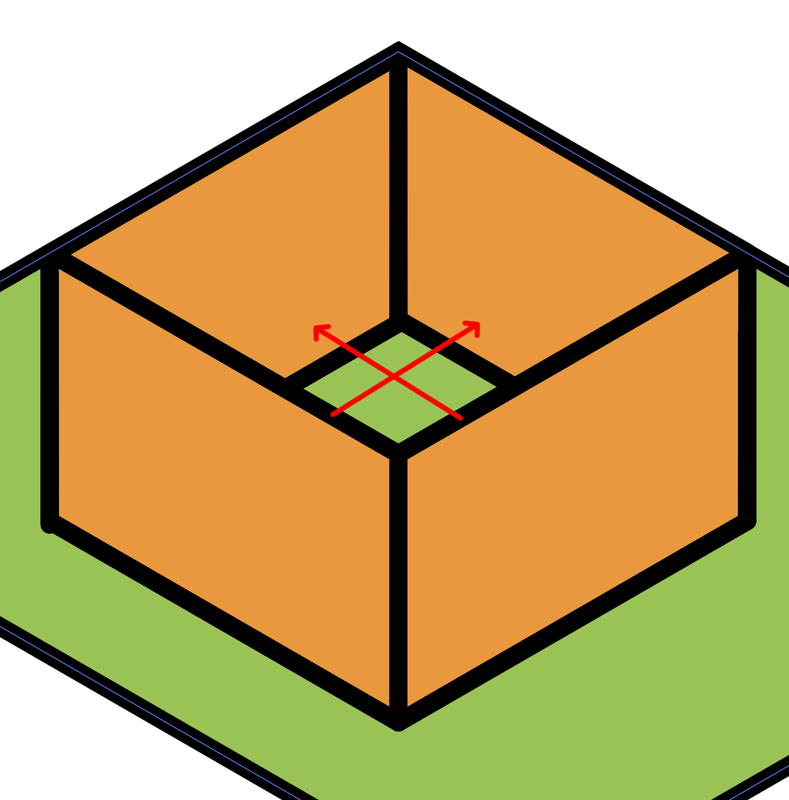
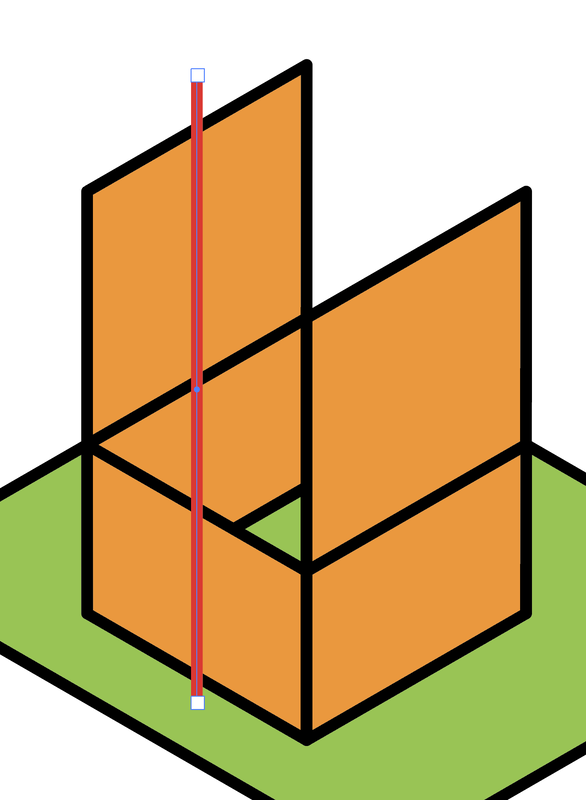
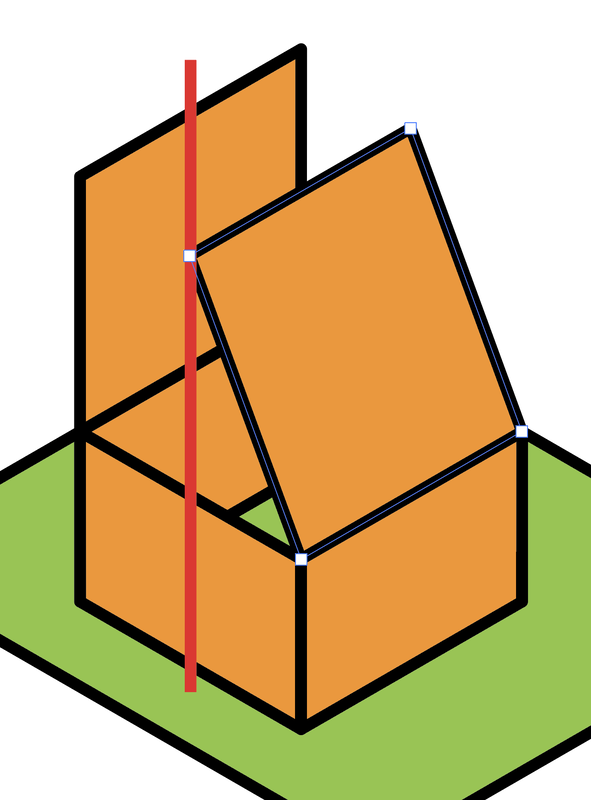
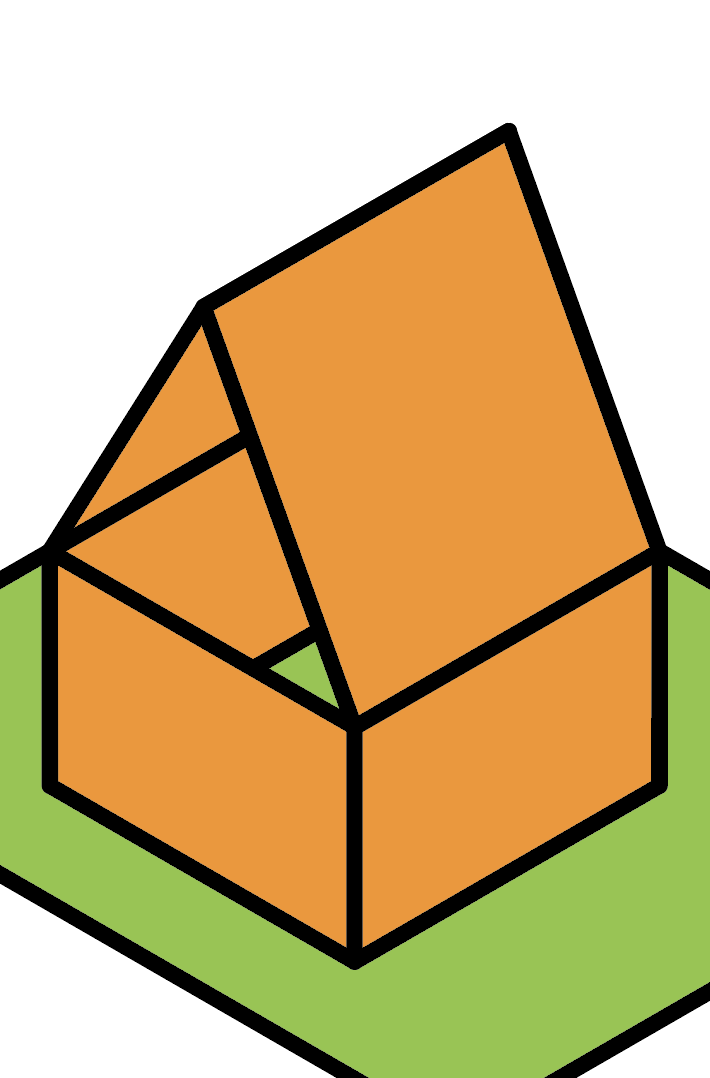
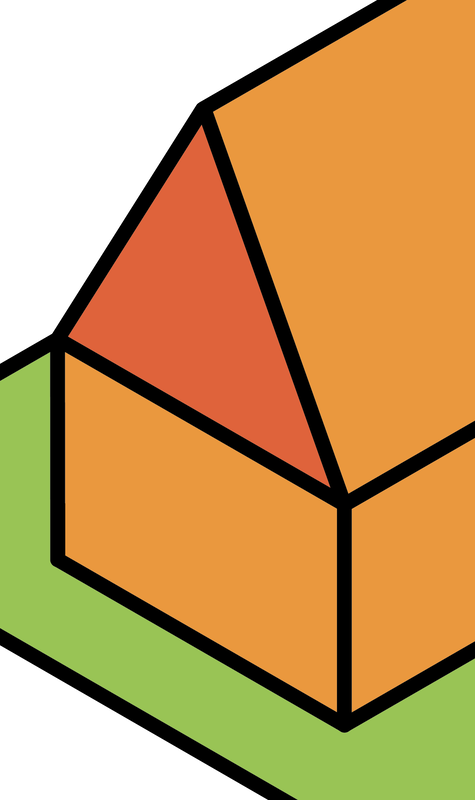
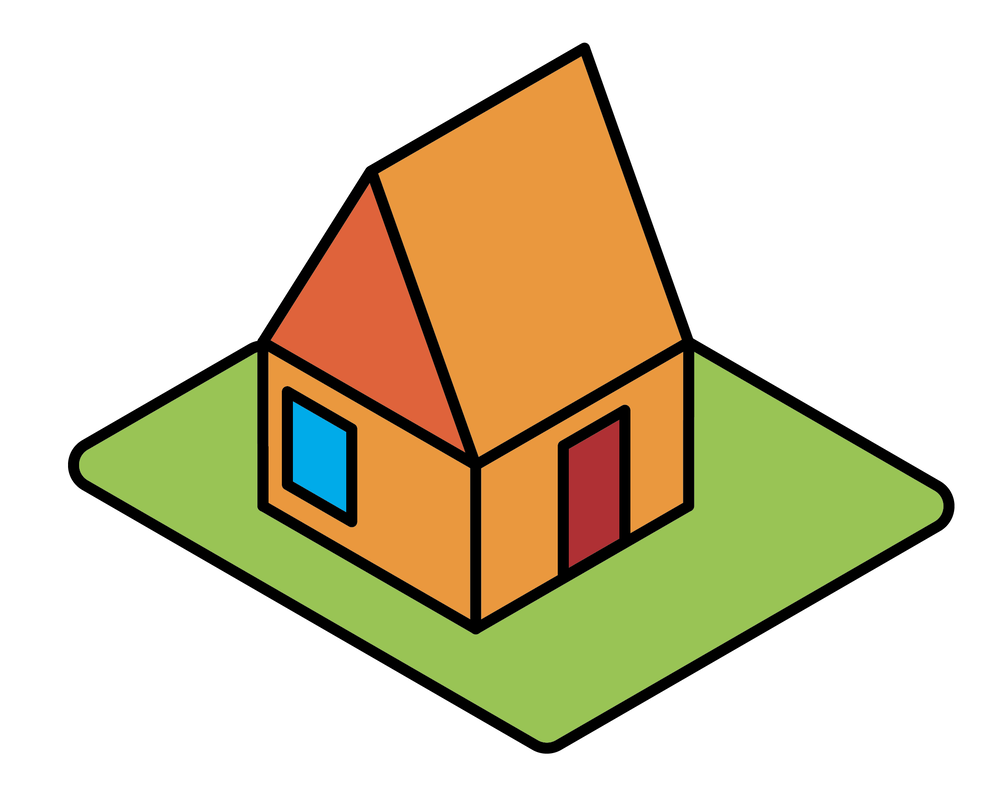
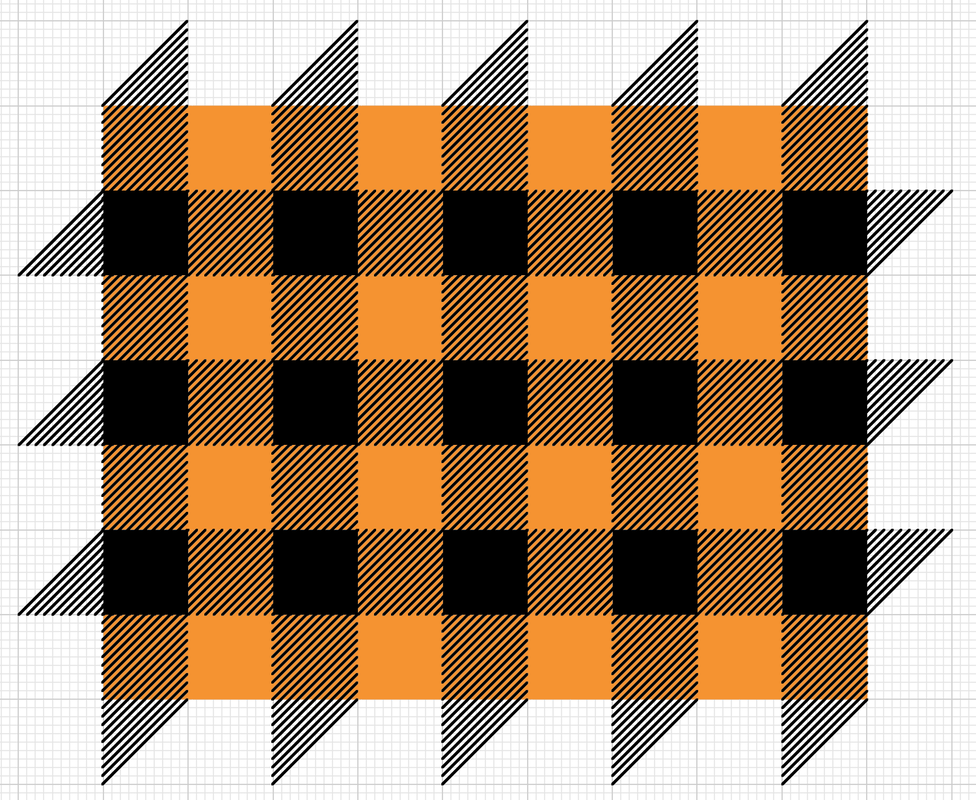
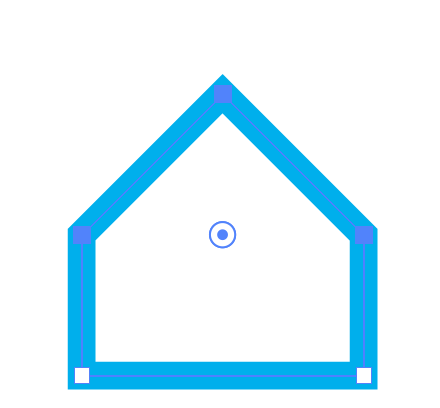
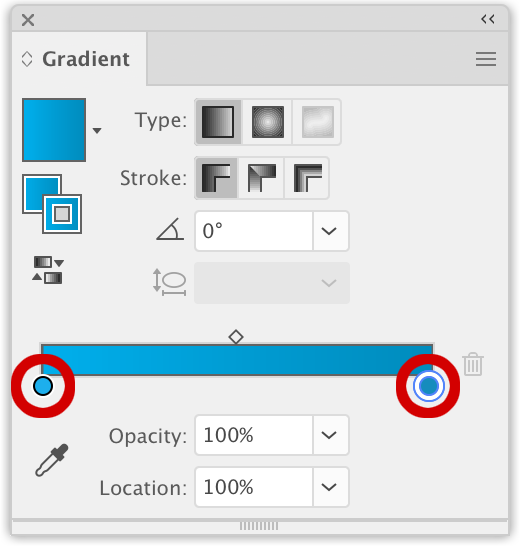
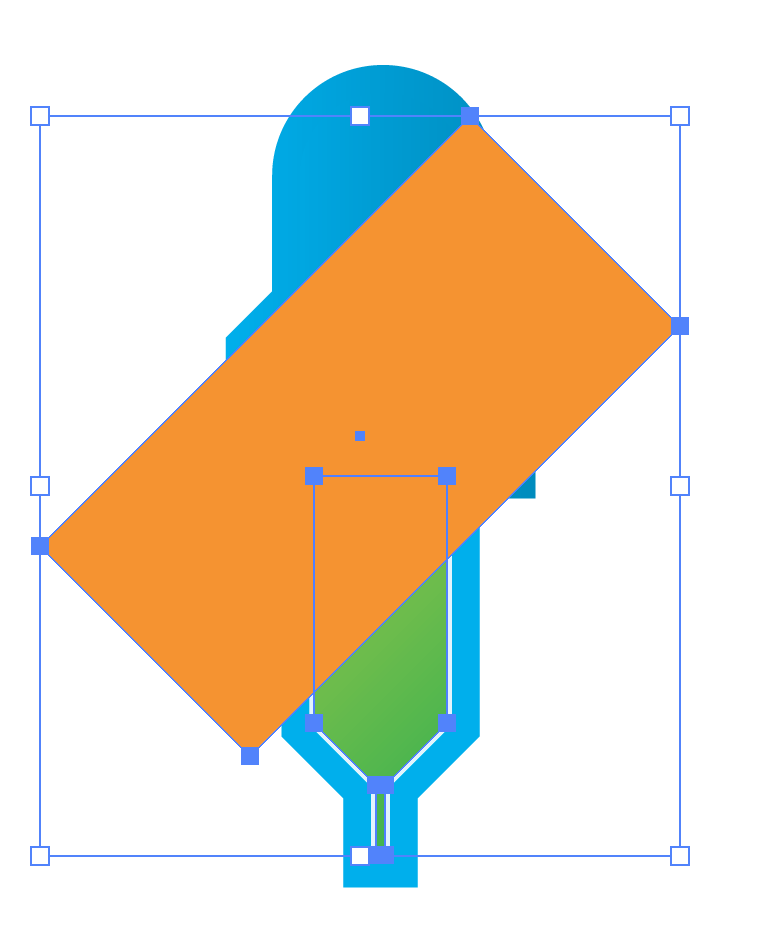
Add some gradient fills, create more details and you have created an Isometric construction!
4 Comments

Plaid Fabric

7/15/2019

1 Comment

 
Create some cool plaid with the grid and the simple Transform effect. Use the Recolor artwork to get any color plaid you can imagine. 
Picture

Picture
Create a grid under Preferences. Set the Gridline every: to 100 mm and set the Subdivisions to 10. Under the View Menu choose Snap to Grid and also choose Show Grid. 
Picture
Each Gridline will be a darker gray, the subdivisions are a lighter gray. I refer to each darker gray sections as units. Draw a rectangle 9 units wide, 1 unit high. The rectangle will snap to the grid with the Snap to Grid turned on. 
Picture
One the next set of units below, create one of color then one unit of black, repeat this for a total of 9 units.

Picture
Select the first tow rows created and duplicate it so there are 7 rows total.
Picture
Draw a 10 point line on the grid from corner to corner. Round cap the ends in the Stroke panel. Duplicate the line. 
Picture
Select the line and choose Effects> Distort & Transform> Transform. Set the Horizontal offset to -10 mm. Set the number of copies to 100. Click OK. This will take the single line, duplicate it 100 times to the left, skipping every other sub-unit.

Picture
Move the Transformed set into position over the check board. This is an effect so the one line is simply transformed 100 times 10 mm each time. This makes it much easier to select one line instead of 100 if a change is needed. 
Picture
To edit the Transform effect, open the Appearance panel and click on the Transform link. 

Picture
With the duplicate line, choose Effects> Distort & Transform> Transform. Set the Vertical offset to -10 mm. Set the number of copies to 80. Click OK. This will take the single line, duplicate it 100 times skipping every sub-unit.
Picture
Move the vertical Transformed set into position over the checker board squares. 

Duplicate the transformed lines, both vertical and horizontal covering all the black squares. 
Picture

Picture
Create a smaller line the size of one subunit. 
Picture
Turn off the Snap to Grid. Move the line so the center of the line is directly in the center of one unit. 
Picture
Select the line and choose Effects> Distort & Transform> Transform. Set the Horizontal offset to -10 mm. Set the number of copies to 100. Click OK. 
​
Move the line into the vertical center of the first row. 

Picture
Duplicate the row vertically 1 unit down. Set the first row of lines to white, the second row of lines to red.
Picture
Repeat the rows, white, red, white, red, white, red, white. 

Picture
Repeat the transform with the vertical lines. Set the Vertical offset to -10 mm. Set the number of copies to 80. Click OK. 
Picture
Repeat the columns, red, white, red, white, red, white, red, white, red. 

Picture
Select all the shapes and Group them. Object>Group.
Picture
Turn the Snap to Grid on under the View Menu. Draw a rectangle 9 units wide, 7 units high. Click on the Draw Inside mode at the bottom of the Tool Bar. Cut the Grouped art, paste it into the Rectangle. Click on the Draw Normal mode when done. 

Picture
Nice Plaid, but how about some other colors?
Picture
Select the artwork and choose Edit>Recolor Artwork. Click on the Edit tab at the top of the Recolor Artwork panel. Click on the link icon to the lower right of the color wheel, linking the colors together. 

Picture
Move the colors handles around he wheel to actively change all the colors in the plaid.
Picture
Try several different color renditions quickly with the Recolor artwork. 
1 Comment

Eye Dropper Icon

7/7/2019

0 Comments

 
Create this eye dropper icon with a few gradients and the easiest droplet you have made. Add a few highlights an done.
Picture

Picture
Start with a rectangle. Add a heavy stroke. 
Picture
Select the lower two corners with Direct Selection tool. Pull the corner widgets into the center to round the end. 
Picture
OPITON + CLICK on the corner widget target (twice) to cycle through the different corner options until you get to a point. 

Picture
Draw another rectangle over the end for the eye dropper tip. 
Picture
Select both shapes and use the Pathfinder Unite mode to make them one shape. 
Picture
Draw a square for the top part of the eyedropper. 

Picture
OPITON + CLICK on the corner widget target (twice) to cycle through the different corner options until you get to a point. ​
Picture
Start with a rectangle. Add a heavy stroke. ​Select the upper two corners with Direct Selection tool. Pull the corner widgets into the center to round the end. ​
Picture
Select both shapes and use the Pathfinder Unite mode to make them one shape. ​

Picture
Open the gradient panel and create a gradient from blue to dark blue. Double click on the color stops and choose the color. 
Picture
Add this gradient to the stroke and the fill of the upper part of the eye dropper. 
Picture
Picture
Select the lower section, fill it with a light blue. Choose Path>Offset Path. Set it to -4 and click OK. 

Picture
Add a fill to the new offset shape, remove the stroke. 
Picture
Apply a gradient to the fill offset path. Set the gradient angle at -45°. 
Picture
Assemble the shapes into the eye dropper. 

Picture
Draw a rectangle and rotate it 45° over the green fill. Select the green fill and rotated rectangle, Choose the Pathfinder Minus front mode. ​
Picture
Add lines to the eye dropper. Round the ends on the stroke panel. Set the line opacity to 30%.
Picture
To create the drop, create a circle.

Picture
Use the Direct Selection tool to select the top point and move it up. In the Properties panel , convert the point from a rounded point to a corner point. 
Picture
Use the arc tool to to draw a highlight noodle. Round the ends in the stroke panel.
Picture
Set the line opacity to 25%.

Picture
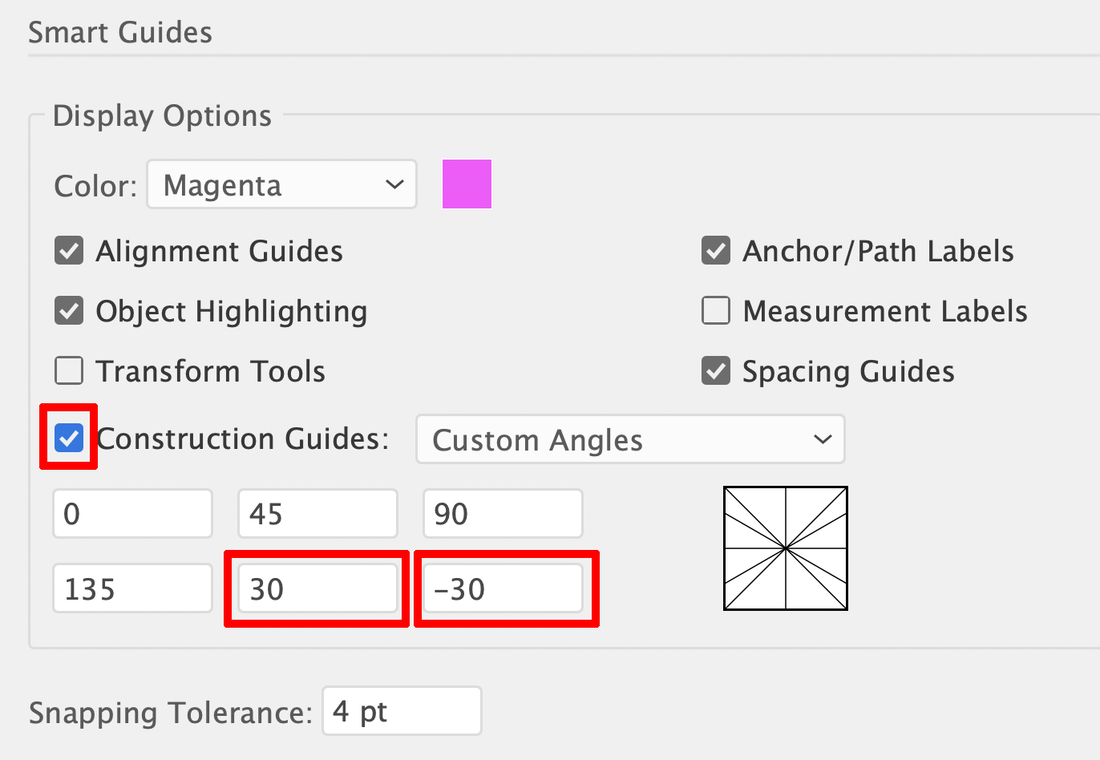
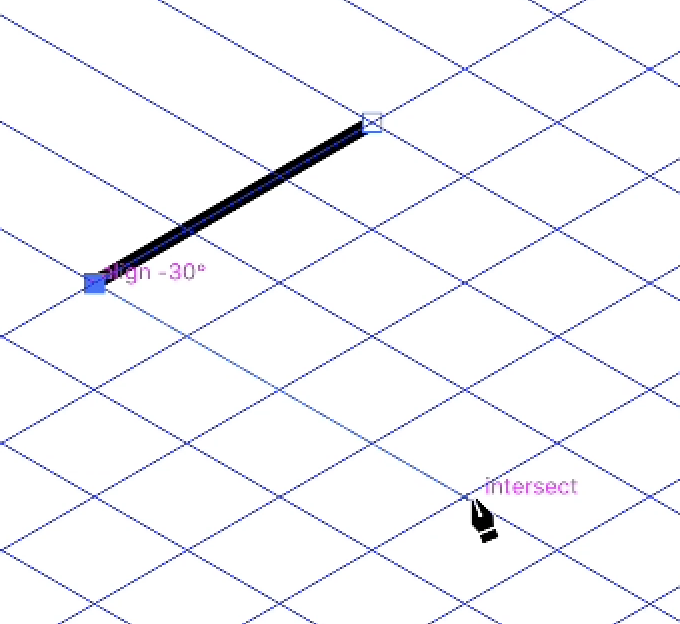
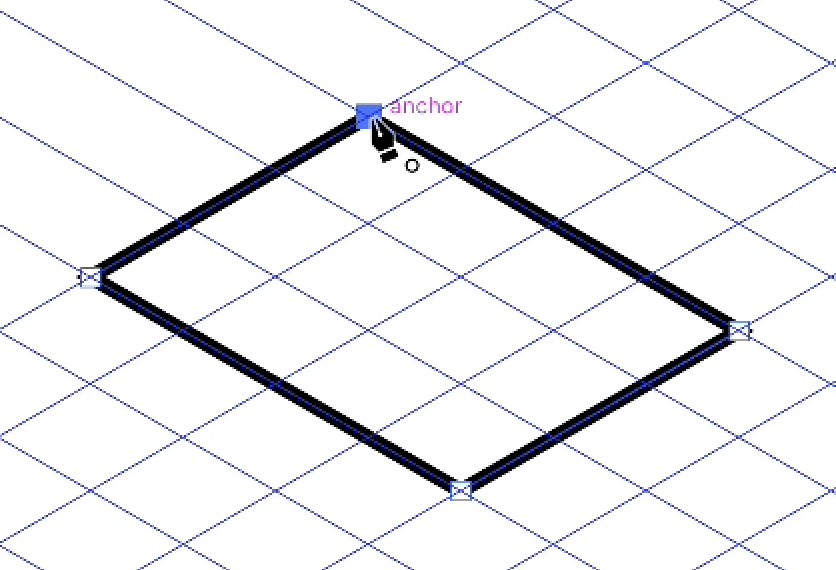
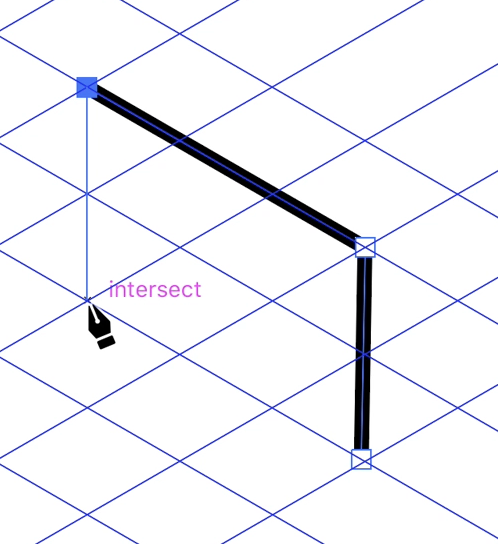
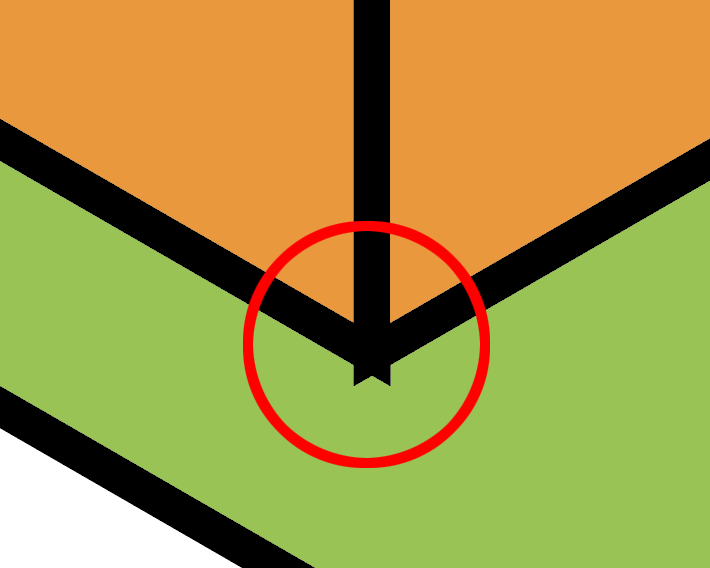
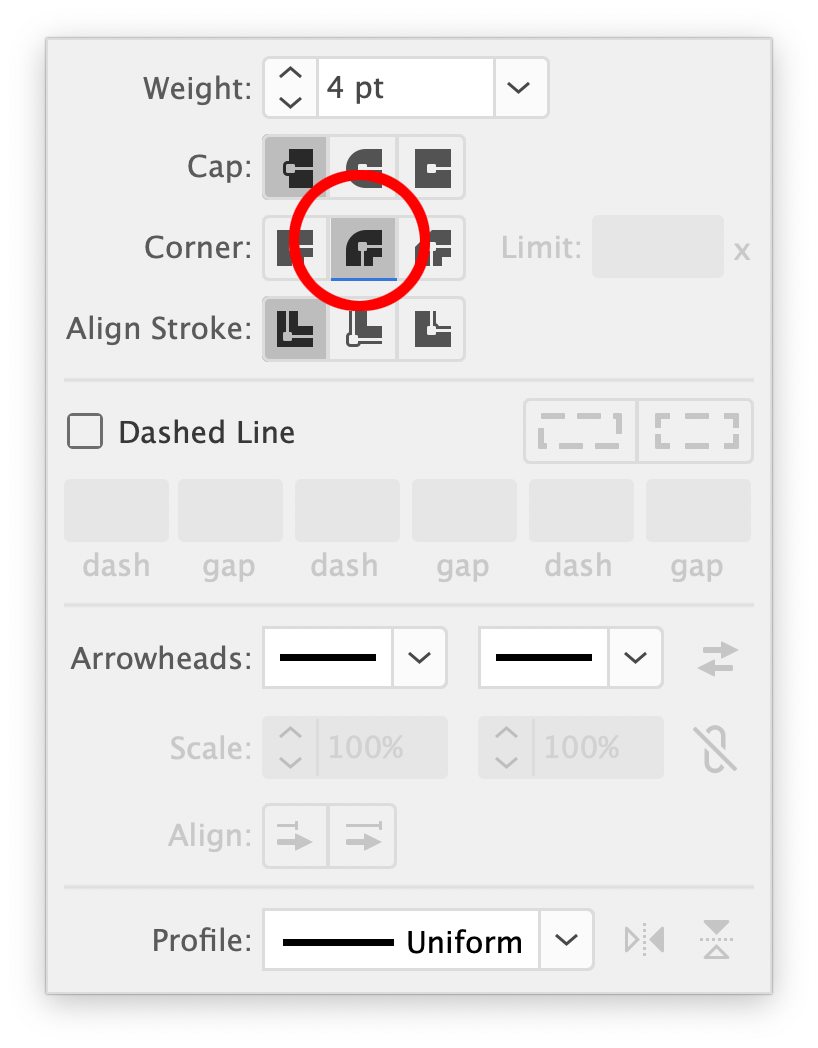
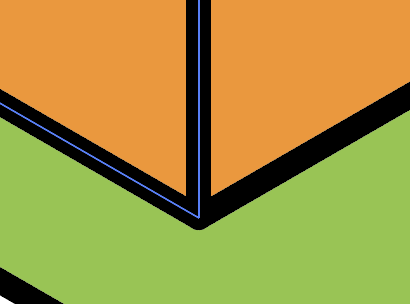
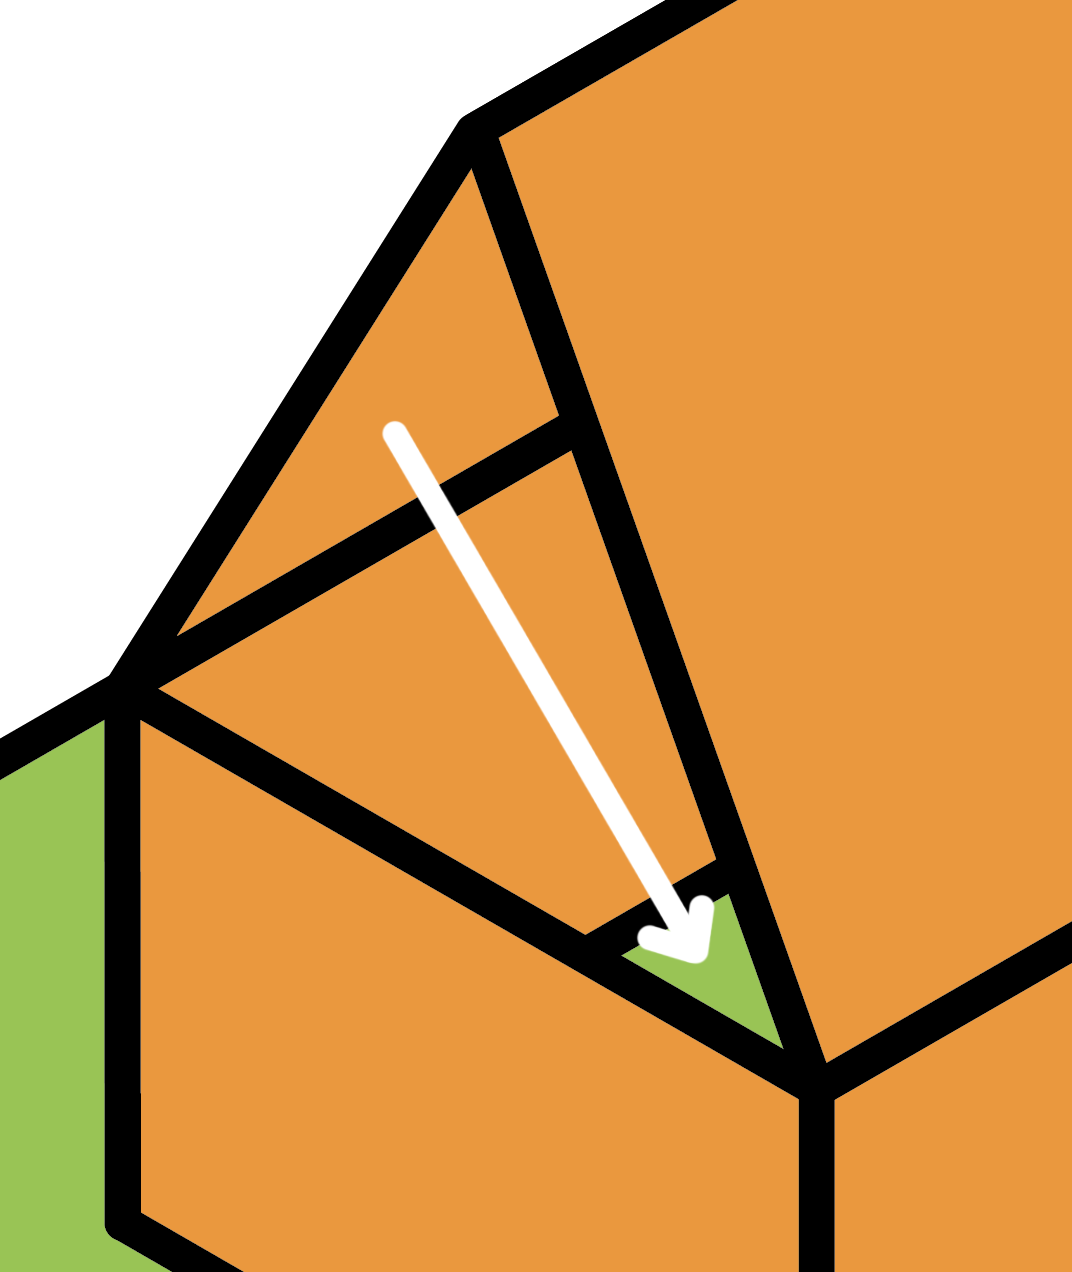
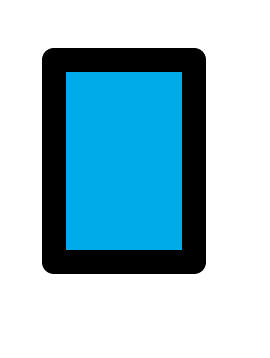
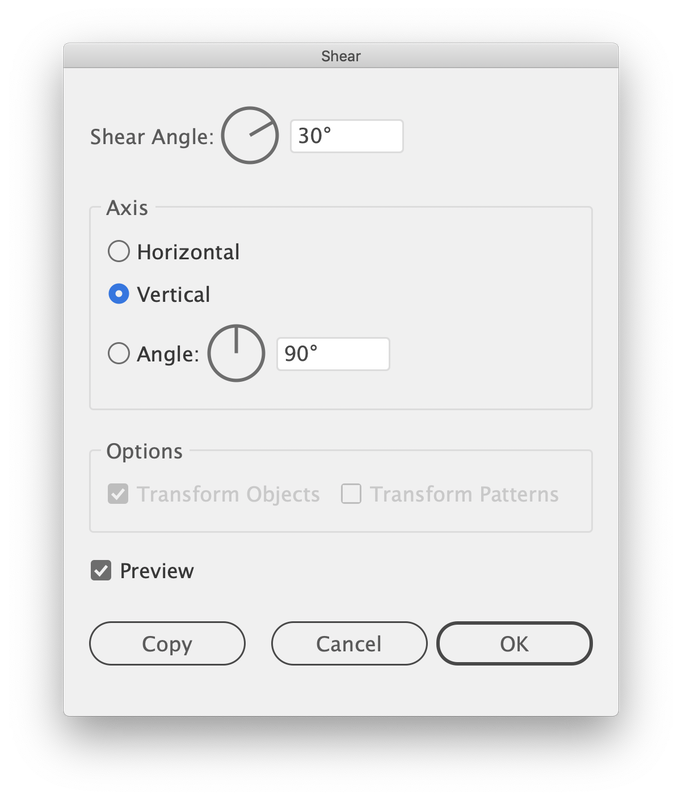
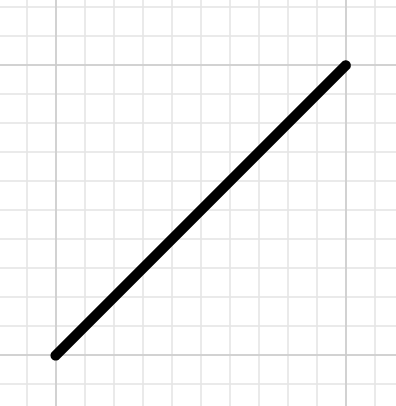
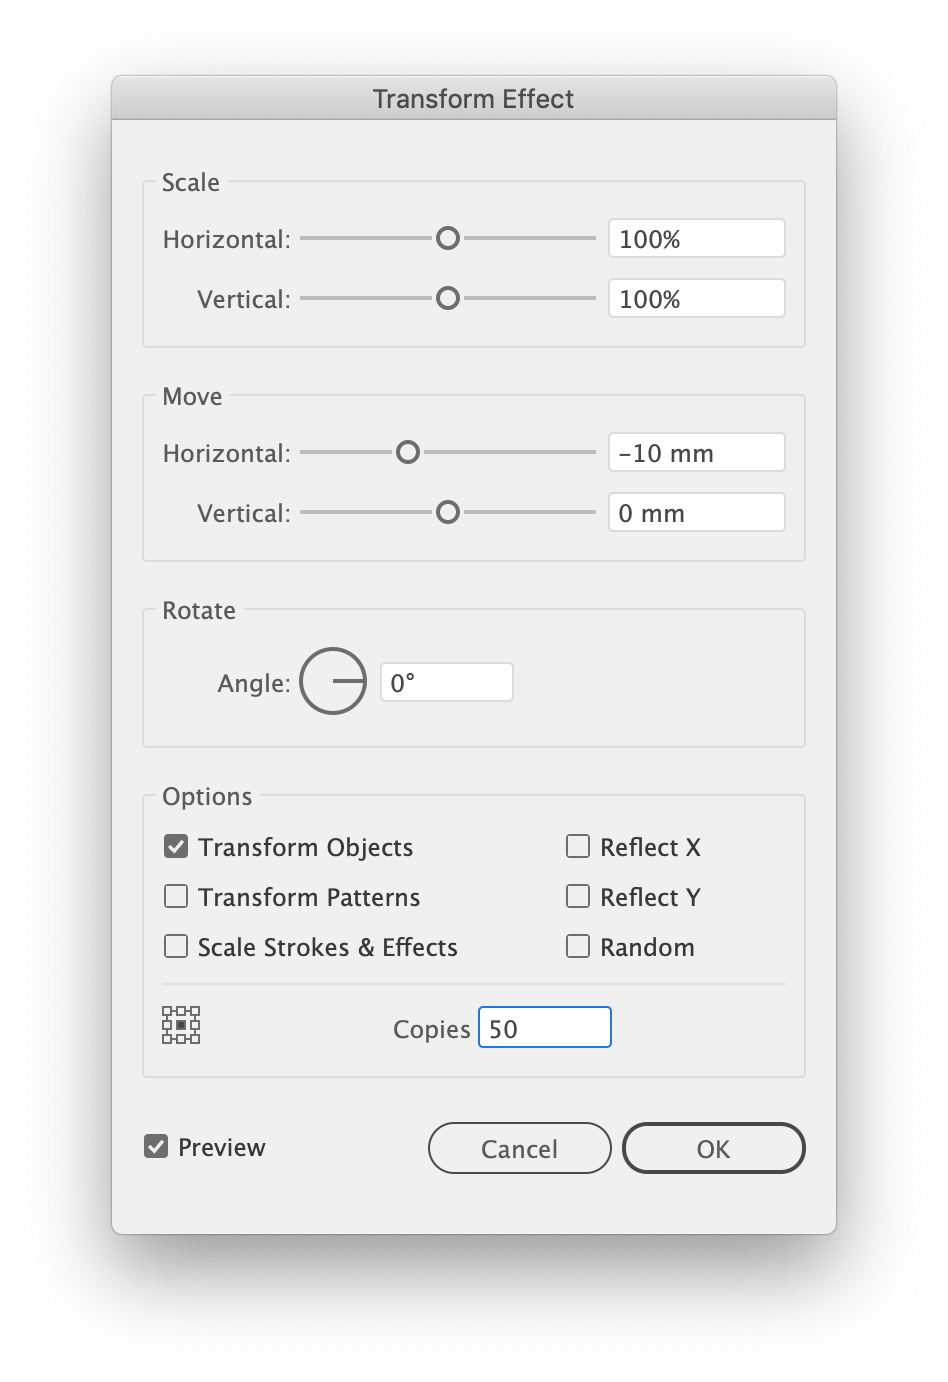
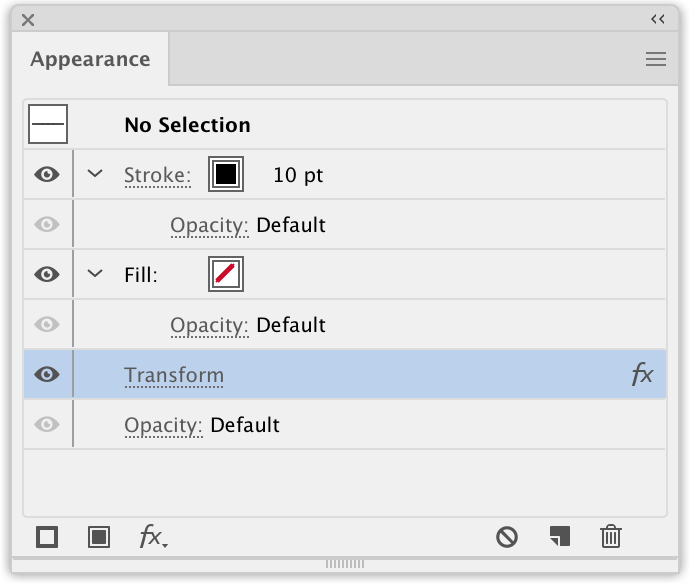
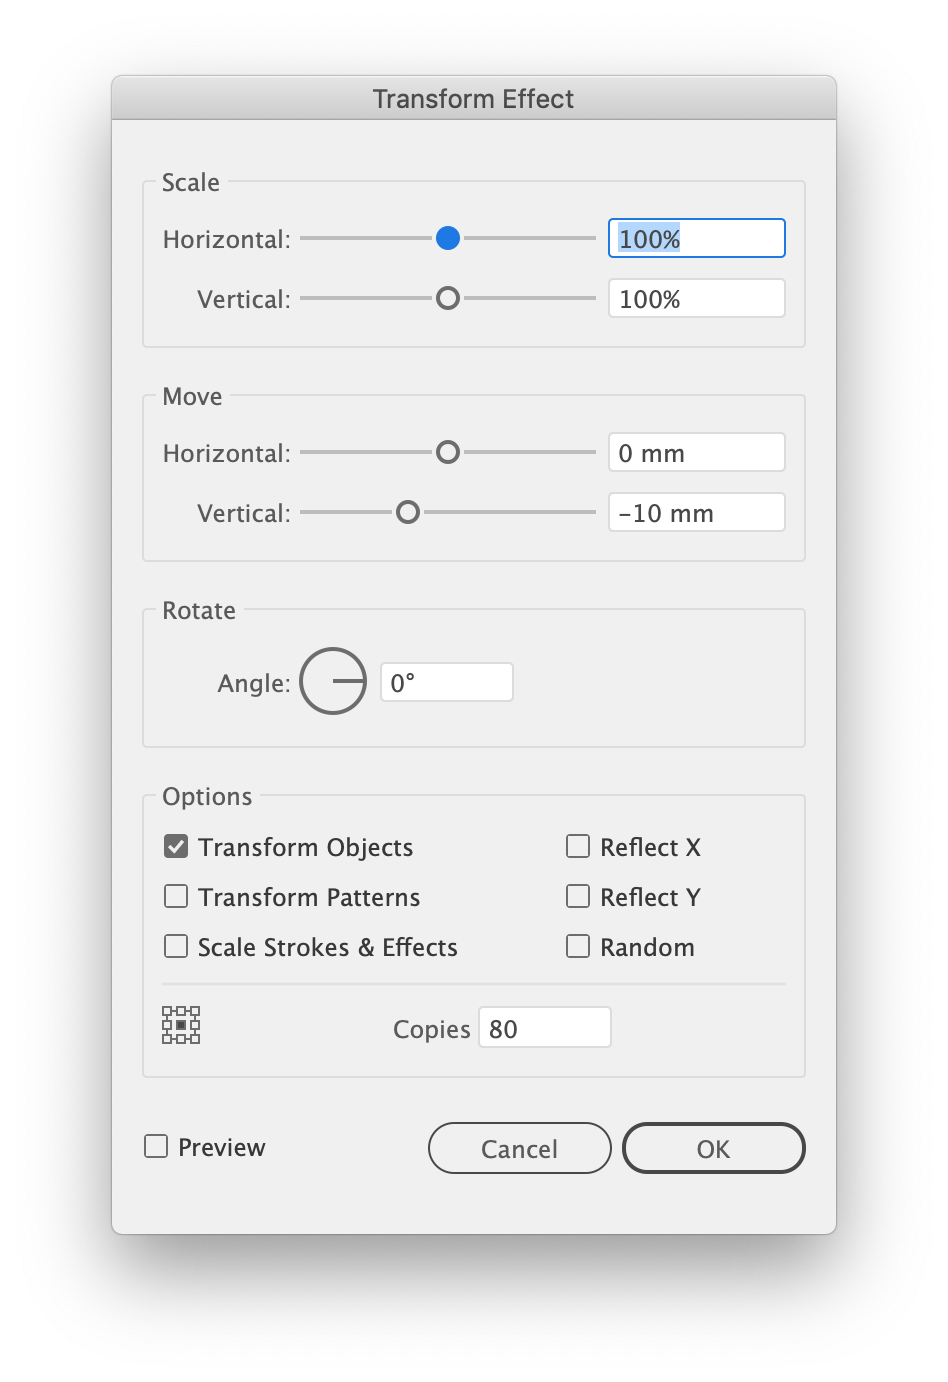
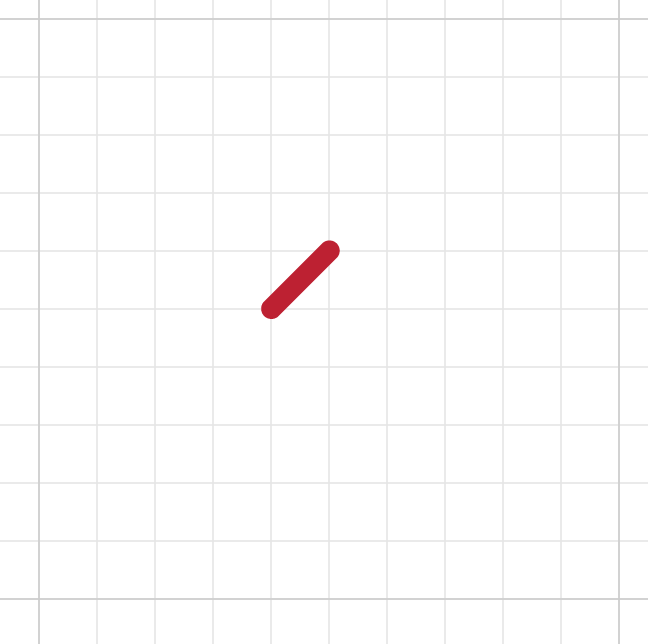
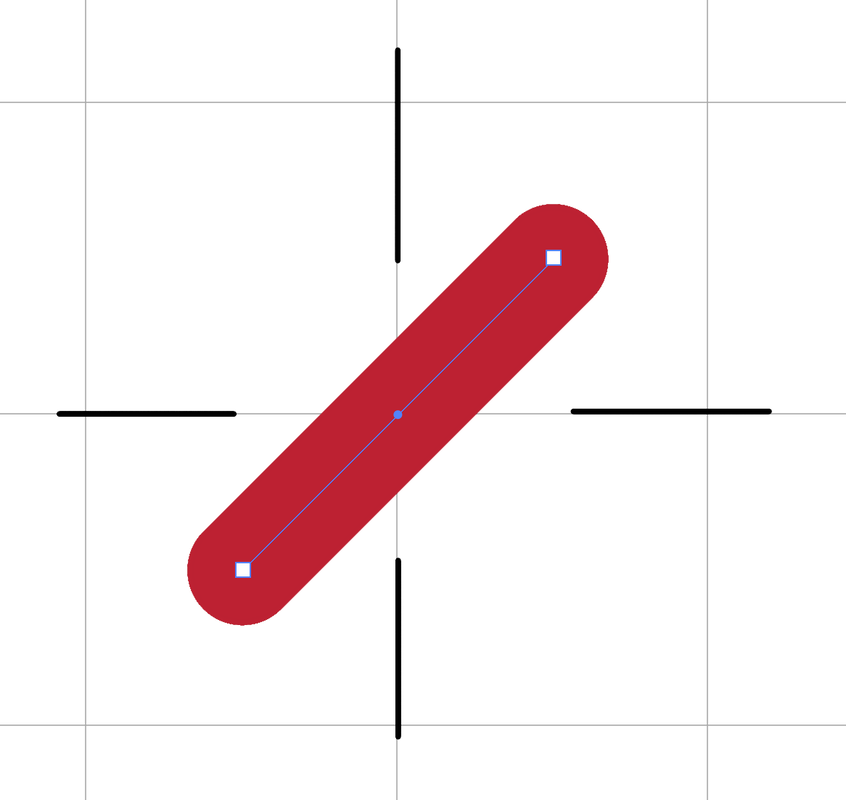
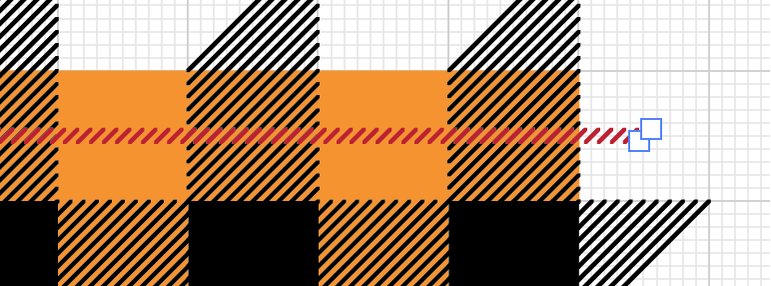
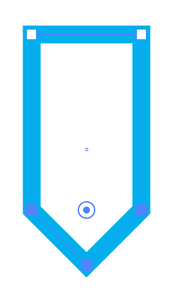
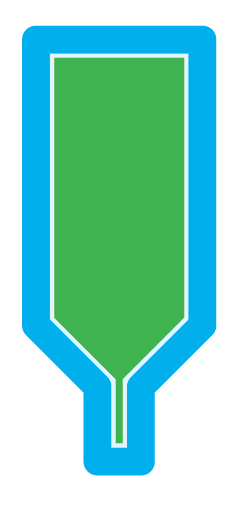
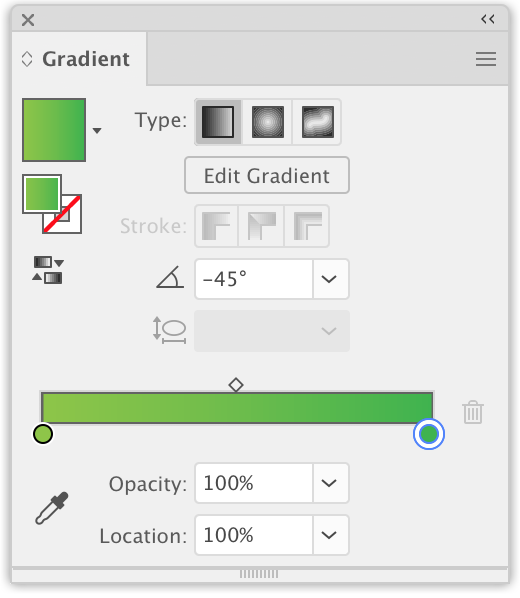
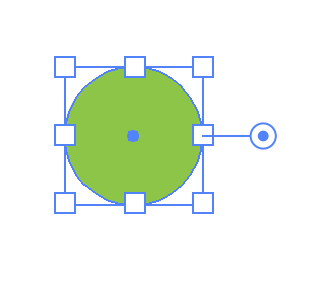
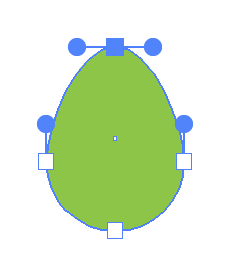
Rotate the eye dropper tool to a 45° angle. Add the droplet and you are done!
0 Comments

    RSS Feed

    Archives

    March 2021
    February 2021
    December 2020
    September 2020
    August 2020
    July 2020
    June 2020
    May 2020
    April 2020
    March 2020
    February 2020
    January 2020
    December 2019
    November 2019
    October 2019
    September 2019
    August 2019
    July 2019
    June 2019
    May 2019
    April 2019
    March 2019
    February 2019
    January 2019
    December 2018
    November 2018
    October 2018
    September 2018
    August 2018
    July 2018
    June 2018
    May 2018
    April 2018
    March 2018
    February 2018
    January 2018
    December 2017
    November 2017
    October 2017
    September 2017
    August 2017
    July 2017
    June 2017
    May 2017
    April 2017
    March 2017
    February 2017
    January 2017
    December 2016
    November 2016
    October 2016
    September 2016
    August 2016
    July 2016
    June 2016
    May 2016
    April 2016
    March 2016
    February 2016
    January 2016
    December 2015
    November 2015
    October 2015
    September 2015

    RSS Feed

Proudly powered by Weebly
  • Home
  • Contact
  • Classes
  • Blog
  • Blog Index
  • Portfolio