Jason Hoppe Adobe Certified Expert & Adobe Certified Trainer
  • Home
  • Contact
  • Classes
  • Blog
  • Blog Index
  • Portfolio
  • Max 2022

Design Points n PixelS


INFOGRAPHIC SERIES - SPOOKY HALLOWEEN SCENE

10/30/2017

1 Comment

 
Halloween is right around the corner so lets create some spooky characters. Here is the spider, bat, ghost, cat, skull and a pumpkin along with a dark and ominous cloud hiding the moo. The only thing that isn't scary is how easy it is to build all of this! Enjoy and and have a great time.
Picture

Picture
Create a rectangle.
Picture
Use the Direct Selection tool and select the top 2 corners and pull the corner widgets in to the middle.
Picture
Create a circle and then delete the upper half. 
Picture
Picture
Move the half circle into position touching the open tips. Select each set of touching tips with the Direct Selection tool and Join them. COMMAND + J.

Picture
Select the joined set of half circles. Use the Free Transform Tool to shear the circles to the left. 
Picture
Use the Direct Selection tool and select the bottom stroke and delete it.
Picture
Move the waves into position under the body. Use the Direct Selection tool and select the points where the half circles touch the body and Join them. 
Picture
Use the Direct Selection tool and select the points where the half circles touch the body and Join them. 

Picture
Add ovals for the eyes and mouth. Add a gray fill to the body, slightly darker for the eyes and mouth. 
Picture
Copy the body shape. Click on the body and select Draw Inside Mode at the bottom of the Tool Bar. 
Picture
Paste the copied body into the body, move it slightly to the left, fill it with white. Click on the Draw Normal Mode at the bottom of the Tool Bar. 

Picture
Create and oval. 
Picture
Duplicate the oval partly over it self. 
Picture
Select both shapes. Use the Unite Mode in the Pathfinder Panel. Add a black stroke around the body.
Picture
Copy the body shape. Click on the body and select Draw Inside Mode at the bottom of the Tool Bar. 

Picture
Paste the copied body into the body, move it slightly to the left, fill it with a lighter orange. Click on the Draw Normal Mode at the bottom of the Tool Bar. 
Picture
Add an Arc on top for a stem. Round the ends (hot dog) in the Stroke Panel. 
Picture
Add ovals for eyes and a triangle for the eyes. 
Picture
Create a circle for the body of the bat. 

Picture
Create another smaller circle at the top of the body. 
Picture
Select both shapes, use the Pathfinder Minus Front Mode. 
Picture
Create 3 circles, touching each other but not overlapping. 
Picture
Use the Direct Selection Tool to remove the bottom half of the circles. Select each set of touching tips with the Direct Selection tool and Join them. COMMAND + J.

Picture
Use the Direct Selection Tool to remove the bottom half of the body.
COPY this for later. 

Picture
Move the half circle into position under the body. Use the Direct Selection tool and select the points where the half circles touch the body and Join them. 
Picture
Create a rectangle for the head. 
Picture
Use the Direct Selection Tool to remove the bottom line of the rectangle. Select the top 2 corners and pull the corner widgets in. 

Picture
Fill the head with white. Place it over the body. Add eyes in the head. 
Picture
For the ears, place 2 circles over each other 1/2 overlapping. 
Picture
Use the Pathfinder Intersect Mode to create the ear.
Picture
Paste the body (which was copied a few steps back). Choose Object>Path>Offset Path. 

Picture
Use the Direct Selection Tool to remove the first and second layers of paths. 
Picture
Use the Direct Selection Tool to remove sections of the 3rd path to get the wing highlights. 
Picture
Move the items into place. 
Picture
Use the Pen Tool to create the tail by clicking on the open points of the wing.

Picture
Create an oval for the spider body. 
Picture
Use the Arc Tool to create a leg. 
Picture
Duplicate the leg to mirror the first leg. Draw a straight leg as well. Group the legs, duplicate them then Reflect them for the other side.
Picture
Add ovals for eyes. Copy the body. 

Picture
Copy the body shape. Click on the body and select Draw Inside Mode at the bottom of the Tool Bar. 
Picture
Paste the copied body into the body, move it slightly to the left, fill it with white. Click on the Draw Normal Mode at the bottom of the Tool Bar. 
Picture
Add a line for the web the spider hangs from. 
Picture
Create a circle and a square for the skull. 

Picture
Select both shapes and Unite them with the Pathfinder. 
Picture
Use the Direct Selection Tool to select the INSIDE corners where the neck meets the head and pull the corner widgets OUT. 
Picture
Add ovals for the eyes, triangle for the nose and and white filled squares for the teeth. Fill the head with a light gray. 
Picture
Copy the head. Click on the body and select Draw Inside Mode at the bottom of the Tool Bar. Paste the head into the shape, fill with white then click on the Draw Normal Mode. 

Picture
Create 2 circles, overlap them half way. 
Picture
Use the Intersect Mode in the Pathfinder. Copy this shape for later use. 
Picture
Place a rectangle 2/3 of the way down the shape. 
Picture
Select both shapes and use the Pathfinder Minus Front. 

Picture
Use the Direct Selection Tool to corner widget the bottom corners slightly. 
Picture
Add an oval for the head. 
Picture
Paste the shape you copied. Make 2 of them for the ears. Add a stroke to all the shapes. 
Picture
Unite the body and the ears. Draw an Arc for the tail, place it behind the body.

Picture
Paste the shape again for the eyes. Copy the body. 
Picture
Click on the body and select Draw Inside Mode at the bottom of the Tool Bar. 
Picture
Paste the head into the shape, fill with white then click on the Draw Normal Mode. 

Picture
Open the Gradient Panel. Create a gradient with some reds and oranges. 
Picture
Create a shape behind all the spooky characters and fill it with the new gradient. 

Picture
Add some darker ovals under the characters. Place the ovals behind the characters. 
Picture
Create some darker orange, large ovals and place them behind the character. These ovals will extend way beyond the art work. 

Picture
For clouds, create several rectangles, all the same height but varying width. Stagger them, select them all (make sure they are all touching) and Unite them in the Pathfinder Panel.
Picture
Use the Direct Selection Tool to select JUST the OUTER corners and pull the Corner Widgets in to the center. 

Picture
Use the Direct Selection Tool to select JUST the INNER corners and pull the Corner Widgets in to the center. 
Picture
Fill the clouds with gray and add a dark stroke. 

Picture
Create the moon by creating 2 circles with a slight overlap. 
Picture
Select both shapes and use the Minus front command in the Pathfinder Panel.

Picture
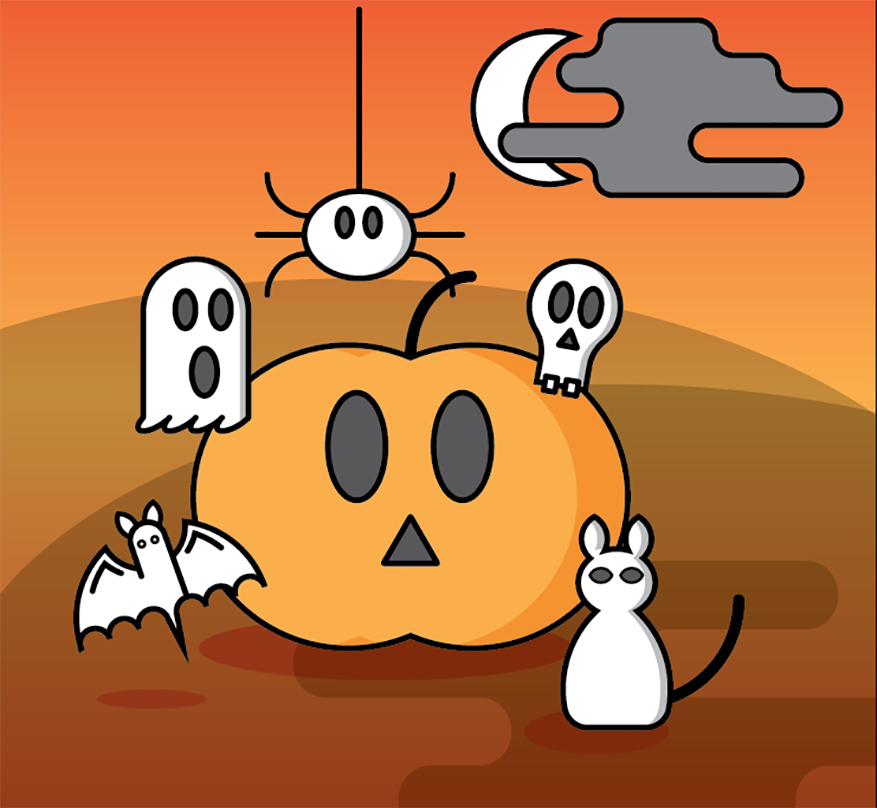
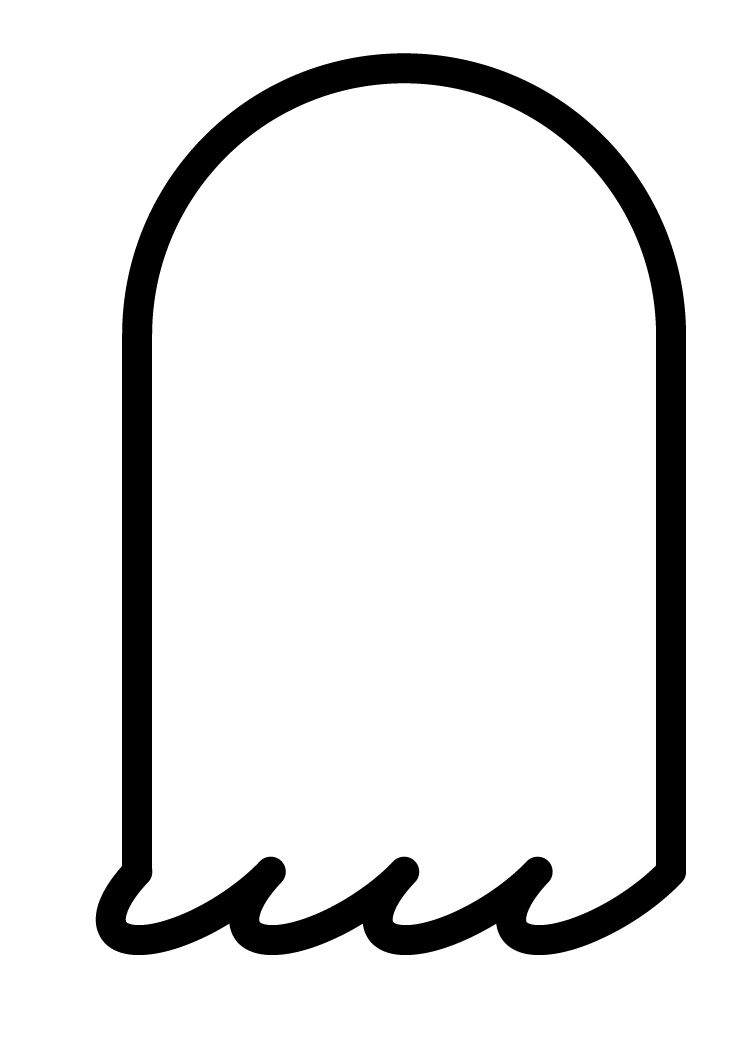
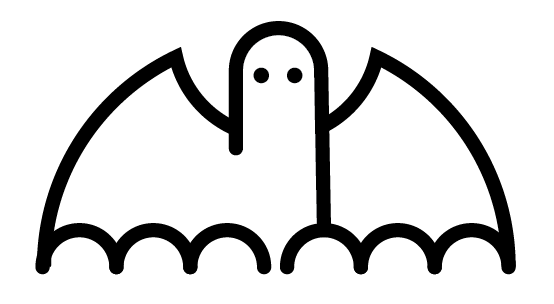
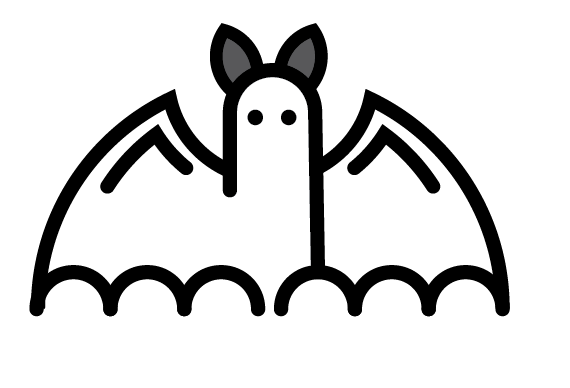
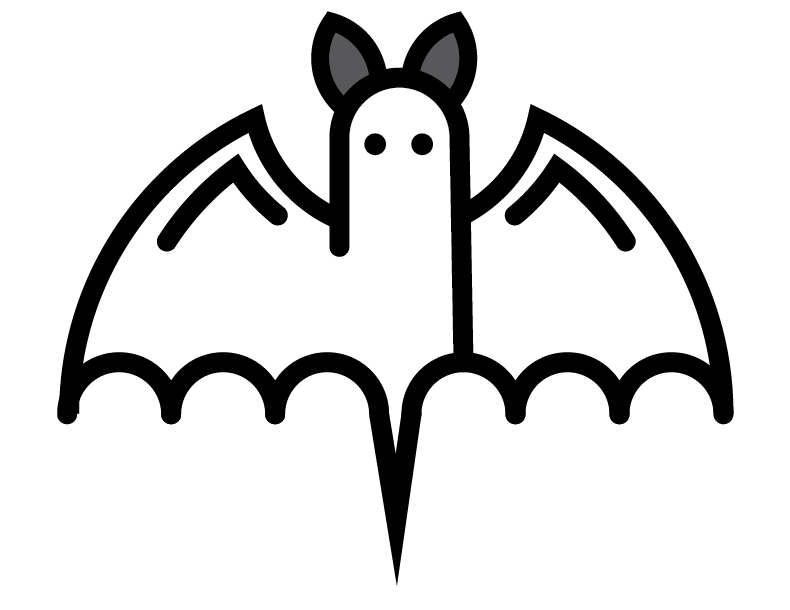
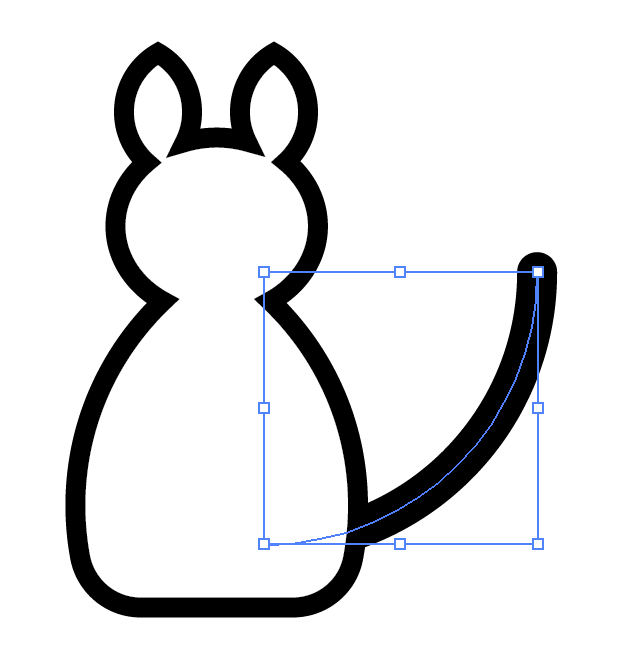
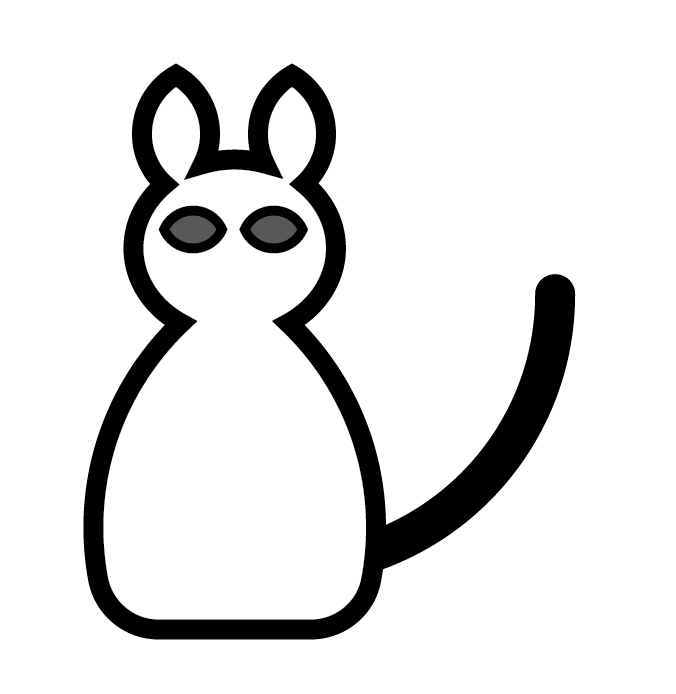
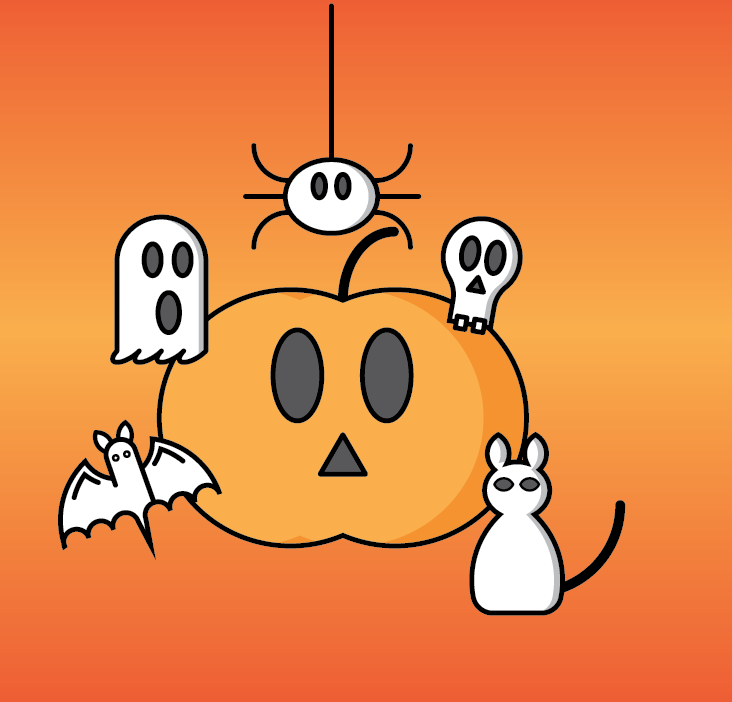
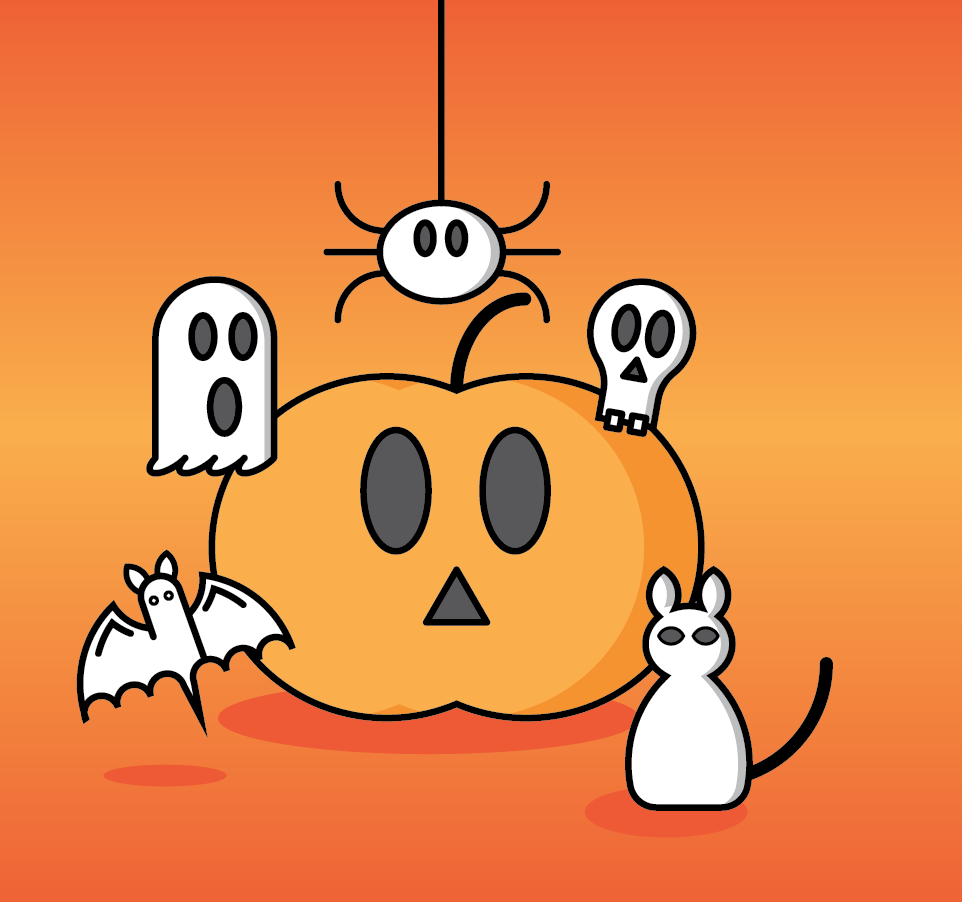
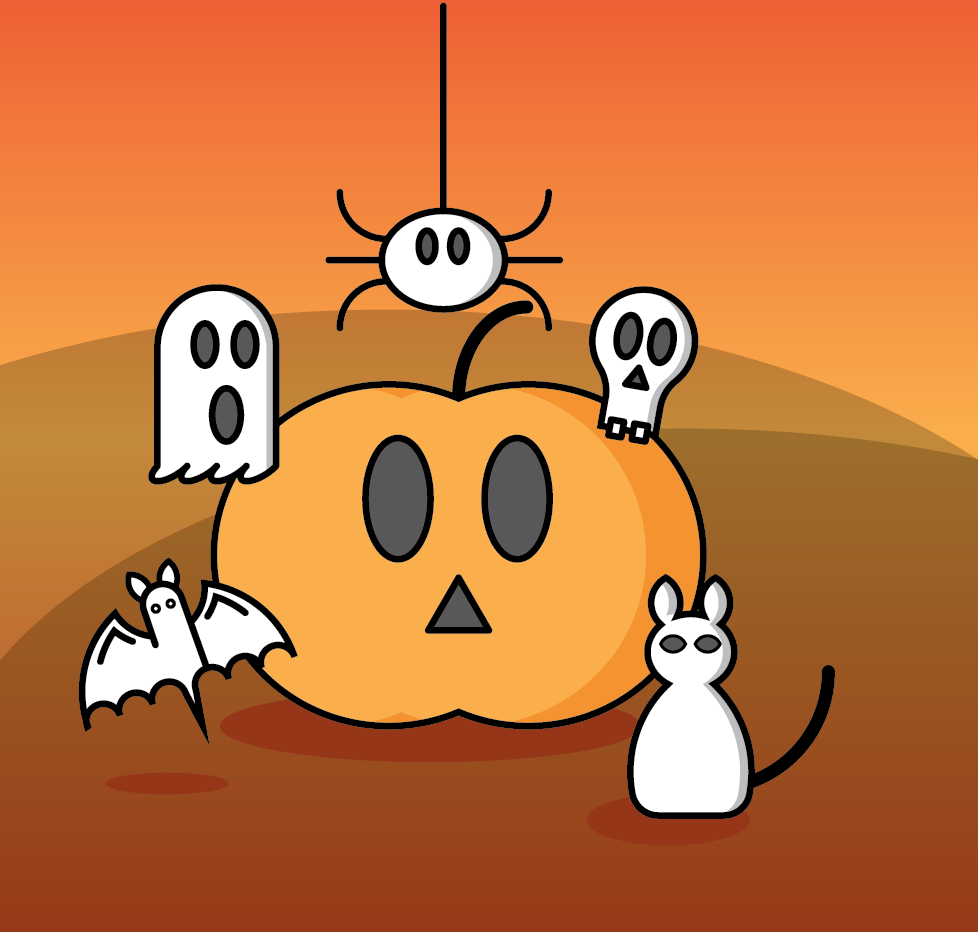
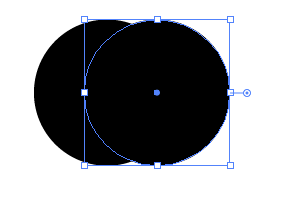
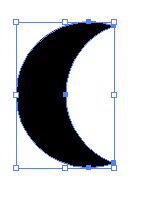
Arrange all the characters, add the moon behind the clouds. For added effect, copy the clouds, remove the stroke and set the opacity to 40% and place it behind the characters to create a dark spot where the cloud goes over the scene. Happy Halloween everyone!
1 Comment

INFOGRAPHIC SERIES - Little Birdie

10/23/2017

0 Comments

 
Quick little birdie icon build that is simple and easy to create. With just a few changes you can have a bird in flight, resting, cruising along or in full dive mode. Enjoy!
Picture

Picture
Create a rectangle, fill with a color, no stroke. 
Picture
Use the Direct Selection Tool to select the opposite corners and pull the Corner Widgets in toward the center. 
Picture
Rotate the body 45°. Hold SHIFT while rotating and it will snap to 45°.
Picture
Duplicate the body and fill it with a lighter color. Copy this shape.

Picture
Select the body and click on the Draw Inside Mode at the bottom of the Tool Bar. 
Picture
Paste the secondary body shape and move it into an offset position. 
Picture
Click the Opacity Link in the Control bar. Set the Blend Mode to Multiply and the Opacity to 80%. Click the Draw Normal button at the bottom of the Tool Bar. 
Picture
Create another rectangle for the wing. 

Picture
Use the Direct Selection Tool to corner widget the lower right corner. 
Picture
Place the wing into position on the body. 
Picture
Duplicate the wing, change the fill color and tuck it under the other wing. 
Picture
Create a triangle using the Polygon Tool, put it behind the body for the beak. 

Picture
Create a white circle and a black circle for the eye.
Picture
Change the orientation of the body and wing to show the bird in flight. 
Picture
Draw 2 arcs for the feet. Overlap the arcs. Thin the wings and you have a bird at rest. 
Picture
Rotate the body, slim the wing and you have a bird in full dive.
0 Comments

INFOGRAPHIC SERIES - Robot

10/16/2017

0 Comments

 
This looks like a complex robot but to build it is entirely easy and fun. Add come of your own touches to create a unique mechanical robot in just a few minutes. Simple tricks in here to create shadows and highlights will have you adding these to all your creations.
Picture

Picture
Create a rectangle for the body.
Picture
Use the Corner Widgets to round the corners. 
Picture
Create a rectangle for the neck.
Picture
Create a Square for the head and use the Corner Widgets to round the corners.

Picture
Draw a line on top of the head. Use the Stroke Panel to add a small dot to the end of the line.
Picture
Picture
Add lines to the antenna on top the head. Round the ends of the lines in the Stroke Panel. 
Picture
Add 2 circles for eyes and a rectangle with rounded corners.

Picture
Draw white lines over the mouth. Group all the lines and CUT the lines. 
Picture
Select the mouth and choose the Draw Inside Mode at the bottom of the Tool Bar. Paste the lines and move them into position. 
Picture
Click on the Draw Normal mode at the bottom of the Tool Bar when done. 
Picture
Add small rectangles for ears. 

Picture
Add rectangles for the arm joints. 
Picture
Add larger rectangles for the arms.
Picture
Add smaller rectangles for the fore arms.
Picture
Draw a circle for the hands. Grab the Angle Widget off the right side of the circle and move it 90°.

Picture
Or use the Transform Panel to set the Angle Widget to 90° on the panel.
Picture
Place a smaller circle over the 3/4 circle. Select both and use the Pathfinder Minus Front Command.
Picture
Here is the hand.

Picture
Rotate the hands into position. 

Picture
Duplicate the upper arms and use them for the legs. 
Picture
Add a stroke to the hands, set the stroke to the OUTSIDE in the stroke panel. 
Picture
Create a rectangle and round the corners to the max amount to create wheels.
Picture
Add some interesting components to the center of the robot. The wavy line is a line with the Zig-Zag effect on it with smooth corners. 

Picture
Add some color to the center components. 
Picture
Add color to the neck, arm sockets and the wheels. I added another white circle to the eyes.
Picture
I added 15% gray to the body parts, 30% gray to the forearms. 

Picture
To add shadows to the body parts, create a rectangle with a 60% gray fill and 30% opacity. Copy the "shadow"
Picture
Select the arm and choose the Draw Inside Mode at the bottom of the Tool Bar. 
Picture
Paste the shadow and move it into position. ​Click on the Draw Normal mode at the bottom of the Tool Bar when done. 

Picture
Picture
Repeat the shadow process on the tops of all the body parts; head, arms, legs, neck. I added shadows to the interior components and the bottoms of the wheels. 
Create lines with "hot dog ends" (rounded ends) and place them on one side of the body parts for highlights. Duplicate them and change the length to create long and short highlights. You have done a great job!
0 Comments

INFOGRAPHIC SERIES - Fun With Toast

10/9/2017

0 Comments

 
Toast of all kinds and flavors. Just a bit of fun with making slices of bread and turning them into toast. Simple and versatile, you can make it fun with all different variations. Butter, extra toasty, stacked, with a fried egg or just super thick bread. Enjoy!
Picture

Picture
Create a rectangle. 
Picture
Add an oval on top, centered on the box. 
Picture
Use the Pathfinder Unite Mode to join the two shapes together. 
Picture
Add some texture with a few circles to show the grain of the bread. 

Picture
Add a square, fill with yellow, round the corners slightly. 
Picture
Copy the bread shape. Choose Object>Path>offset Path. Create a second path inside by setting the offset to a negative number. 
Picture
With the new Offset path, remove the stroke. 
Picture
Create lines for a toasty look. Make them darker than the bread. Group all the lines together then CUT the lines. Edit>Cut.

Picture
Select the offset path. Choose the Draw Inside Mode at the bottom of the Tool Bar. 
Picture
Paste the grouped lines into the shape. Click on the Draw Normal Mode at the bottom of the Tool Bar. 
Picture
Add some butter just because you can. 
Picture
Copy and paste a new slice of bread. Add a thicker stroke. 

Picture
Draw a circle. Choose Effect>Distort & Transform> Roughen. Make smooth edges and not much distortion.
Picture
Here is the distorted circle, and the basis for your fried egg. 
Picture
Put a yellow circle on top of the distorted circle, then all of it on top of the bread. It's a fried egg!
Picture
Create 4 circles, in a row with a slight curve to create a bite mark. 
Picture
Choose the Pathfinder Unite mode to make them one unit. 
Picture
Place the shape over the edge of the bread. 
Picture
Choose the Pathfinder Minus Front mode to make them one unit. 
Picture
Copy the bread slice again. Create a vertical line.

Picture
Duplicate the line to create a few vertical lines.
Picture
Select all the lines, choose Effect> Distort & Transform> Zig Zag. Create small, smooth waves. 
Picture
Group the waves together. 
Picture
Select the lines, choose Effect>Blur Gaussian Blur. 

Picture
​Blur them slightly to create toasty marks.
Picture
Copy the bread slice again. Use the Free Transform Tool to shift the bread into perspective.
Picture
To make the slice thick, select the bread, hold OPTION and click the UP ARROW key several times. This duplicates it each time you click the up arrow. Group all the pieces together. 
Picture
Copy and stack the slices! Keep it toasty my friends. 
0 Comments

INFOGRAPHIC SERIES - Hoodie Sweatshirt

10/2/2017

104 Comments

 
Fall has arrived and so has the cooler weather. So stay warm with a nice stylish hoodie that you can create easily. 
Picture

Picture
Create a rectangle, dark stroke, 10 pt wide, white fill.
Picture
Use the Free Transform Tool to pinch the body slightly at the bottom. 
Picture
Draw another rectangle for the arm. COPY it for later use. 
Picture
Use the Direct Selection Tool to select the upper left corner to reveal the corner widget. Drag the widget to its max amount into the center. 

Picture
Rotate the upper arm slightly to have it stand away from the body. 
Picture
Paste the previously copied upper arm rectangle. Use the Free Transform Tool to pinch the arm slightly at the bottom. ​
Picture
Place the arm in position. Select ALL the shapes, open the Stroke Panel and ROUND all the corners on the shapes. This will round any hard corners.
Picture
Select both sections of the arm and choose Unite in the Pathfinder Panel to make them one unit. 

Picture
Select the left arm, RIGHT+CLICK and choose Transform>Reflect. Choose Reflect on the Vertical and click COPY.
Picture
Position the left and right arms into the body slightly as shown.
Picture
Select both arms and the body. Choose Unite in the Pathfinder Panel to make them one unit. 
Picture
Draw an oval on the top of the body. Choose MINUS FRONT in the Pathfinder Panel to remove the neck line from the body.

Picture
Draw another, larger oval and Send To Back. 
Picture
Duplicate the oval on top of the previous oval and choose MINUS FRONT in the Pathfinder Panel.
Picture
This creates the folded hoodie look on the back of the sweatshirt.
Picture
Draw two lines at slight angles coming down from the neck.

Picture
In the Stroke Panel add rounded ends from the Arrowheads drop-down menus. Reduce the size of the end so it is in proportion.
Picture
Draw a rectangle in the lower body. 
Picture
Use the Direct Selection Tool to select and delete the bottom line. 
Picture
Use the Direct Selection Tool to select the upper corners. OPTION+CLICK to cycle through the corner styles and drag them in to create inverse rounded corners. 

Picture
This is your pocket. Pull the pockets to stretch them vertically.
Picture
Place the pocket in the desired location.
Picture
Add lines to the ends of the sleeves to create the cuffs.
Picture
Fill the body and hood with a color.

Picture
To create stripes draw a line, apply a stroke color. 
Picture
Duplicate the first line using OPTION+CLICK+
DRAG then repeat the duplicate using COMMAND + D.
Picture
Group all the lines together, set the opacity lower, this is at 50%. CUT the lines. 
​Select the body, choose the Draw Inside Mode at the bottom of the Tool Bar. 
Picture
Paste the lines into the body, position them where they work well then click on Draw Normal mode in the Tool Bar. You are done!
104 Comments

    RSS Feed

    Archives

    March 2021
    February 2021
    December 2020
    September 2020
    August 2020
    July 2020
    June 2020
    May 2020
    April 2020
    March 2020
    February 2020
    January 2020
    December 2019
    November 2019
    October 2019
    September 2019
    August 2019
    July 2019
    June 2019
    May 2019
    April 2019
    March 2019
    February 2019
    January 2019
    December 2018
    November 2018
    October 2018
    September 2018
    August 2018
    July 2018
    June 2018
    May 2018
    April 2018
    March 2018
    February 2018
    January 2018
    December 2017
    November 2017
    October 2017
    September 2017
    August 2017
    July 2017
    June 2017
    May 2017
    April 2017
    March 2017
    February 2017
    January 2017
    December 2016
    November 2016
    October 2016
    September 2016
    August 2016
    July 2016
    June 2016
    May 2016
    April 2016
    March 2016
    February 2016
    January 2016
    December 2015
    November 2015
    October 2015
    September 2015

    RSS Feed

Proudly powered by Weebly
  • Home
  • Contact
  • Classes
  • Blog
  • Blog Index
  • Portfolio
  • Max 2022