Jason Hoppe Adobe Certified Expert & Adobe Certified Trainer
  • Home
  • Contact
  • Classes
  • Blog
  • Blog Index
  • Portfolio
  • Max 2022

Design Points n PixelS


infographic series - Goldfish jumping from a fish bowl

1/29/2018

1 Comment

 
Icons that show motion are fun to look at and also great fun to make. Takes this happy fish, enjoying a swim in his fish bowl, jumping out and creating some bubbles. And there are a few new tips in here to make this even easier!
Picture

Picture
Start the fishbowl with a circle, add a heavy stroke, no fill. 
Picture
Draw a rectangle over the top of the circle, this will cut off the top and make it flat. 
Picture
Select both the circle and the rectangle, use the Pathfinder Minus Front Mode to remove the rectangle and leave the flat top. Make a copy of this off to the side for later use.

Picture
Draw a rectangle, fill it with a light blue for the water. 
Picture
Use the Curvature Tool and click on the top of the rectangle and pull up or down to curve the top and create a wavy edge. 
Picture
Copy the shape, flip it and fill it with a slightly different color and set the opacity to around 30-40% to show the other water through. Select both shapes and CUT (or copy) them.

Picture
Select the fish bowl and click on the Draw Inside at the bottom of the Tool Bar. 
Picture
Paste the wave shapes into the bowl and position them so the waves are in the upper third of the bowl. 
Picture
Draw a rounded rectangle, round the end completely.

Picture
Select the Stroke Panel and click on the Dashed Line check box and put in random numbers to create a random dashed line. Make sure to select the rounded cap  (hotdog) the line ends.
Picture
Control the spacing and the line length in the Stroke Panel until you get the right spacing. 
Picture
Use the Direct Selection Tool to delete the left side and lower left arc.

Picture
Place the "fish path" in position to show where the fish is jumping. Add an arc to the side of the bowl for a reflection. Set the opacity of the arc to 30%.
Picture
Use the copy of the fishbowl create earlier. Fill it with a slightly different blue than the waves, set the opacity to 25% This will get pasted into the bowl but the waves are already pasted into it so using the Draw Inside mode is no longer available. 
Picture
Open your Layers Panel. Find the "Clip Group" that is your fishbowl and waves. Open the group up by clicking on the "Twirly" (yes, really called a Twirly) on the left of the icon to open up the contents. Find the layer you created in the last step and drag it INTO the layer order INSIDE the Clip Group, this is how you can add to a Clip Group that has been created with Draw Inside.

Picture
Here is the slip shadow in the bowl.
Picture
Create the body of the fish starting with a circle. 
Picture
Use the Direct Selection Tool to select the upper point of the circle. Use the UP arrow on the key board to move the point straight up. 

Picture
Picture
Convert the rounded top point to corner point in the Control Bar.
Picture
Use the polygon tool to draw a triangle. While drawing, use the down arrow to change the number of side to three.
Picture
Place the triangle over the fish body, select both shapes and use the Pathfinder Unite Mode to combine the two shapes. COPY this final shape. 

Picture
Use the Stroke Panel to round the corners of the stroke.
Picture
Fill the fish with a gold color. 
Picture
Click on the Draw Inside mode and paste the fish shape into the body. Remove the stoke and add a lighter color fill and move it to the side to create a slip shadow effect. 

Picture
Add a few circles, one black, one white, for the eyes. Create an arc for the mouth. 
Picture
Place the completed fish at the end of the dashed fish path. Add some circles, smaller as they get away from the bowl, to show bubbles. 
Picture
Create four lines in a "plus" formation to show bubbles popping. You have just made a happy gold fish jumping in and out of the fishbowl. 
1 Comment

INFOGRAPHIC SERIES - Droopy eared Dog

1/22/2018

1 Comment

 
This is the second in a series of animals using basic shapes. This is nearly the same as the Curious Cat tutorial here, adding a few dog features to make it a droppy-eared dog. Enjoy!
Picture

Picture
Create a circle. Duplicate the circle and overlap it half way. Select both circles.
Picture
Use the Pathfinder Intersect Mode to create the body of the dog. 
Picture
Draw a rectangle and place it over the shape. Select both shapes.

Picture
Use the Pathfinder Minus Front Mode to remove the lower portion of the body. 
Picture
Use the Direct Selection Tool to select the lower corners and pull the Corner Widgets in to round the corners slightly. 
Picture
Use the Selection Tool to pull the body shape longer. 

Picture
Add a circle with a darker color fill for the head. 
Picture
Add two circles, filled with white, for the eyes. 
Picture
Add smaller black circles.

Picture
For the tongue, create a rectangle, filled with pink. Use the Direct Selection Tool to select the bottom corners and pull the corner widgets in to round the bottom. 
Picture
Draw an Arc for the mouth. Add a stroke to make it bigger. Place the tongue and then bring the Arc to the front to cover the edge of the tongue. 
Picture
Add a black circle for the nose. 

Picture
Draw an Arc for the tail. Add a stroke to make it bigger. Make the color darker than the body for contrast. 
Picture
For the ears, draw a rectangle and add a stroke. 
Picture
Pull the corner widgets into the max amount to round the ends. 

Picture
Use the Direct Selection Tool to select and remove half the shape. 
Picture
Place the ear behind the head. Repeat the process for the other ear. 
Picture
Create circle or ovals, in sets of three, for the paws. 

Picture
Select the body and copy it, then click the Draw Inside button at the bottom of the Tool Bar. 
Picture
Paste the body into the body, change the color to a darker color and use your left/right arrow keys to move the body to create an offset shadow look. 
Picture
Click on the Draw Normal mode at the bottom of the Tool bar. You have a cute, droopy-eared dog!
1 Comment

INFOGRAPHIC SERIES - Curious Cat

1/14/2018

0 Comments

 
Fun and cute curious cat, with a little smirk on its face. Simple shapes, a few easy steps and you have your very own kitty. This is the start of the animal series with these shapes so look for more animals with these basic shapes. 
Picture

Picture
Create a circle, duplicate it and position it half way over the other circle.
Picture
Select both circles, use the Pathfinder Intersect mode to leave the center section for the body. Copy this shape for the ears. 
Picture
Draw a rectangle over the body, select both shapes, use the Pathfinder Minus Front mode to cut off the lower half of the shape. 

Picture
Use the Direct Selection Tool to pull the base down. 
Picture
Use the Direct Selection Tool to select the bottom corners and pull the corner widgets in to round the bottom edges. 
Picture
Draw a circle for the head, place it on the body.

Picture
Paste the shape copied from the main body step. Move the ears into position. 
Picture
Create large white circles for the base of the eyes. 
Picture
Add smaller dark circles to give the eyes direction. 

Picture
Use the Polygon Tool to create a triangle for the nose. 
Picture
Add lines for the whiskers using a darker color. 
Picture
Use the Arc Tool to create a tail, add a heavy stroke and place it behind the body,

Picture
Add two sets of small circles to the base of the body for the paws. 
Picture
Copy the body, then click on the Draw Inside mode at the bottom of the tool bar. 
Picture
Paste the copied shape, change the color then click on the Draw Normal mode. 

Picture
Double click on the body, then click on the shape again. The screen will go slightly gray (you are now in isolation mode). Click on the Draw Inside mode and paste the copied shape into the body, darken the color. Use the Escape key to exit Isolation mode then click on the Draw Normal mode. 
Picture
To add depth the ears, select the ears, the choose Object>Path>Offset Path. Use a negative number as an offset to make the shape smaller. 
Picture
Fill the smaller shapes for the inner ears with a lighter color. 

Picture
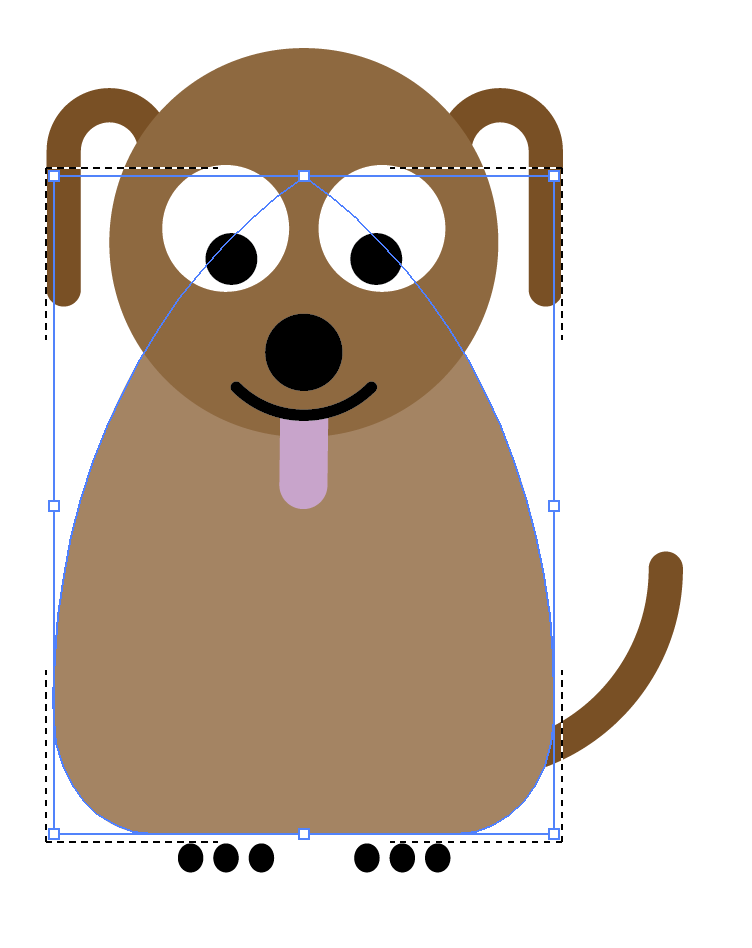
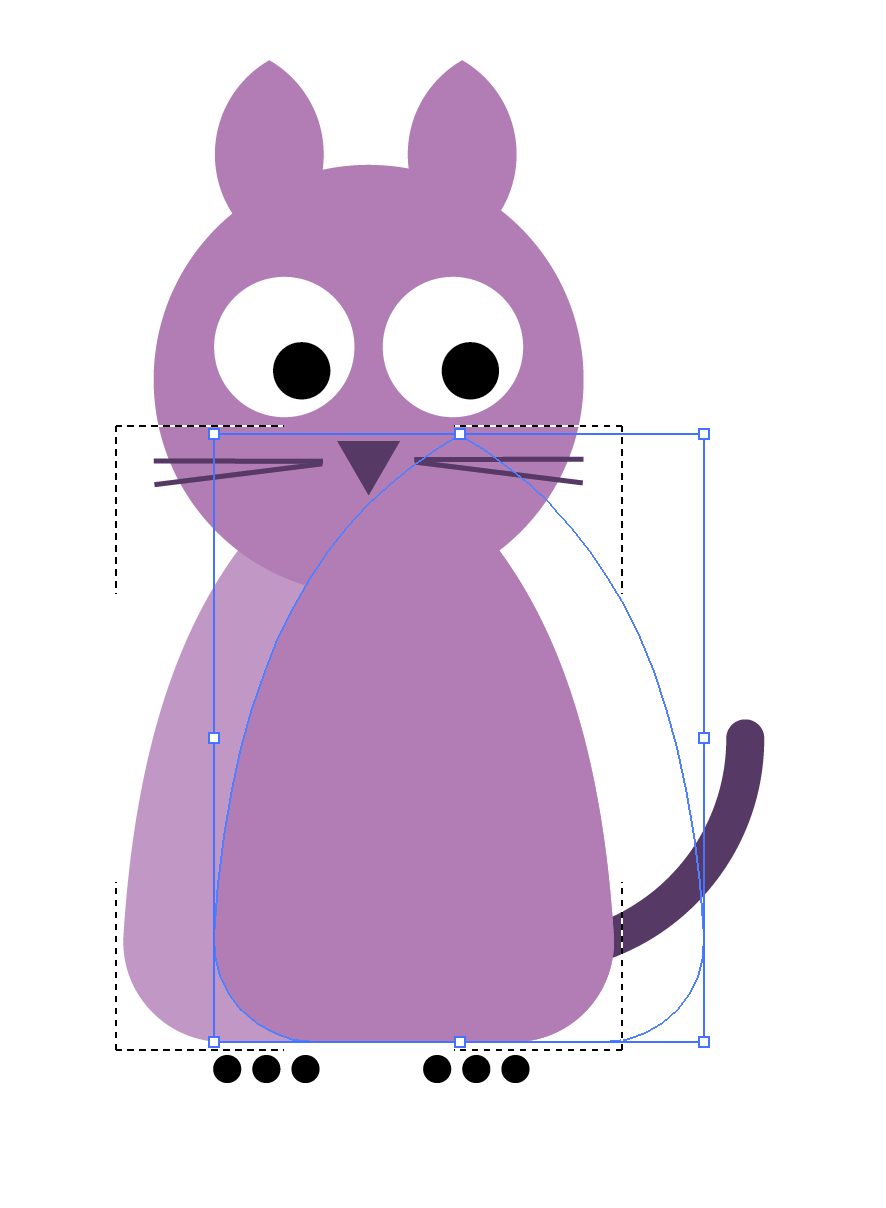
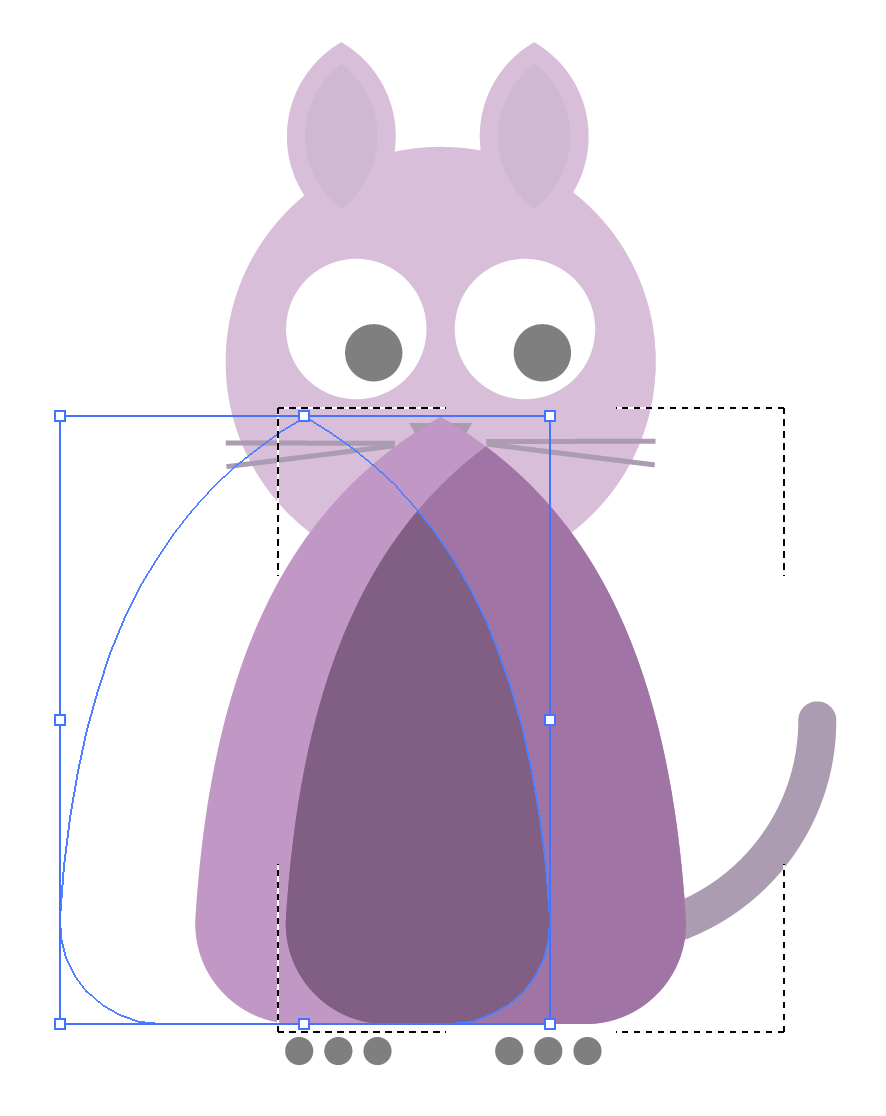
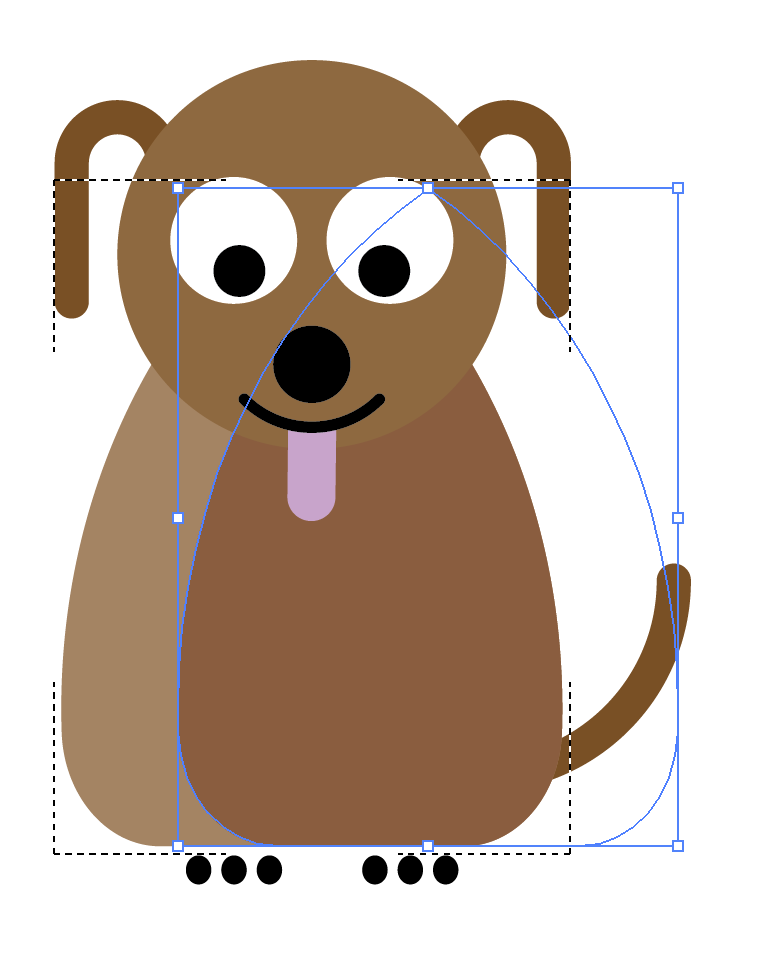
Add a small arc the for the mouth and your cat has a great look and cute smile. 
0 Comments

INFOGRAPHIC SERIES - Snowy Weather

1/8/2018

2 Comments

 
It's cold out there! So here is a snow storm icon with unique snowflakes. Create as many as you want to show a flurry or a storm. Stay warm. 
Picture

Picture
Start the cloud with a rectangle. 
Picture
Pull in all 4 of the corner widgets to round the ends. 
Picture
Repeat the process with smaller rectangles and overlap the new shape 1/2 over the lower shape. 

Picture
Create a third rounded rectangle. Select all three, use the Pathfinder Unite mode to create one shape. 
Picture
Add a 30pt stroke, remove the fill color. 
Picture
Use the Scissor Tool and click at the bottom of the cloud in two locations. Use the Direct Selection Tool to remove the cut section from the scissor tool. Round cap the ends in the Stroke Panel.

Picture
Create a star. Draw the star and use the UP arrow to create more points. 
Picture
Draw a line and circle from the star.
Picture
Add lines to the line. Group all the lines and circle. Do not group the star with the other items.

Picture
Select the grouped items. Choose the Rotate Tool and OPTION + CLICK in the center of the snowflake (shown with the red +). OPTION + CLICK will place the rotation point in the center and open the Rotate dialog box. 
Picture
Snowflakes have 6 sides so the angle is 360° divided by 6. You can type ANY equation in the box, this is the calculator. Click COPY (don't click OK) to copy the set 60°. 
Picture
Once you have rotated/copied the first set use COMMAND + D to duplicate the last rotate command until you have all 6 arms of the snowflake. Select all the elements and group them together. 

Picture
You can create any type of arm for each snow flake with some simple shapes. 
Picture
Longer arms will overlap as the unit is rotated around the center. 
Picture
Try simple lines and shapes to see what the outcome will be, 

Picture
These simple shapes can turn into a cool snowflake.
Picture
Same method each time. Create an arm, group all the elements in the arm together. Rotate the arm around the center at a 60° angle. Duplicate the rotation and a snow flake emerges. 
Picture
Longer arms will touch or overlap when rotated around. 

Picture
The possibilities are endless, just as infinite as there are unique snowflakes. 
Picture
Add one or more snowflakes to your cloud and you have a unique snow cloud icon. 
2 Comments

    RSS Feed

    Archives

    March 2021
    February 2021
    December 2020
    September 2020
    August 2020
    July 2020
    June 2020
    May 2020
    April 2020
    March 2020
    February 2020
    January 2020
    December 2019
    November 2019
    October 2019
    September 2019
    August 2019
    July 2019
    June 2019
    May 2019
    April 2019
    March 2019
    February 2019
    January 2019
    December 2018
    November 2018
    October 2018
    September 2018
    August 2018
    July 2018
    June 2018
    May 2018
    April 2018
    March 2018
    February 2018
    January 2018
    December 2017
    November 2017
    October 2017
    September 2017
    August 2017
    July 2017
    June 2017
    May 2017
    April 2017
    March 2017
    February 2017
    January 2017
    December 2016
    November 2016
    October 2016
    September 2016
    August 2016
    July 2016
    June 2016
    May 2016
    April 2016
    March 2016
    February 2016
    January 2016
    December 2015
    November 2015
    October 2015
    September 2015

    RSS Feed

Proudly powered by Weebly
  • Home
  • Contact
  • Classes
  • Blog
  • Blog Index
  • Portfolio
  • Max 2022