Jason Hoppe Adobe Certified Expert & Adobe Certified Trainer
  • Home
  • Contact
  • Classes
  • Blog
  • Blog Index
  • Portfolio
  • Max 2022

Design Points n PixelS


INFOGRAPHIC SERIES - Chocolate bar with Wrapper

9/24/2018

0 Comments

 
Create this chocolate bar with wrapper. Make the wrapper look like wrinkles and nice squares of delicious chocolate. And of course, it is easy to build, and look cool too.
Picture

Picture
Create a square, filled with a chocolate color
Picture
Draw lines at a 45° angle so they meet precisely at the corners. The color of the stroke is not relevant as they will disappear. 
Picture
Select the lines and the square and choose the Divide mode n the Pathfinder Panel.

Picture
Ungroup the shapes after the Divide mode has been applied. These are broken apart to show the sections. 
Picture
Add a lighter or darker color to each section. 
Picture
Add a square to the top of the sections, select all the shapes and group them. 
Picture
Create a series of sections to make it look like a bar of chocolate. 

Picture
Create a new rectangle. Apply a Roughen Effect to the shape using the Effects>Distort & Transform>Roughen.
Picture
This is the result or hard corners, low size and low detail. Copy this shape for later use as well.
Picture
Create a rectangle over the bar. This is the wrapper.

Picture
Copy the roughen shape and place it over the wrapper at an angle. Choose both the wrapper and the roughen, then choose the Minus Front Mode in the Pathfinder Panel.
Picture
The result looks like a torn wrapper. 
Picture
Create a new rectangle for the gold foil. Copy the roughen shape and apply it to the foil. Select both, choose Minus Front Mode and have the foil cut off. 
​
Copy the foil piece for later.

Picture
Place the foil on the bar, then the wrapper on top. Choose Object>Arrange to bring things front or back. 
Picture
To add a wrinkled paper look to the wrapper and foil, check out a former blog post HERE for the details on this. 

Copy the vector paper after you have created it. ​
Picture
Choose the wrapper, click on the Draw Inside Mode at the bottom of the Tool Bar. Paste the paper look into it. 
Picture
Choose the Opacity link and set the Blending mode to Multiply and opacity of the wrinkle look at 60%.


Picture
Repeat the process with the Foil as well. 
Picture
With the previous foil copy, fill it with a darker color and set the Opacity to 60%, Blend Mode To Multiply.
Picture
Pull the shadow shape into the edge of the bar and you are done!
0 Comments

INFOGRAPHIC SERIES - Build a Backpack

9/17/2018

0 Comments

 
Back to school, and need a back back? Build one and also learn how to easily create multiple alternate colored versions with Recolor Artwork. 
Picture

Picture
Draw a rectangle for the main body of the backpack.
Picture
Pull the Corner Widgets in slightly to round he corners. 
Picture
Add a fill and stroke. This is a 2 pt stroke. Create a duplicate of this shape off to the side, we will use this again.

Picture
For the leather patch at the bottom of the backpack, create a rectangle and corner widget the bottom 2 corners. COPY THIS!
Picture
Select the main body and click on the Draw Inside mode at the bottom of the Tool bar.
Picture
Paste the copied leather patch into the body and move it into the correct position. Click on the Draw Normal mode at the bottom of the tool bar. 

Picture
Ad a rounded rectangle for the front pouch. 
Picture
Create another rectangle, rounded top corners for the top of the pouch.
Picture
Draw filled rectangles for the straps. Open rectangles for the buckles. 

Picture
Add a simple zipper by using the Line Tool, hot dog the ends in the Stroke Panel to give the rounded cap ends. 
Picture
Add an Oval behind the bag for the handle. Object> Arrange> Send To Back. 
Picture
With that copy of the main bag you made in step 2, removed the fill and add a dark stroke. This will be the bag shadow noodle. 

Picture
Use the Direct Selection Tool to select and remove the upper right portion of the rectangle. 
Picture
In the Control Bar, click on the Opacity Link and set the Blend Mode from Normal to Multiply and the opacity to 20%.
Picture
Position the shadow noodle on the bag. Add a white highlight noodle to the top of the bag, 20% opacity, Normal Blend Mode. 

Picture
Add shadow or highlight noodles where needed to help with added dimension. Select the bag and Group it. Duplicate it to make different color versions. 
Picture
Select on of the bags, an choose Edit> Edit Colors> Recolor Artwork.
1. Choose the EDIT tab next the Assign tab. 
2. Click on the LINK ICON (to link colors together).
3. Use the Hue, Saturation & Brightness sliders to change all the colors at one time! 
Click OK when done.


Picture
Picture
Picture
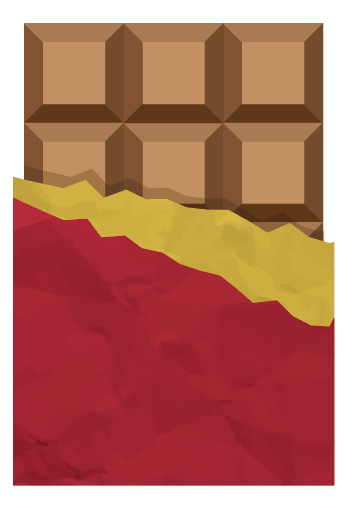
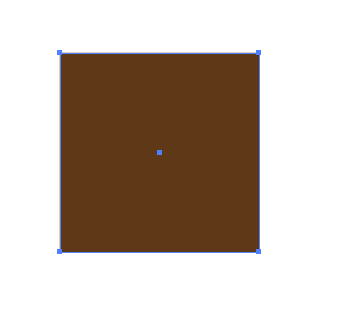
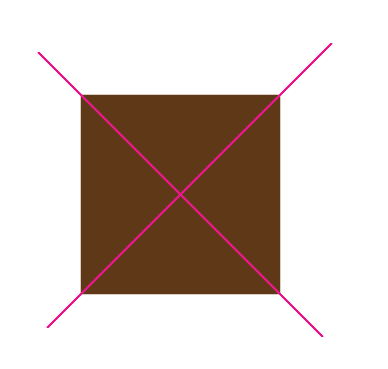
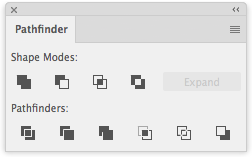
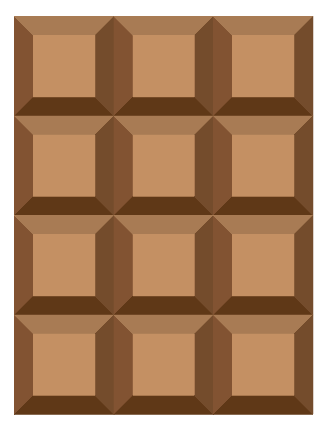
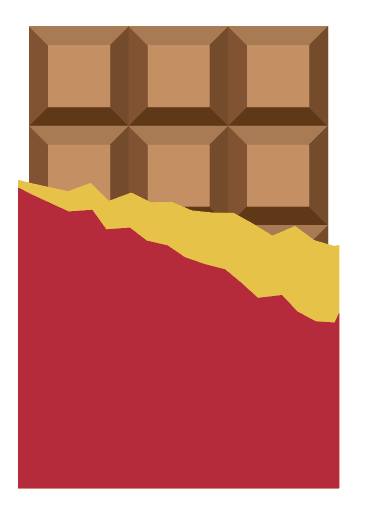
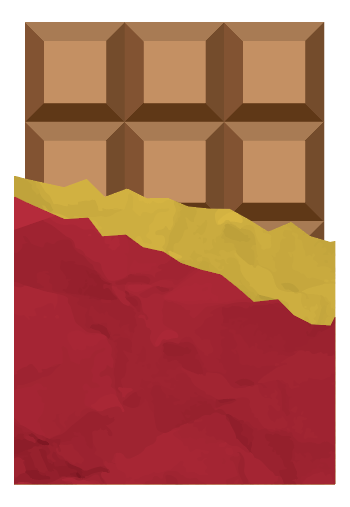
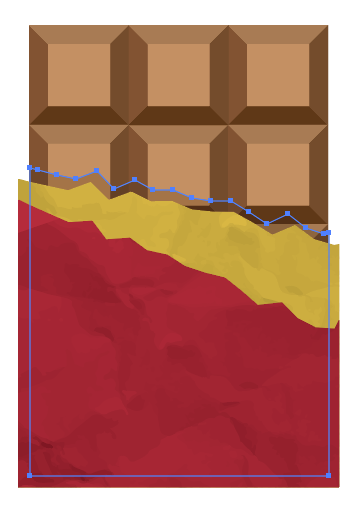
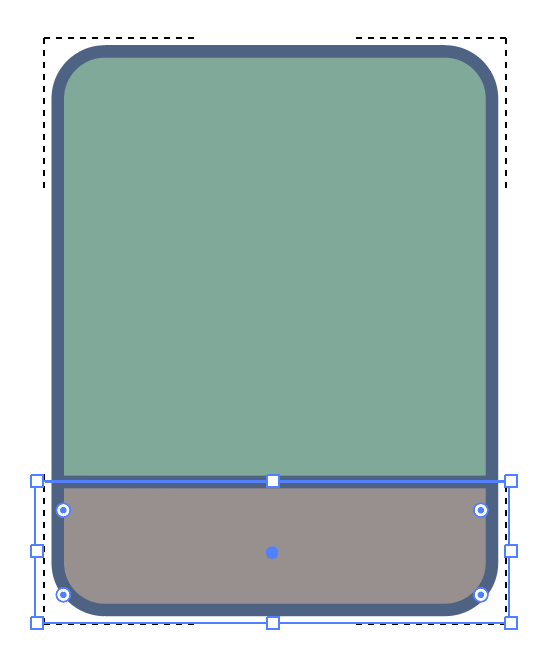
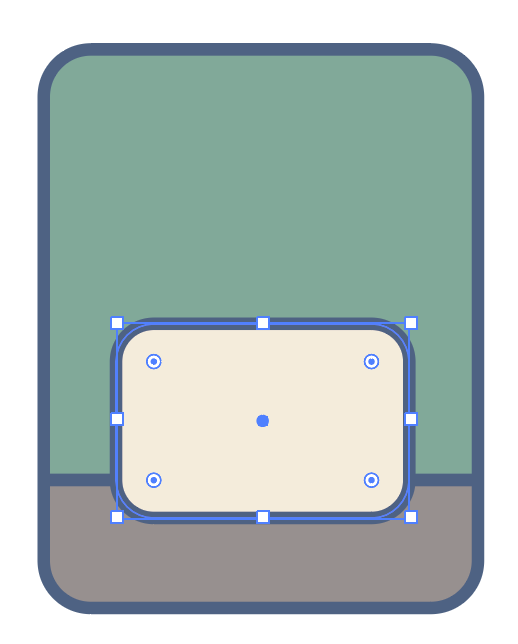
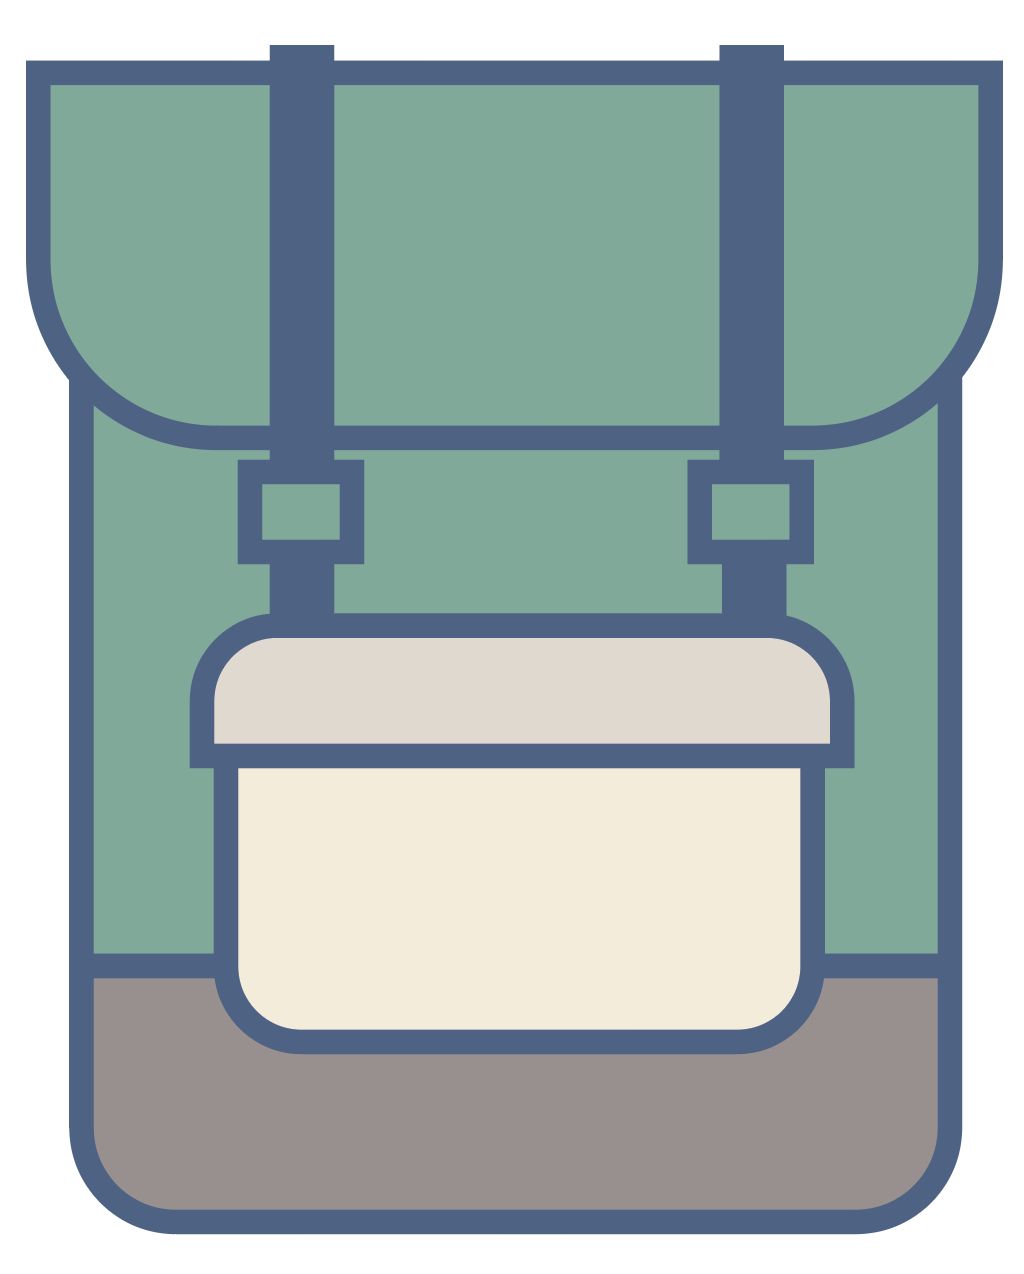
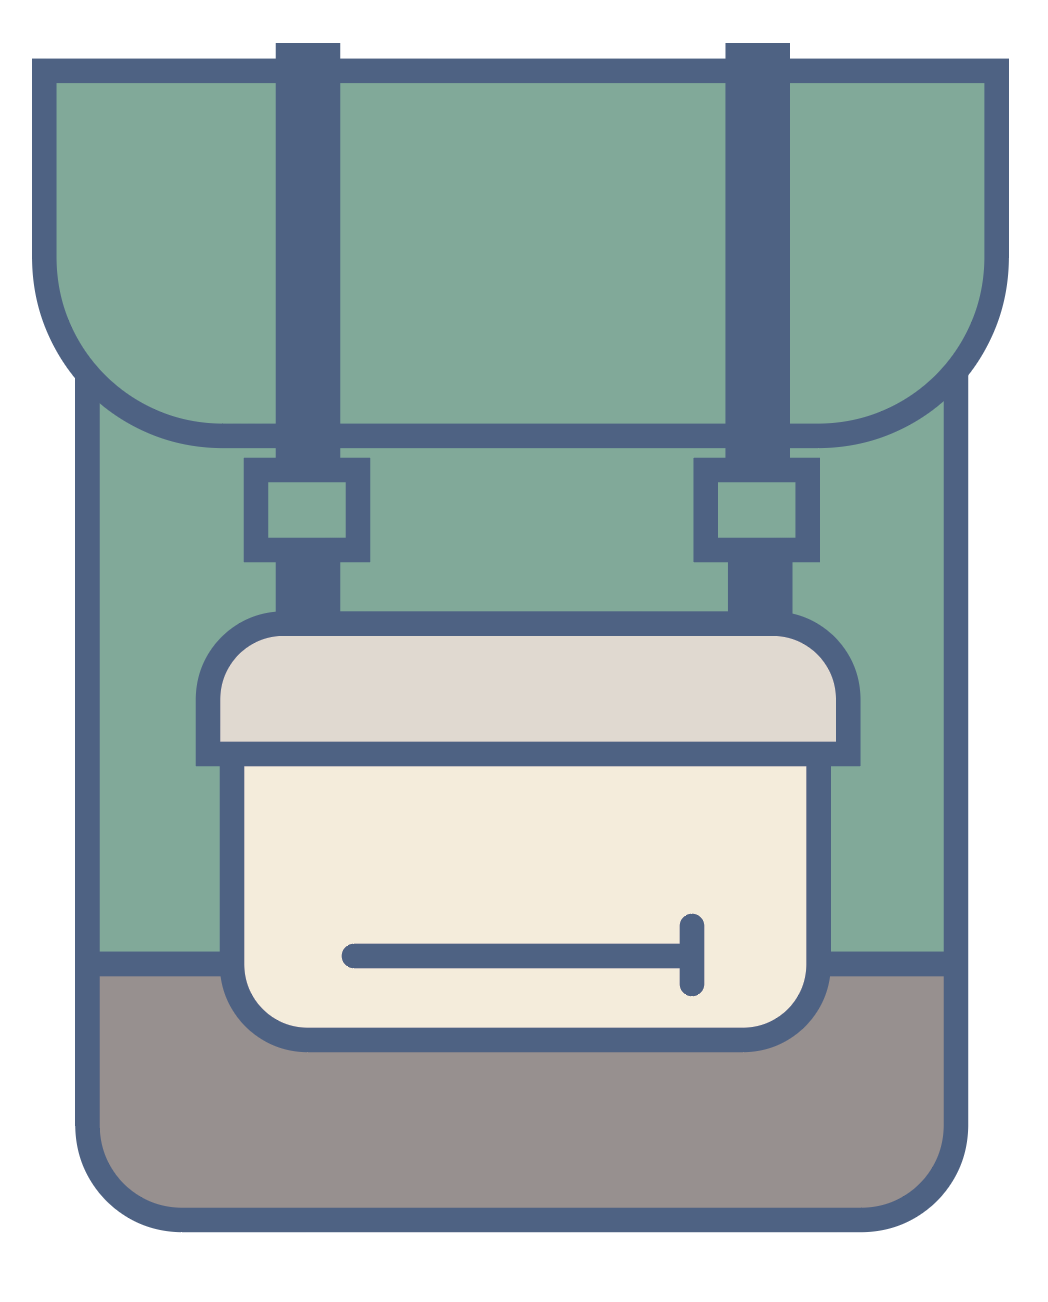
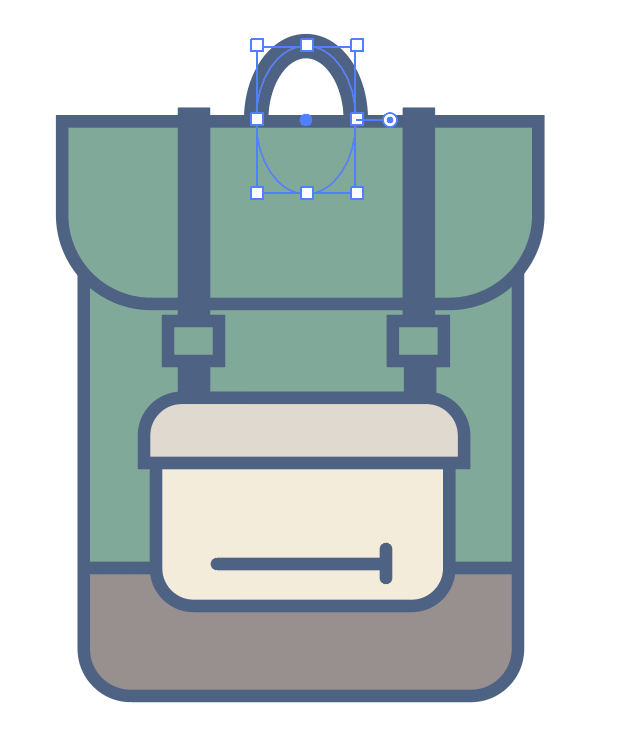
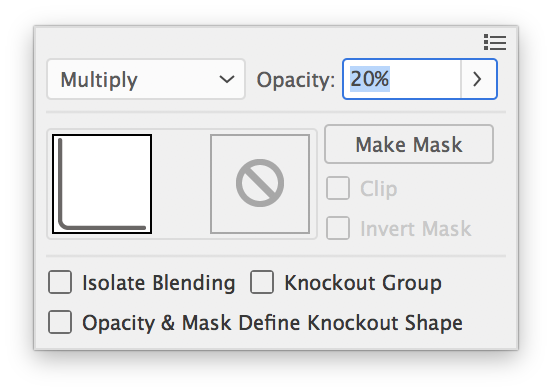
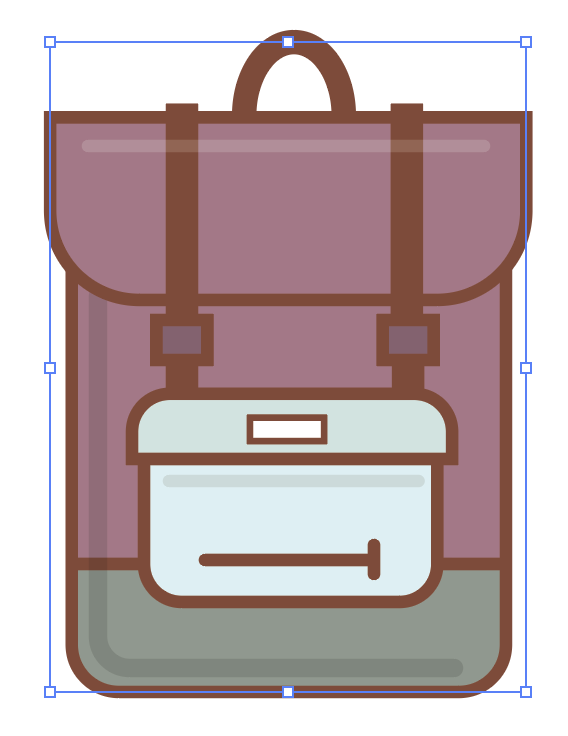
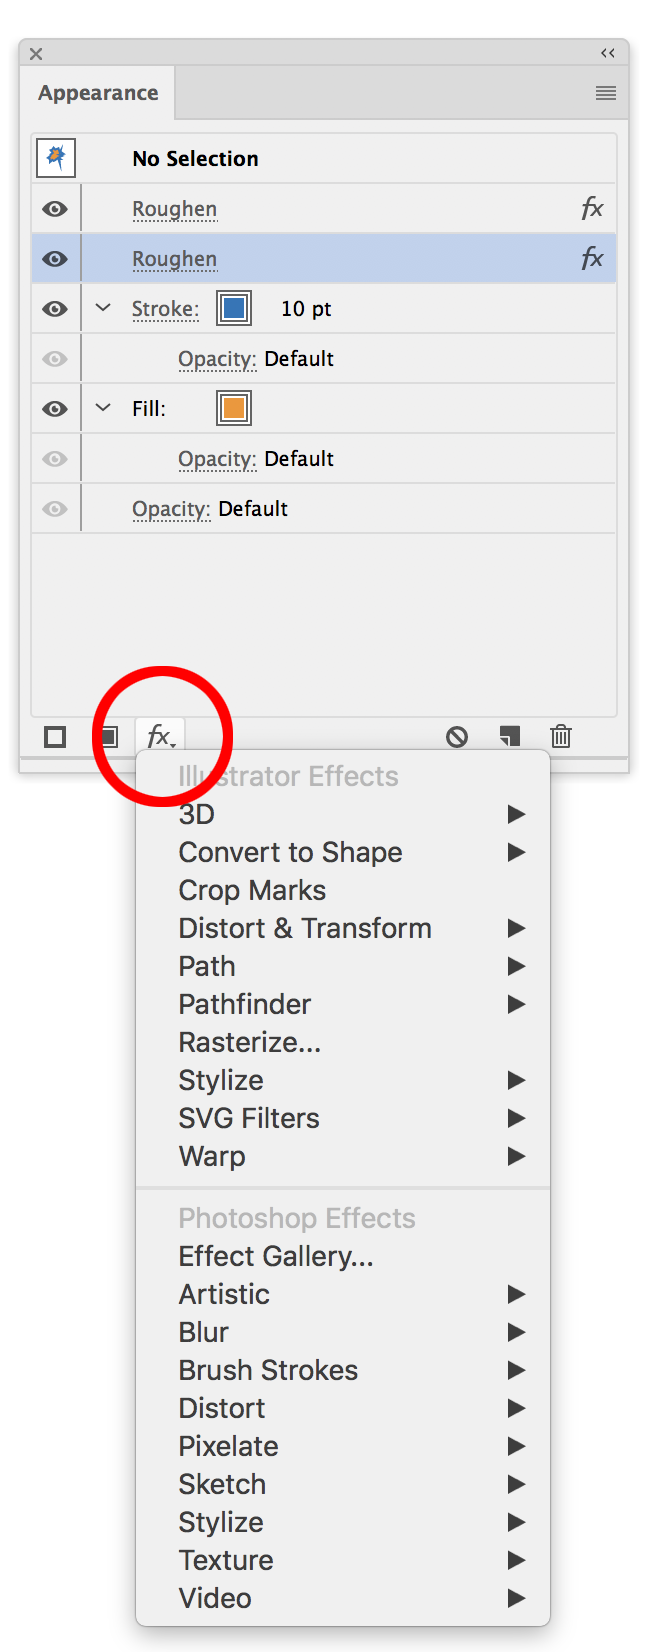
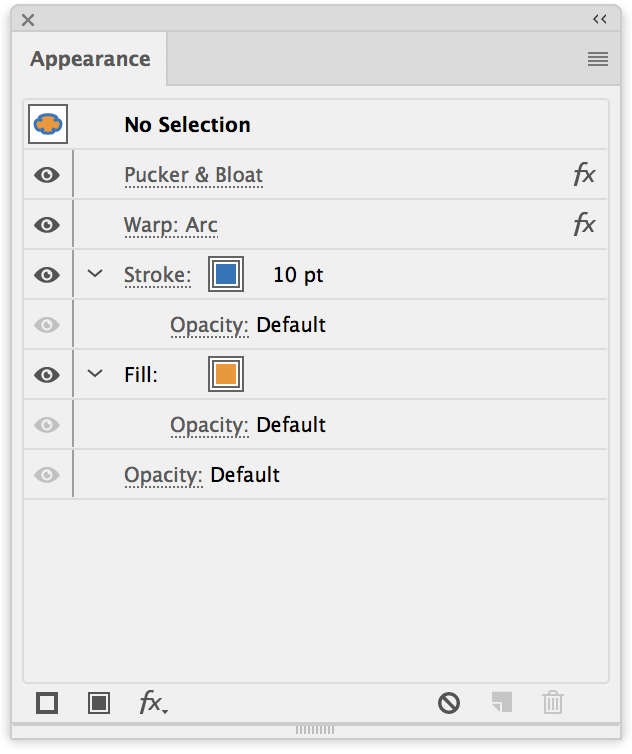
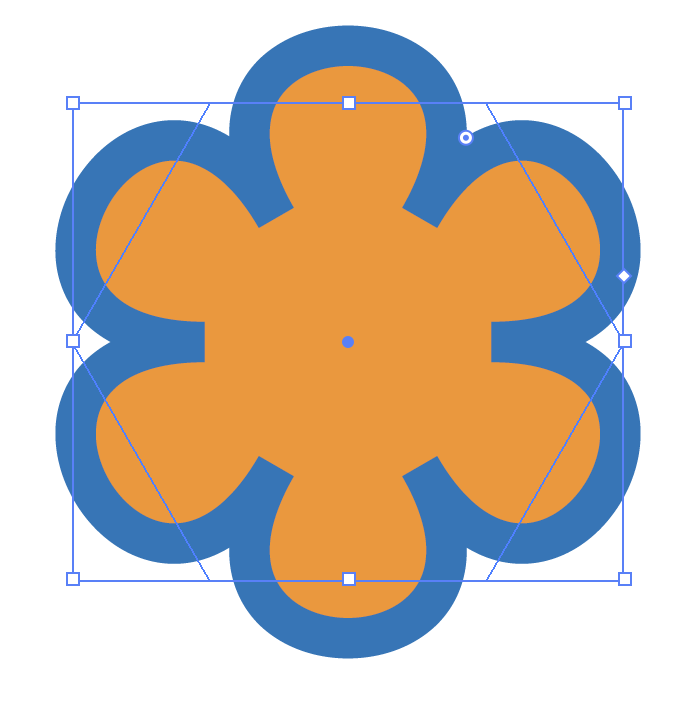
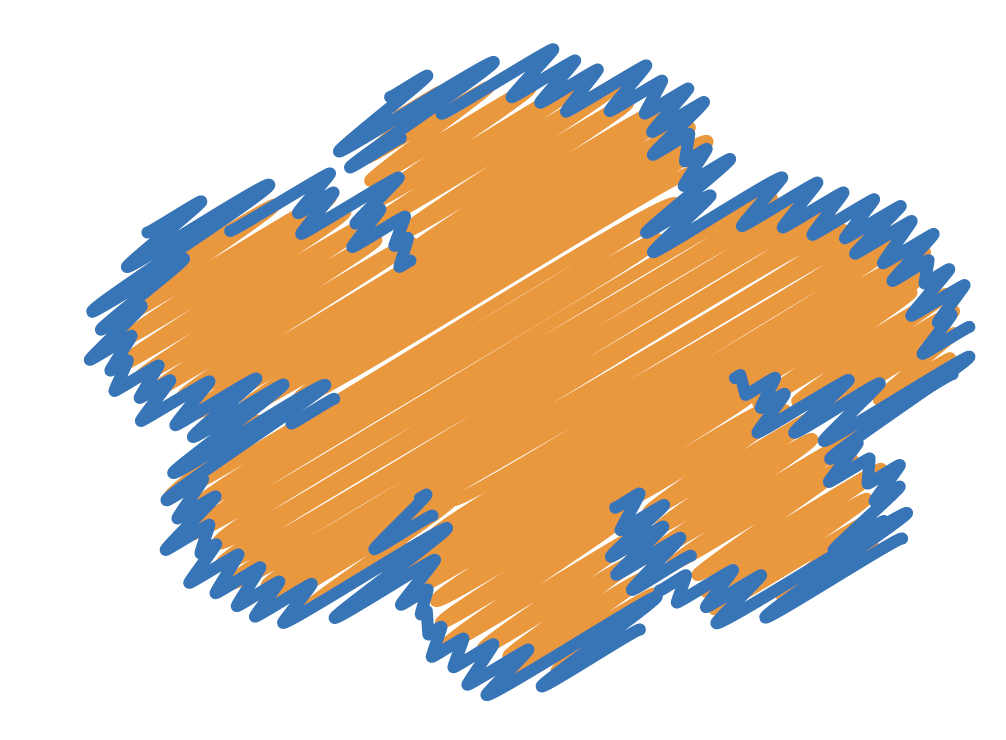
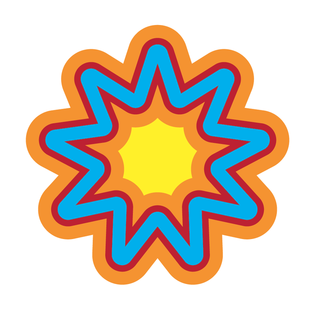
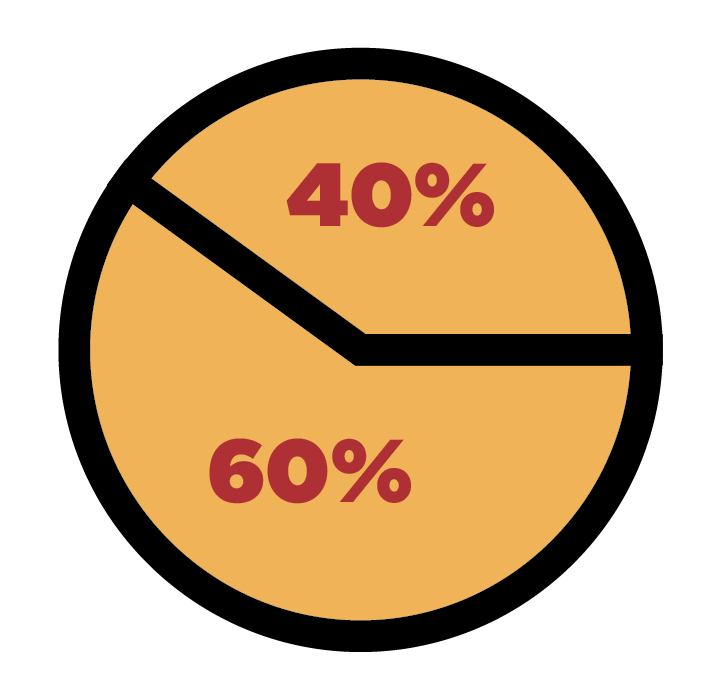
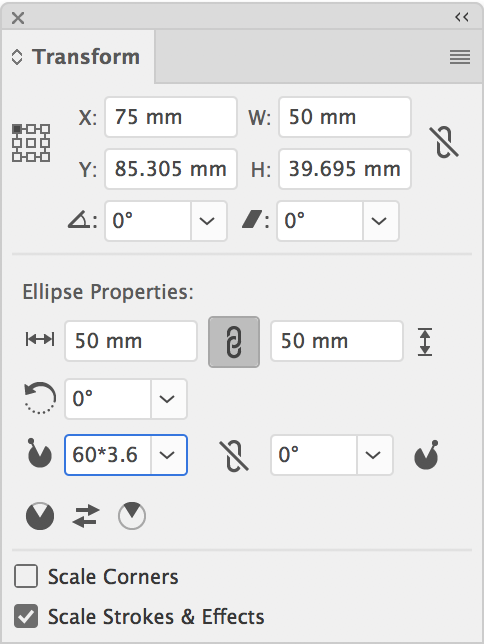
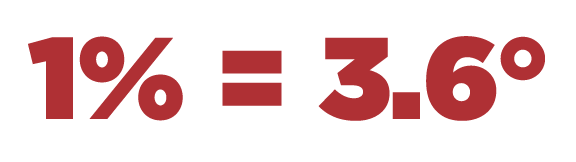
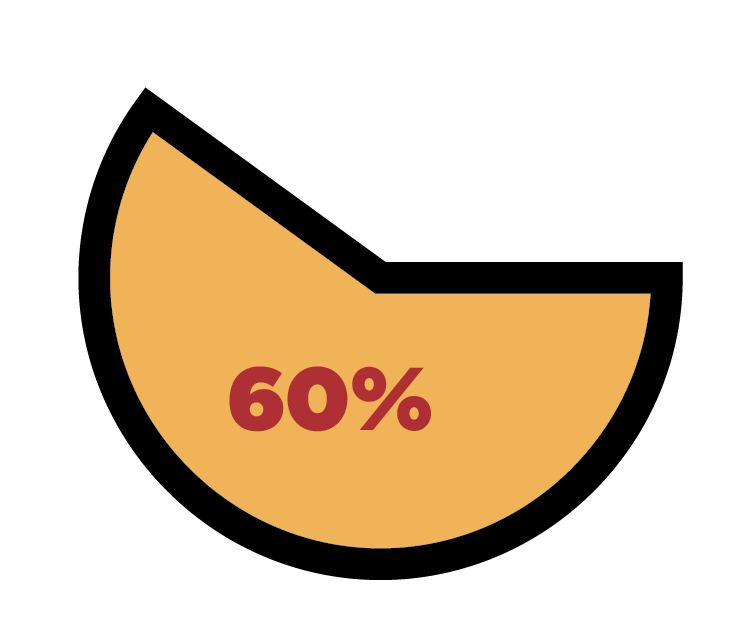
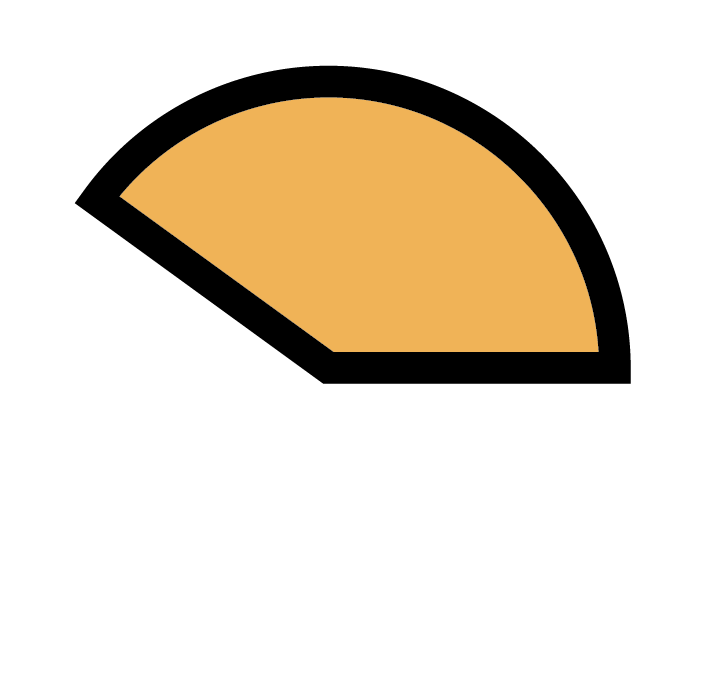
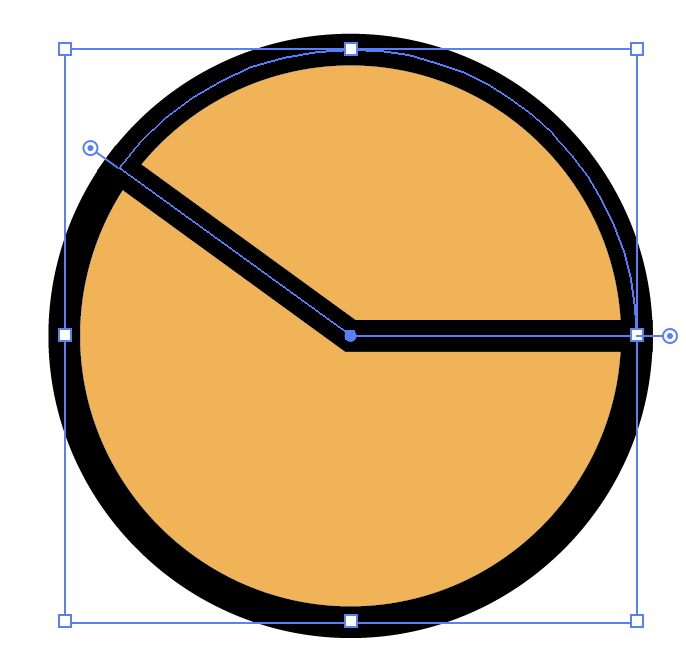
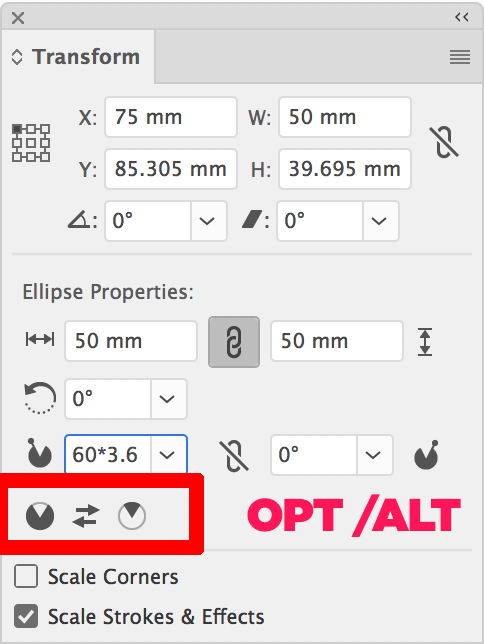
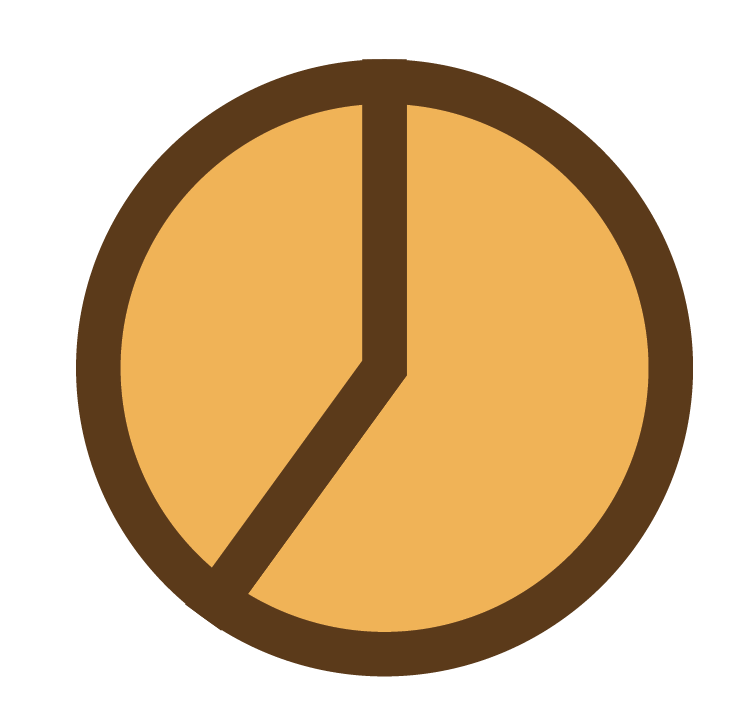
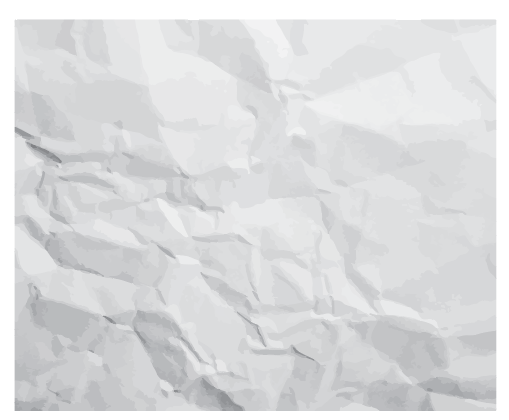
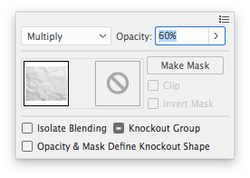
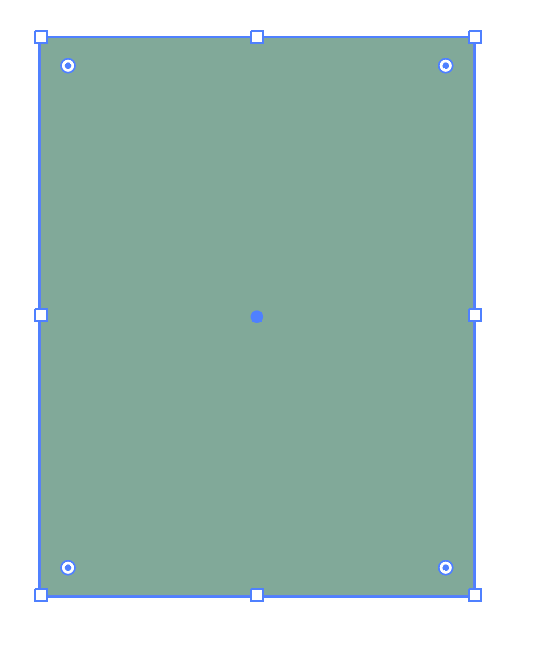
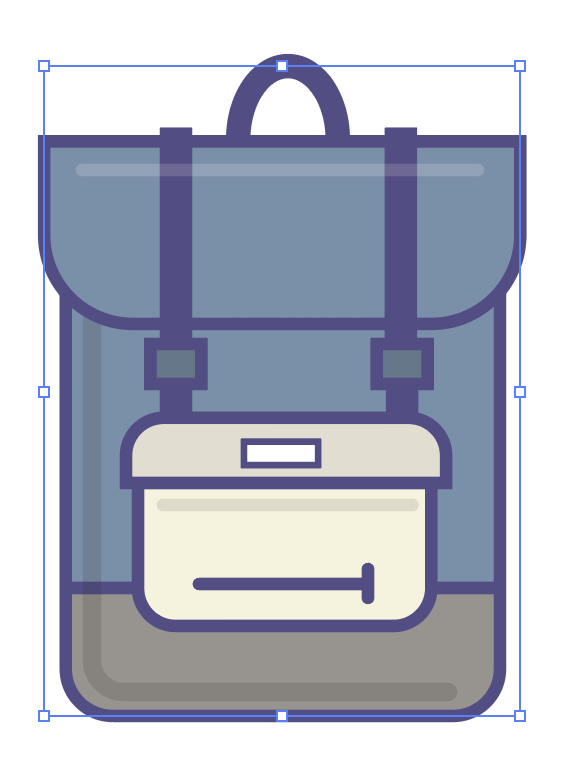
This is a great way to create one piece of artwork and quickly change the colors but keep the same look and feel!
0 Comments

INFOGRAPHIC SERIES - UndersTAnding Illustrator Effects & The Appearance Panel

9/10/2018

0 Comments

 
Understanding Illustrators Effect Menu and the how to edit these effects can be frustrating to many. Here is a quick overview and explainer on what they are, how they work and how this will make you less frustrated using both the Effects and the Appearance Panel. This tutorial is just one of MANY things you can do in the Appearance Panel. 
Picture

Picture
There are 2 sections in the Effects Menu. Illustrator Effect which are (mostly) vector based and can be turned into shapes and paths and be edited in Illustrator. The second section is ALL filters that you can apply in Photoshop; none of these are vector based and cannot be turned into editable shapes. Some of these options may have the exact same names but choosing from the wrong section can give you different results. 

Picture
Draw any shape. 
Picture
Go to Effects> Distort & Transform> Roughen. 
Picture
This is the result. 

Picture
Open the Appearance Panel. You will see the Roughen Effect applied ON TOP of the list. You will also see the stroke color, weight and opacity (which is all editable in the Appearance Panel) as well as the Fill color and opacity.
Picture
If the result from the Roughen Effect wasn't what you wanted, and you go back under Effect>Distort & Transform and try to "change" the effect, you will get this message. 


Picture
When you click Apply New Effect you are not actually editing the existing effect, you are APPLYING ANOTHER EFFECT on top of this one. The result is TWO effects. ​
​

Picture
If you truly want to edit the Effect, and not apply another effect, click on the Effect in the Appearance Panel and edit it there. 
Picture
TIP! The Effects Panel is built into the bottom of the Apperance Panel. No need to go to the Menu bar, click on the FX button and the entire Effects Menu is there. 
Picture
Why would you want to apply more than one Effect? Because you can get cool results!!
I applied a Pucker & Bloat Effect and a Warp. I got this.
Picture

Picture
I started with this shape. 
Picture
Added a Pucker & Bloat filter. This one is the Pucker to bring the points in. 
Picture
I added the Warp filter to this as well. 

Picture
I then added a Stylize Effect (Scribble) to get this. You can go on and on!
Picture
These are all JUST Effects. Which means the shape of your object is still the original shape you drew. It just gives the EFFECT you are seeing and the effect isn't directly editable as shapes. I am in Outline Mode. View>Outline to see the actual shape. 
Picture
If you want to edit the shape as if what you are seeing REALLY IS A SHAPE, you need to go under Object>Expand Appearance. This will take WHAT YOU ARE SEEING and make it an actual shape. 

Picture
After Expand Appearance is applied, this is what the shape looks like. Now what it looks like IS what the shape actually is, not just the Effect. 
Picture
If you want to learn more about Expand and Expand Appearance, here is a link to my blog topic HERE
Picture
There are LOTS MORE things you can do with the Appearance Panel as well. Multiple strokes as shown here. (This is only one shape with several strokes). Go HERE to see how this is done in the Appearance Panel. 
0 Comments

INFOGRAPHIC SERIES - Pie CHarts, Math & the Transform Panel

9/4/2018

0 Comments

 
Yes, these topics are all related. In fact it is how you can create simple pie charts with the Transform Panel and you don't need a calculator to do the math; the Transform Panel will do the math for you! 
Picture

Picture
Open the Transform Panel under Window>Transform
Picture
Draw a circle. 
Picture
On the right side of the circle is a handle that when you over over with the Selection Tool, will show a pie icon.

Picture
Click on the handle and move it around the circle. A tool hint will show up giving you the angles. 
Picture
This is the result. A partial pie chart.
Picture
The handles correspond with the angles in the Transform Panel. 

Picture
I want to end up with a Pie Chart like this. I am not going to draw this or pull the handles to get it exact, I am going to use Math!
Picture
Start with your original circle and type in the first angle the Percentage of the pie you want the piece to be (60%) x 3.6. The math looks like this: 60*3.6 then press return.
Picture
For every 1% of the pie chart it will be 3.6° of a circle. 100% = 360° in a complete circle.  

Picture
The results are 60% of the Pie Chart showing. 
Picture
Now you want the missing piece of the Pie Chart. Don't draw it...
Picture
Select the original piece of the pie and click on the swap pie piece highlighted here in the Transform Panel.
(You have to click on the arrows in between the pie shapes).
This will give you the other piece BUT you will lose the first pie piece!

Picture
You want both pieces of the pie without redrawing. 
Picture
Select the piece of the pie and hold Otion or Alt and THEN click on the flip arrows and this will create a perfect opposite piece that fits perfectly in place!
Picture
Simple easy pie charts, every time!
0 Comments

    RSS Feed

    Archives

    March 2021
    February 2021
    December 2020
    September 2020
    August 2020
    July 2020
    June 2020
    May 2020
    April 2020
    March 2020
    February 2020
    January 2020
    December 2019
    November 2019
    October 2019
    September 2019
    August 2019
    July 2019
    June 2019
    May 2019
    April 2019
    March 2019
    February 2019
    January 2019
    December 2018
    November 2018
    October 2018
    September 2018
    August 2018
    July 2018
    June 2018
    May 2018
    April 2018
    March 2018
    February 2018
    January 2018
    December 2017
    November 2017
    October 2017
    September 2017
    August 2017
    July 2017
    June 2017
    May 2017
    April 2017
    March 2017
    February 2017
    January 2017
    December 2016
    November 2016
    October 2016
    September 2016
    August 2016
    July 2016
    June 2016
    May 2016
    April 2016
    March 2016
    February 2016
    January 2016
    December 2015
    November 2015
    October 2015
    September 2015

    RSS Feed

Proudly powered by Weebly
  • Home
  • Contact
  • Classes
  • Blog
  • Blog Index
  • Portfolio
  • Max 2022