
|
This one is a request from David, he was at Adobe MAX taking the Infographics Class and wanted to know how to make a texture in Illustrator. There are patterns in AI, but not really textures and they tend to be pixel based. But I am going to start with an image of wrinkled paper and make it into a vector based texture 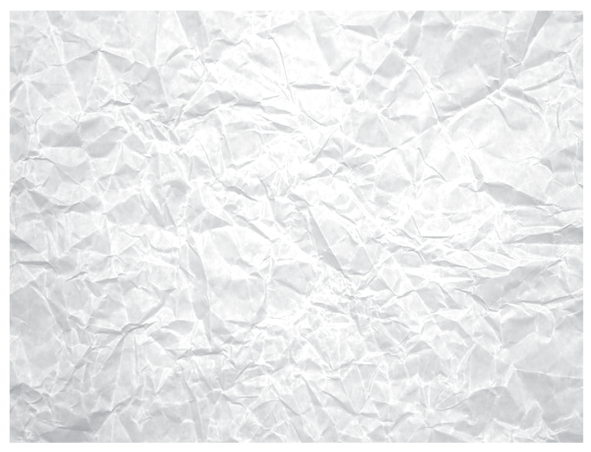 I found this paper on a Google search and opened it in Photoshop and converted it to Grayscale. You can use colored paper if you want colored texture but I start with grayscale and color it in AI. Also, by converting to Grayscale in Photoshop, I can adjust the values of the whites and shadows to get the right contrast. I then go into AI, and choose File > Open and open the image right in Illustrator. It can be a PNG, JPG, TIF, PSD, PDF file. 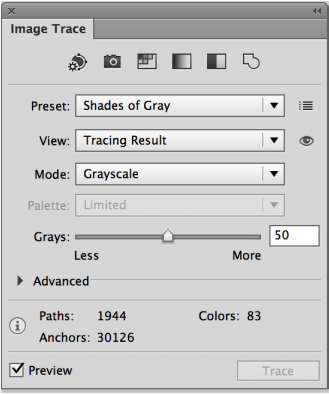 Then open Image Trace Panel under the Window > Image Trace. I set the Preset to Shades of Gray... there are many options here and I wanted it to look virtually the same as the image. View was set to Tracing Results so I can see immediately what it is looking like. Mode defaulted to 50 shades of gray.  This is the vector result, grayscale with 50 shades of gray selected. 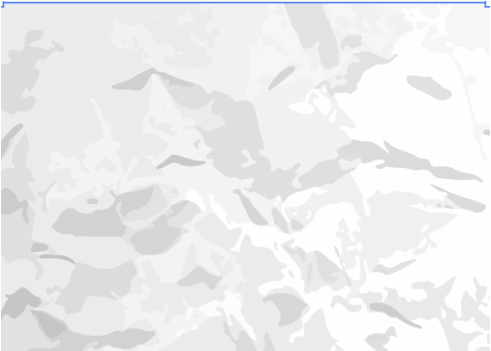 This is the same area set to 5 shades of gray, much less detail  Once the settings are chosen and the results are favorable, click the EXPAND button in the center of the Control Bar to convert the image to vector. The image is now gone from Illustrator and vector art is converted in its place. 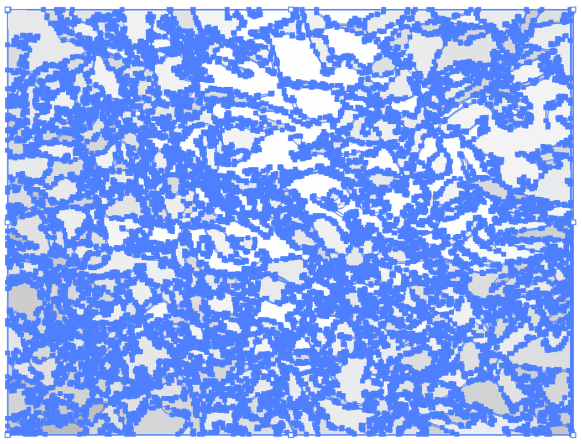 All that is vector, no more image!  And here is texture on top of a shape, and the Opacity set lower than 100% to let the texture look like it is on top of the shape.  A nice trick is to take the paper texture, using the Opacity menu from the Control Bar, you can set the texture to a Blend Mode other than Normal. In this case, I use Multiply which makes anything WHITE in the texture transparent and everything else translucent or see through so that it allows the color/shape from below to be visible.
1 Comment
|
Archives
March 2021
|
 RSS Feed