
|
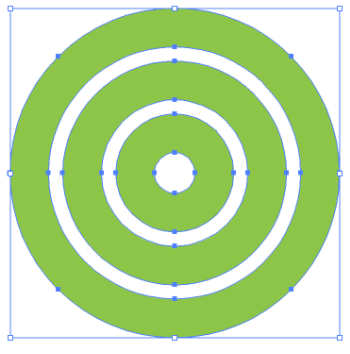
This lesson is a simple yet effect one. How to create concentric circles that are all the same width AND have the same spacing in between them all. You could try to draw each one separately, then try to space them apart and they never quite work as well as you would hope. Here is a way to make it exact, every single time. Start with the Polar Grid Tool, it's nested in with your Line Tool and Arc Tool. Most likely this is the first time you have used this! 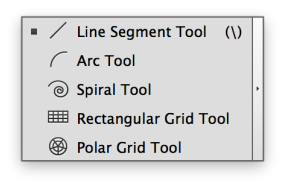 Draw with the Polar Grid Tool while holding SHIFT. DO NOT LET GO OF THE MOUSE or you will have to delete what you have drawn and start again. Make sure to hold SHIFT to create a perfect circle as well. 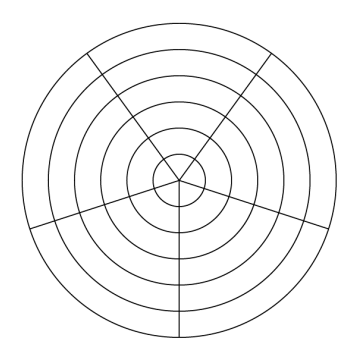 Keep holding the mouse and the shift key while you perform the next steps!!! Using the UP ARROW on your keyboard, you can ADD more rings, DOWN ARROW will SUBTRACT rings. Don' let go of the mouse yet! 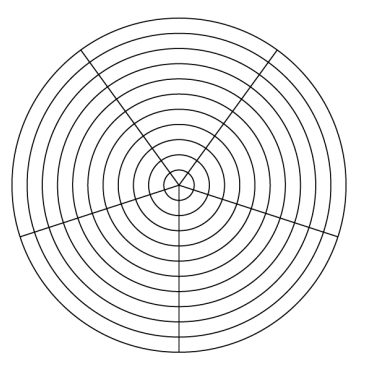 Using the RIGHT ARROW, this will ADD more division lines, LEFT ARROW will SUBTRACT the division lines and you can decrease down to NO LINES. 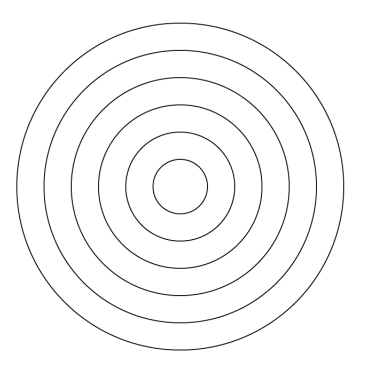 Now you can let go of your mouse, and THEN the SHIFT key. If you let go of SHIFT first, it will not retain a perfect circle and you will have to start all over again. 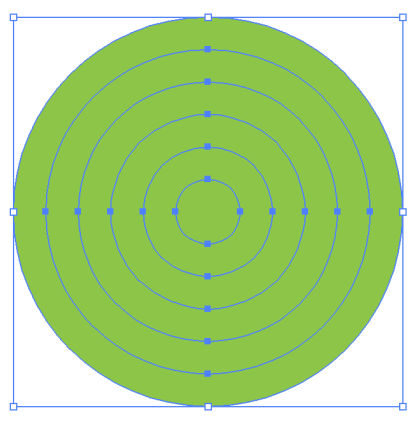 Fill the shape with a color and turn off the stroke weight and color. Then, using the Pathfinder Panel, choose Exclude Mode (far right of the Modes) 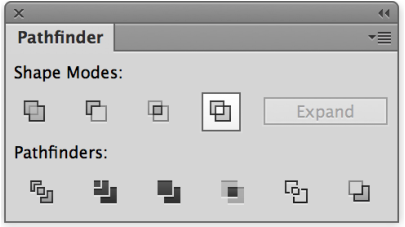 The resulting shape will be concentric rings with every other ring colored! Success! 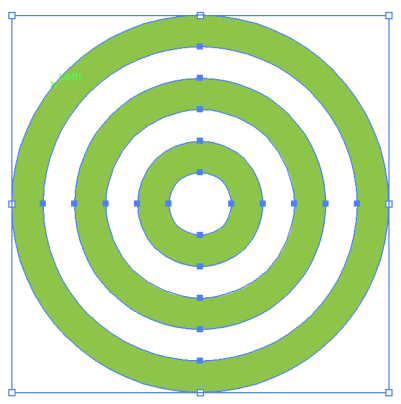 And remember to Ungroup this (Object > Ungroup or SHIFT + COMMAND + G). Every time you run a Pathfinder operation, Illustrator groups things together. This takes a while to get into the Ungroup habit but you will begin to remember this step. ADDED BONUS HERE: If you want to have the space between concentric circles tighter, here is a way to do this easily. 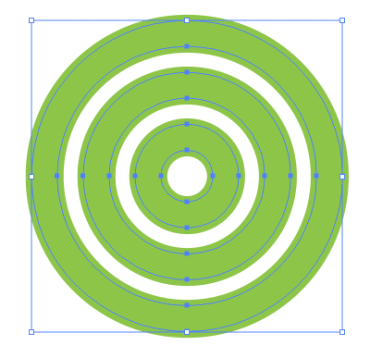 Select the circles and add a stroke to them using the same color. (Above) 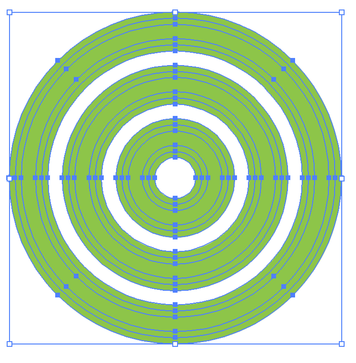 Outline the Stroke using Object > Path > Outline Stroke. (It is not a "best practice" to keep this as a stroke.) If you scale this it may scale the stroke depending on your preferences. Or it may not scale the stroke and the gaps between may fill in our get bigger.
Using the Combine / Unite Pathfinder Mode (far left shape mode) this will combine the outlined stroke and the fill together, leaving you with larger rings and smaller spaces.
And make sure to Ungroup again as the Pathfinder modes just grouped them all together again. Share this with friends and keep on creating!
0 Comments
Leave a Reply. |
Archives
March 2021
|

 RSS Feed