|
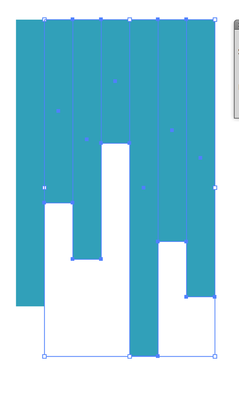
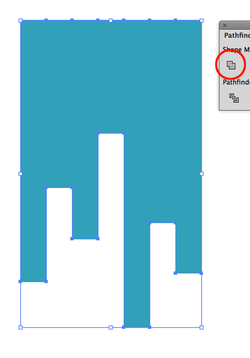
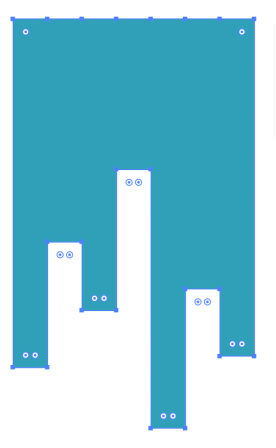
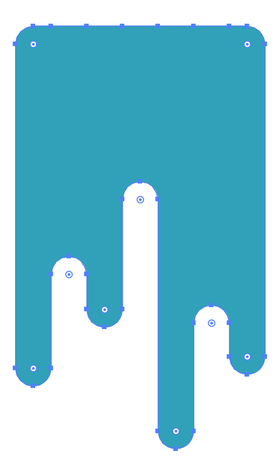
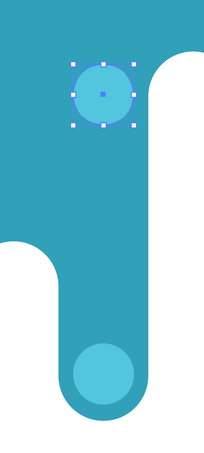
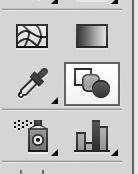
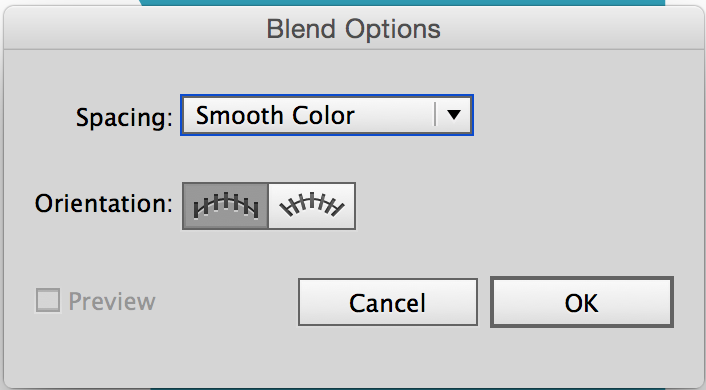
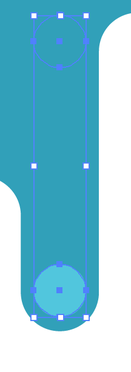
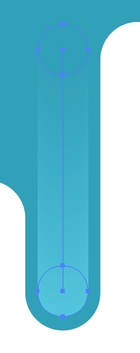
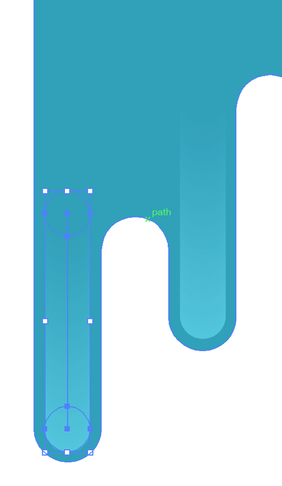
Start by drawing a rectangle and filling it with a color, no border color. OPTION + CLICK and DRAG the rectangle several times to the side, making sure that there is no gap between each rectangle. Take each rectangle and stagger the height. For best results, stagger them long/short/long/short as shown. Select all the rectangles at once, then use the UNITE command in the Pathfinder Panel to make them all one object. With the object still selected, switch over to the DIRECT SELECTION tool and don't click off the object. The Live Corner widgets will appear. Click on a corner widget and pull in until the RED LINES appear on the corners. This will show the maximum roundness of the corners. And there is your drips! To add some fade or action to your drips, draw a circle in on of the drips, centering it inside the drip. Select the Blend Tool from the Toolbar and double click on it. Set the options to be Smooth Color and click OK. Select both circles, then select the Blend Tool and click on the center of one circle, then the center of the other circle. This will blend in Smooth color from one center to the other, leaving a nice fading drip. Copy the Drip Blend (its one unit at this point) to the other drips and center them on the drip. Now you have a wonderful active drip that blends nicely into the background and highlights at the end of the drip.
Enjoy and pass it along!
0 Comments
Leave a Reply. |
Archives
March 2021
|





 RSS Feed