|
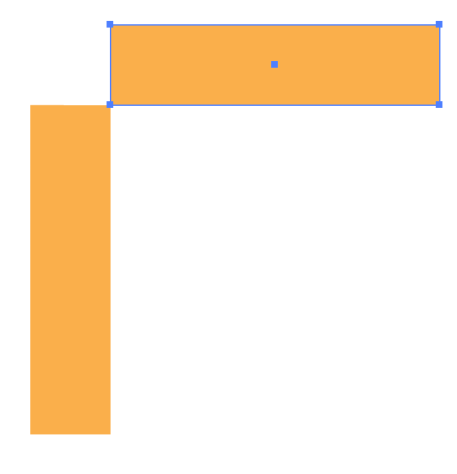
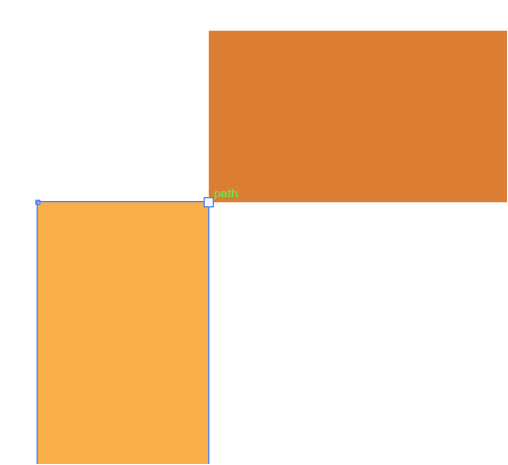
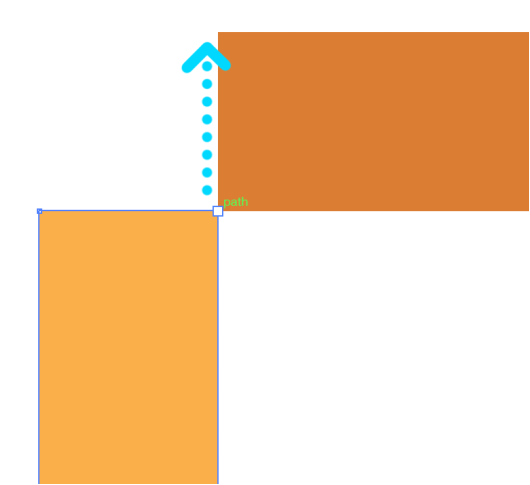
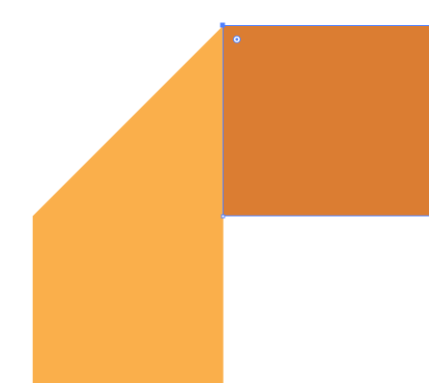
Lets create some ribbons and banners in Illustrator. As I have said in my other posts, this is easy. As all things are once you know how to do them!!! And this one is not exception. And it's fun as well. Draw a rectangle, add a fill color and no stroke. Duplicate the rectangle by using OPTION then click and drag to create a duplicate. Then rotate the rectangle 90° by using the move tool, hovering over an active corner, hold SHIFT and then rotate. Select and move the rectangle so they touch at the corners. Use the Smart Guides (View > Smart Guides or COMMAND + U) to make the corner points touch each other. Fill one of the rectangles with a darker color. The darker rectangle will end up being the back part of the ribbon. Use the Direct Selection Tool to select the upper right corner of the lighter rectangle as shown above. Hold the SHIFT key and move the single select point UP to meet the upper left of the darker rectangle. Moving the point up to meet the corner, it gives the appearance of a folded ribbon, using the darker color to make it look like it is the part of the ribbon behind the front ribbon. Final ribbon turns forward and back depending on which corner you bring to meet the other edge.
This is great and simple, but it takes a few tries to make it go the right way that you want, but once you do, it looks super cool.
0 Comments
Leave a Reply. |
Archives
March 2021
|



 RSS Feed