
|
So yes, this is another simple build of paper with a bent corner, but cool none the less. Lets start with a rectangle, you choose the fill color. 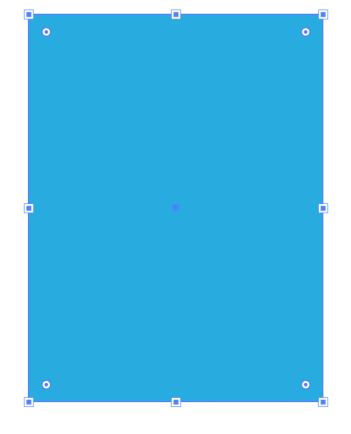 With the Rectangle Tool selected, move the cursor to the UPPER RIGHT corner of the rectangle. Hold OPTION and SHIFT to draw a square, with the center right on the upper corner. 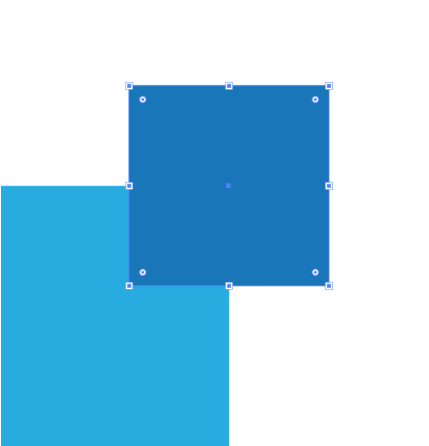 Fill the square with a darker color than you chose with the original rectangle. Note that the center of the SQUARE is exactly on the upper corner of the rectangle. 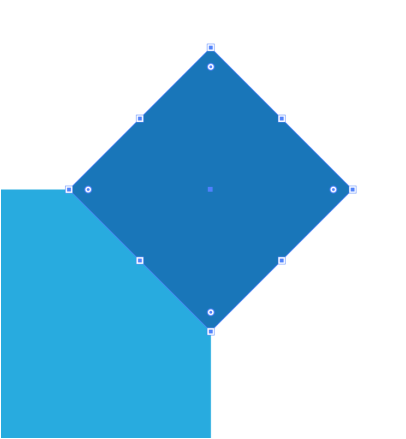 Use the Selection tool, hold SHIFT and hover over the upper right corner of the SQUARE, and rotate the image 45°.
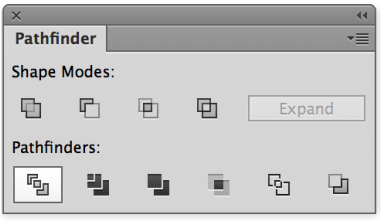
With both the rectangle and the square selected, use the Divide Pathfinder Mode to divide the overlapping items. Ungroup the items (Object > Ungroup or SHIFT+ COMMAND + G) The select the upper right section that is not needed, leaving a triangle in the upper right as shown above.  Select the upper right triangle and hold SHIFT, hover over the outside corner of the square and rotate it 180° from the original position. This results in a turned upper corner. 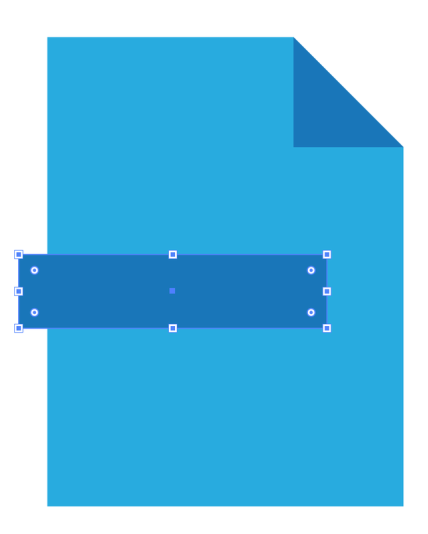 Draw a rectangle over the body of the original rectangle. Hang the left edge of the new rectangle over the edge. 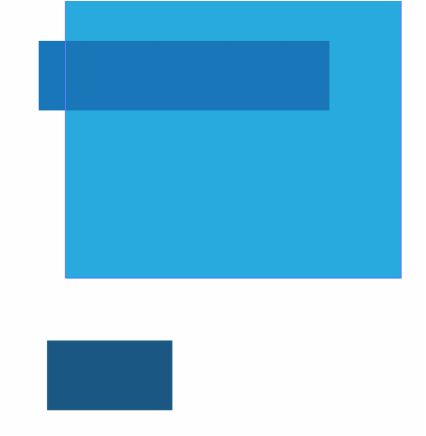 Select the new rectangle, hold OPTION and click and drag (duplicate) the rectangle band down and fill it with a darker color than you have used before. 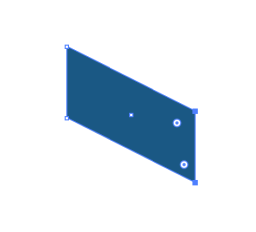 Use the Direct Selection Tool to select just the right 2 points of the newly duplicated rectangle. Hold SHIFT and use the keyboard Down Arrow to move the point down to shift the right edge down as shown. 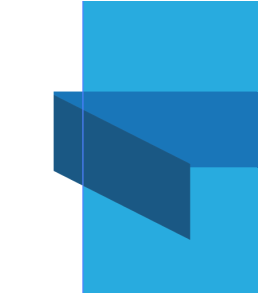 With the Selection Tool, move the shifted rectangle up into position on top of the rectangle band running across the main rectangle. Use the Smart Guides to align it to the very edge and points of the original rectangle. Send the shifted rectangle to the back. Object > Arrange> Send To Back or SHIFT + COMMAND + ]  And here is the end result. A paper look with the bent edge and band running over the top with a return.
It's that easy! Try it and share it.
0 Comments
Leave a Reply. |
Archives
March 2021
|

 RSS Feed