|
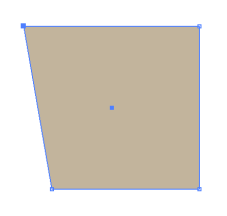
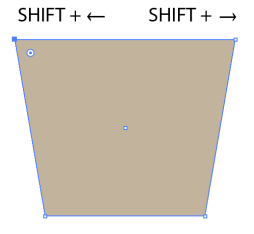
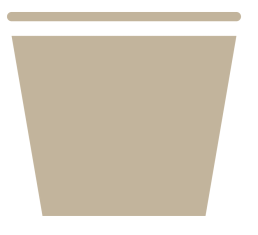
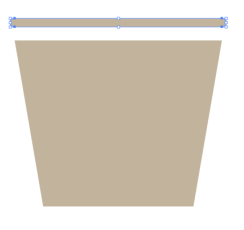
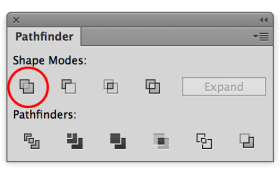
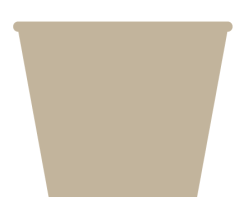
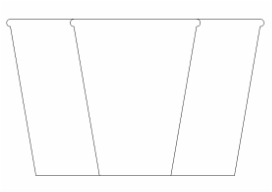
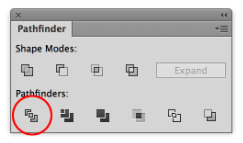
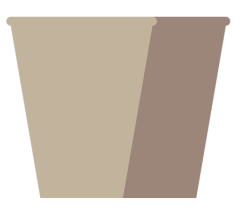
How to create a simple paper cup, nice rolled top edge. Start with a rectangle and fill it with a color, no stroke on it. Take the Direct Selection Tool (A) and select only the upper left corner point. hold SHIFT and then use the left arrow to move the point to the left. Shift increases the increment of the left arrow movement by 10. Do this action 2 or 3 times to angle the edge out. Do this on both upper points to match the angle on each side. Repeat the same action by selecting the upper right point with the Direct Selection tool and SHIFT + right arrow to move the point. Draw a line above the cup, the same width as the cup. Add a stroke weight to the cup and choose the same color stroke as the fill color of the cup. Add rounded caps on the end of the lines. Select the line with the Selection Tool and convert the path to a shape. Object > Path > Outline stroke Move the line down to touch the top of the cup, the select both the cup and the line and use the Unite action in the Pathfinder panel. Select the cup with the Selection Tool, hold OPTION and SHIFT. Click and drag the cup to the left to duplicate the cup, about 1/3 of the way left. Preview Mode ( COMMAND + Y) shows the outline of the cup duplicated. With the Preview Mode turned back on (COMMAND + Y), select both cups and use the Divide action in the Pathfinder Panel to divide the cup into sections. Once the Divide mode is applied, select the cups and Ungroup them. Object > Ungroup (COMMAND + SHIFT + G). Them select the left section of the cup and delete it. Select the right edge of the cup section with the Selection Tool, change the color to a darker color to create a cast shadow appearance. And that is a simple paper cup, with or without the cast shadow lighting effect.
0 Comments
Leave a Reply. |
Archives
March 2021
|



 RSS Feed