Jason Hoppe Adobe Certified Expert & Adobe Certified Trainer
  • Home
  • Contact
  • Classes
  • Blog
  • Blog Index
  • Portfolio
  • Max 2022

Design Points n PixelS


infographic series - String of Holiday lights

12/23/2015

0 Comments

 
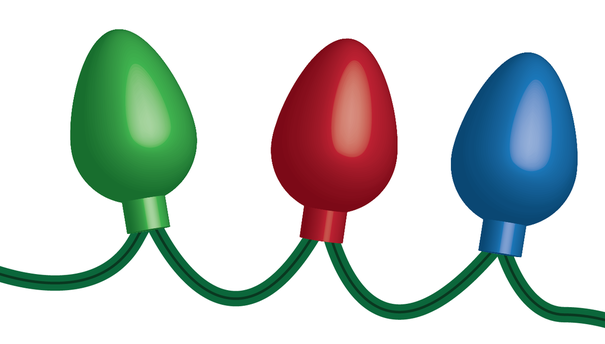
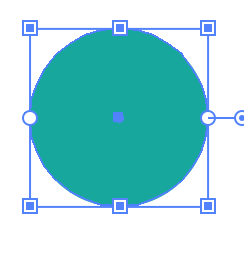
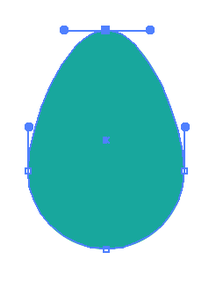
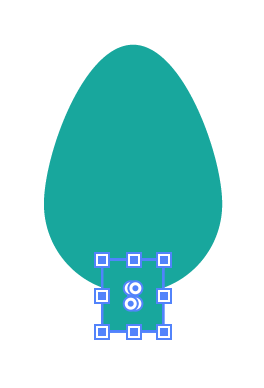
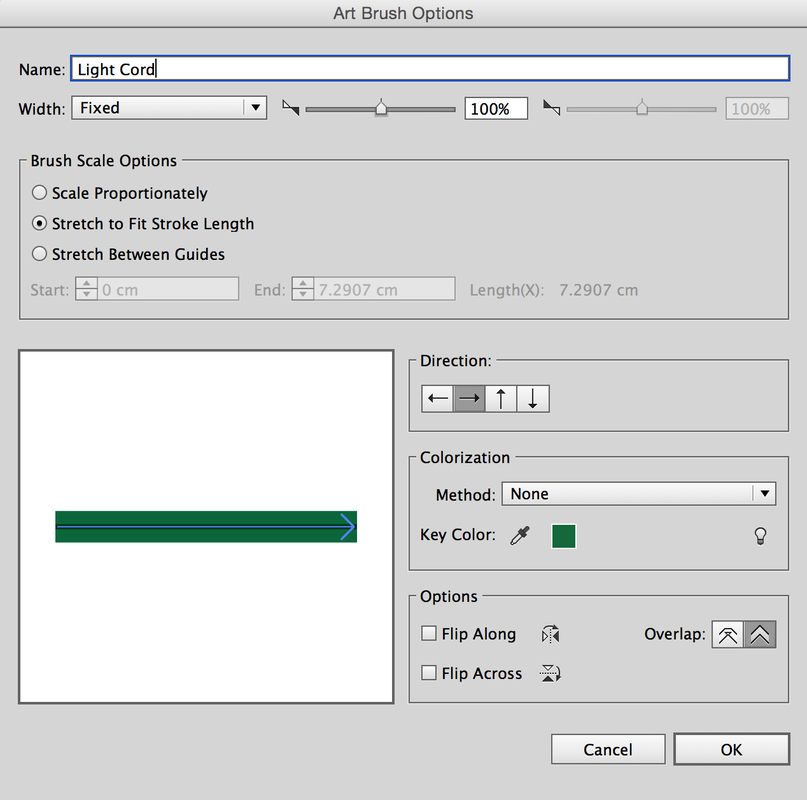
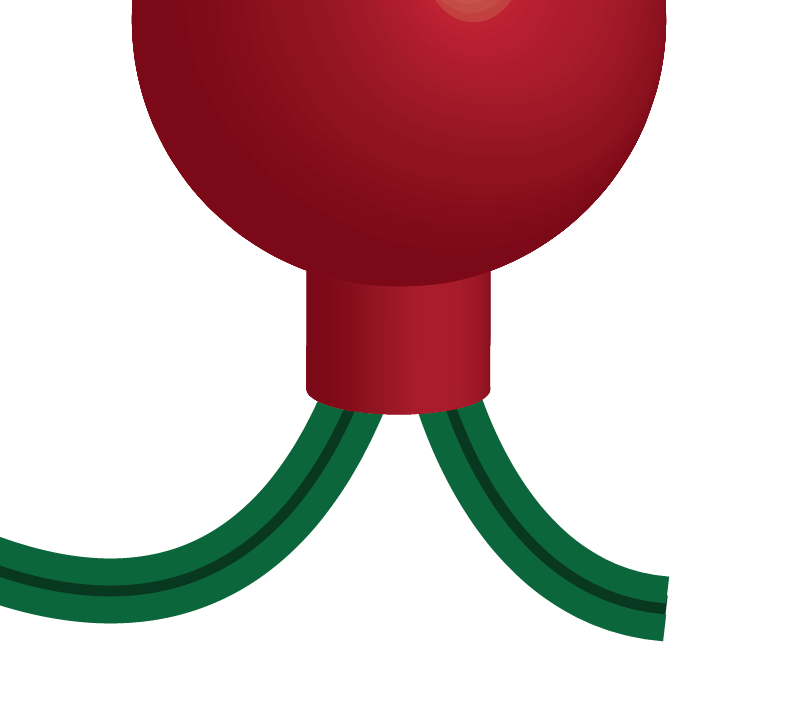
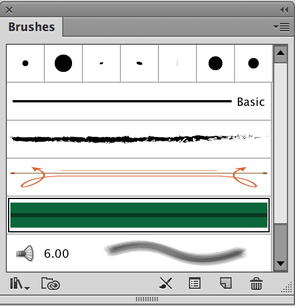
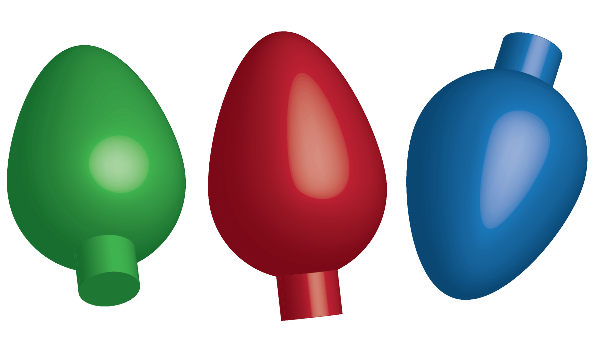
Tis the season for some holiday lights, so make some!
Start your holiday light by drawing a circle, hold SHIFT to make it a perfect circle.

Fill the circle with a color.

Use the Direct Selection Tool to select the top most point of the circle. Hold SHIFT and UP ARROW to make the more like the shape of a light bulb.
Picture
Picture

Draw a rectangle at the bottom of the light, making sure it is centered on the bulb.

Select the bulb and the rectangle base. Open the Pathfinder Panel (Window>Pathfinder) and choose the Unite button to combine the two shapes into one.

Create a rectangle and place it over half of the shape, making sure that the long edge of the rectangle is directly centered in the bulb.

Picture
Picture

Select the bulb and the rectangle and choose the Minus Front button in the Pathfinder panel.

The result with be half a blub.

​Under the Effects Window, choose 3D > Revolve.
Picture
Picture

The 3D revolve dialog box will open. Click the Preview button at the lower left of the dialog box.

Use the drop down menu (highlighted in red) and set the edge to be Right Edge. This will revolve around the right edge of the bulb.

The bulb will render on screen. If you want to rotate the bulb, use the 3D cube in the upper left, keeping in mind the face highlighted in Blue is the front face. Grab the cube and move it around to see how it rotates the bulb on the X, Y and Z axis.

​Click OK
Picture

If you want to change the color of the bulb, select the bulb with the selection tool and choose another fill color from the Swatches Fill Panel. It will automatically render in that color. Duplicate it and make several bulbs that are different colors.

To edit the rotation of the bulb, open the Appearance Panel under the Window menu. Select the bulb and then click on the 3D Revolve link in the Appearance Panel.

You cannot go back under the Effects menu and choose 3D revolve again, it will remove the 3D and you will start over.
Picture

Creating the Light Cord to attach the lights.

Draw a straight line, make it dark green. This line has a stroke of 8 pts.

Duplicate that line and leave a bit of space vertically between the 2 lines.
​
Add a 3rd line, make that a bit darker green and place it behind the other two lines (COMMAND + SHIFT + [)
Picture
Picture

Select all 3 lines and open the Brushes Panel from the Window Menu.

Click on the Brushes drop down menu (the cheese grater) and choose New Brush…

Select Art Brush and click OK.

Name the brush in the next Dialog Box and click OK.
Picture
Picture
Picture

Now draw a line using either the pencil tool, the pen tool or with the brush tool.

With the line selected, choose the green “power cord” you created in the brushes panel. You can adjust the width of the cord by adjusting the point size of the line.

Draw path to make it look like it connects with the lights.
Picture
Picture

To edit the rotation of the bulb, open the Appearance Panel under the Window menu. Select the bulb and then click on the 3D Revolve link in the Appearance Panel.
Picture


Picture

Happy Holidays!
0 Comments


Leave a Reply.

    RSS Feed

    Archives

    March 2021
    February 2021
    December 2020
    September 2020
    August 2020
    July 2020
    June 2020
    May 2020
    April 2020
    March 2020
    February 2020
    January 2020
    December 2019
    November 2019
    October 2019
    September 2019
    August 2019
    July 2019
    June 2019
    May 2019
    April 2019
    March 2019
    February 2019
    January 2019
    December 2018
    November 2018
    October 2018
    September 2018
    August 2018
    July 2018
    June 2018
    May 2018
    April 2018
    March 2018
    February 2018
    January 2018
    December 2017
    November 2017
    October 2017
    September 2017
    August 2017
    July 2017
    June 2017
    May 2017
    April 2017
    March 2017
    February 2017
    January 2017
    December 2016
    November 2016
    October 2016
    September 2016
    August 2016
    July 2016
    June 2016
    May 2016
    April 2016
    March 2016
    February 2016
    January 2016
    December 2015
    November 2015
    October 2015
    September 2015

    RSS Feed

Proudly powered by Weebly
  • Home
  • Contact
  • Classes
  • Blog
  • Blog Index
  • Portfolio
  • Max 2022