Jason Hoppe Adobe Certified Expert & Adobe Certified Trainer
  • Home
  • Contact
  • Classes
  • Blog
  • Blog Index
  • Portfolio
  • Max 2022

Design Points n PixelS


Sprocket and Chain

12/8/2019

0 Comments

 
Create this chain and sprocket using Brushes. Yes, brushes. This is a lot easier than it looks. The chain links and the sprocket teeth are created and made into a pattern brush. Create the shape, apply the brush and you have a sprocket and chain. 
Picture

Picture
Start a link of the chain with a circle. 
Picture
Duplicate the circle. Leave less than one circles space between the two. 
Picture
Add a rectangle between the two circles. Make the height of the rectangle 2/3 of the height of the circles. 

Picture
Select all three shapes and use the Pathfinder Unite mode to create on shape. 
Picture
Use the Direct Selection Tool to select the inner 4 corners and pull the corner widgets out from the center. 
Picture
This will create a smooth inner curves.

Picture
Remove the stroke and add a solid fill. 
Picture
Select the link and choose Object > Path > Offset Path and set the offset to 10 pt to make a bigger shape.
Picture
Select the new shape and add a heavy stroke and no fill. 

Picture
Add circles to the ends of the links to create a chain link. 
Picture
Duplicate the outer shape. 
Picture
Use the Direct Selection Tool to select and remove the ends of the shape, leaving just the lines. 

Picture
Move the lines to the end of the link, so the lines end up with the curves of the link. Duplicate the link and move it to the left to create a link set. 
Picture
Create a rectangle starting at the exact centers of each link. 
Picture
Set the stroke to none and send the rectangle to the back of the links. This rectangle will provide the area that the brush will duplicate. Make sure the rectangle is behind the links. 

Picture
Open the Brushes panel under Window > Brushes. Select the links and rectangle. Click on the Brushes dropdown menu and choose New Brush… Choose Pattern Brush. Name it Chain and click OK. 
Picture
To create the sprocket brush. create two circles. 
Picture
Use the Direct Selection Tool to select and remove 3./4 of each circle, leaving just the the curved lines shown.

Picture
Select both lines and choose Object > Path >Join to join the tips. 
Picture
Select the shape, choose New Brush from the brush dropdown menu. Choose Pattern Brush, name it Sprocket and click OK. 
Picture
To apply a brush, draw a circle and click on the Sprocket in the Brush Panel. 
Picture
Create two circles for the chain to run over. 

Picture
To edit the size of the brush (and not effect other places the brush is applied) click on the Brush dropdown menu and choose Options of Selected Object…
Picture
The options allow for control of the size of the brush on the select object. Slide the Scale slider to make the brush larger or smaller. 
Picture
Duplicate the two Sprocket circles. Set the brush to Basic in the Brush panel to remove the Sprocket. 

Picture
With both circles selected choose Object > Blend Options. Set the Spacing to Specified steps and the number to 125.
Picture
Choose Object >Blend > Make to create the Blend. 
Picture
Choose Object >Blend > Expand.

Picture
Click in the Unite mode in the Pathfinder panel to create one shape. 
Picture
With the shape, add the link brush to the outline.
Picture
Adjust the size of the chains on the path by using the Options of Selected Object… and scale the size of the chain.

Picture
Move the chain over the sprockets. Add inner circles inside the sprockets. 
Picture
Select a sprocket and choose Object > Expand Appearance. Choose Object > Join to make all the segments on shape. 

Picture
Select the sprocket shape and the inner shape. Fill them with gray. Choose Object > Compound Path > Make. This will make the gear one shape and knock out the middle section. 
Picture
Repeat the last step with the smaller gear to create a knock out sprocket. 

Picture
Create a circle on the big sprocket. 
Picture
Select the inner circle and choose the Rotate tool. Move the Rotate tool to the center of the Sprocket, hold Option/Alt and click to open the Rotate dialog box. 

Picture
Type 360 / how many circles in the sprocket. Click on the COPY button. 
Picture
Use Command + D to repeat the rotate/copy of the circle around the sprocket. 

Picture
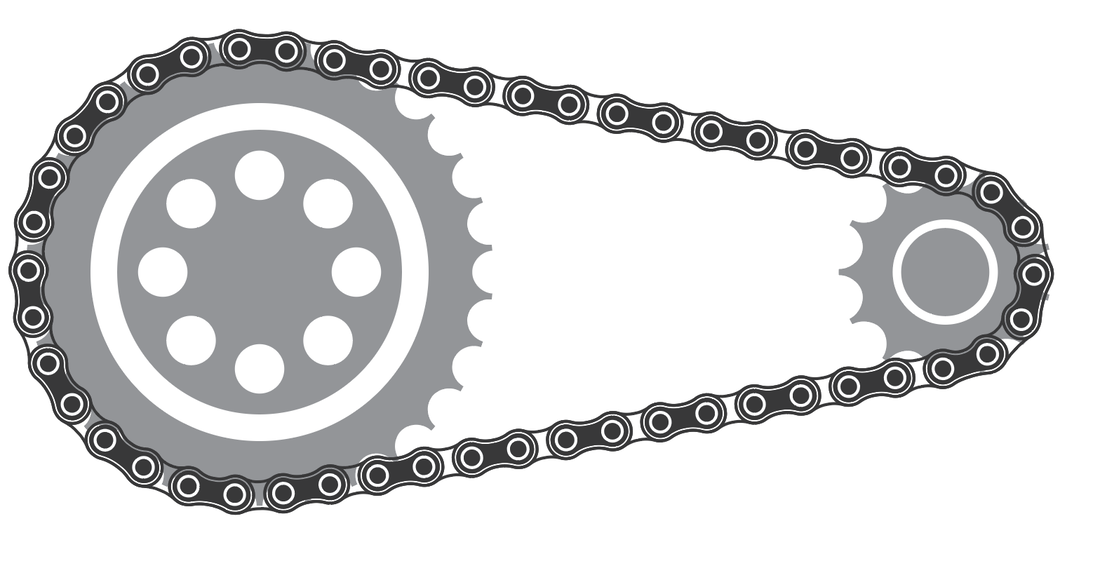
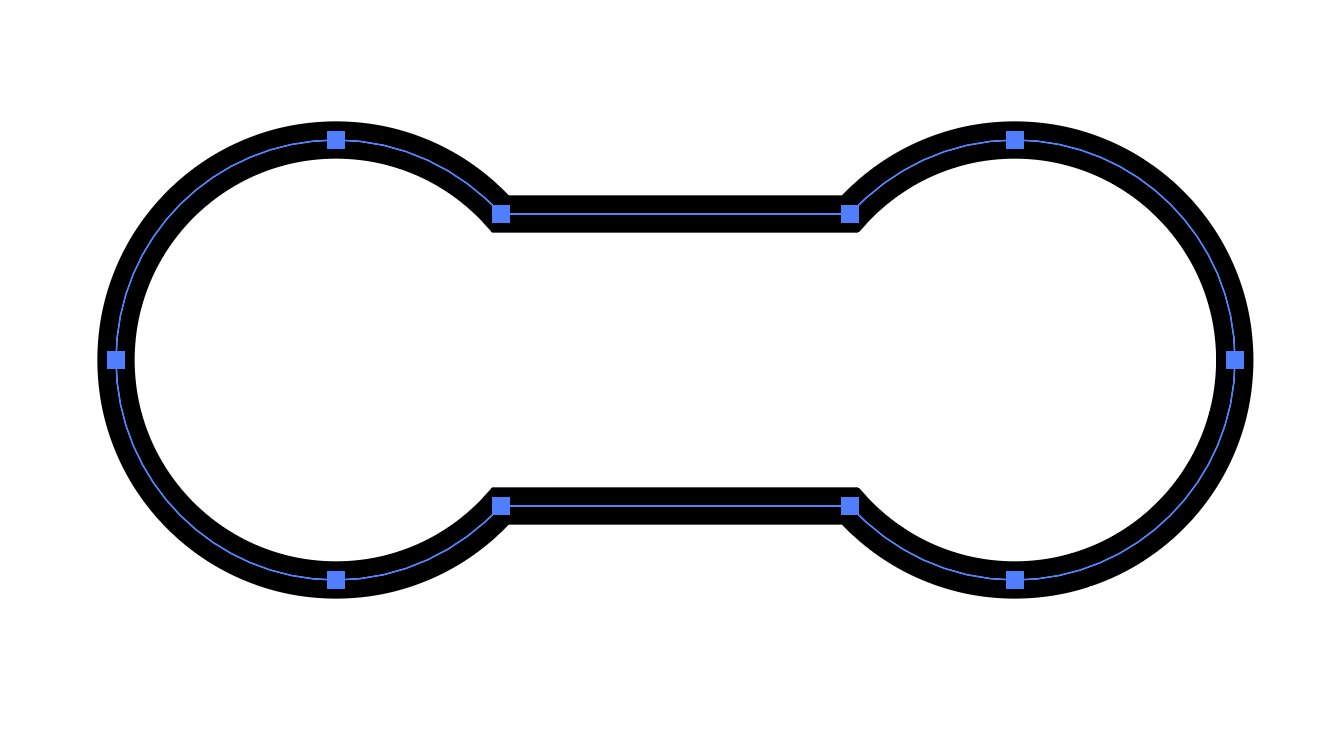
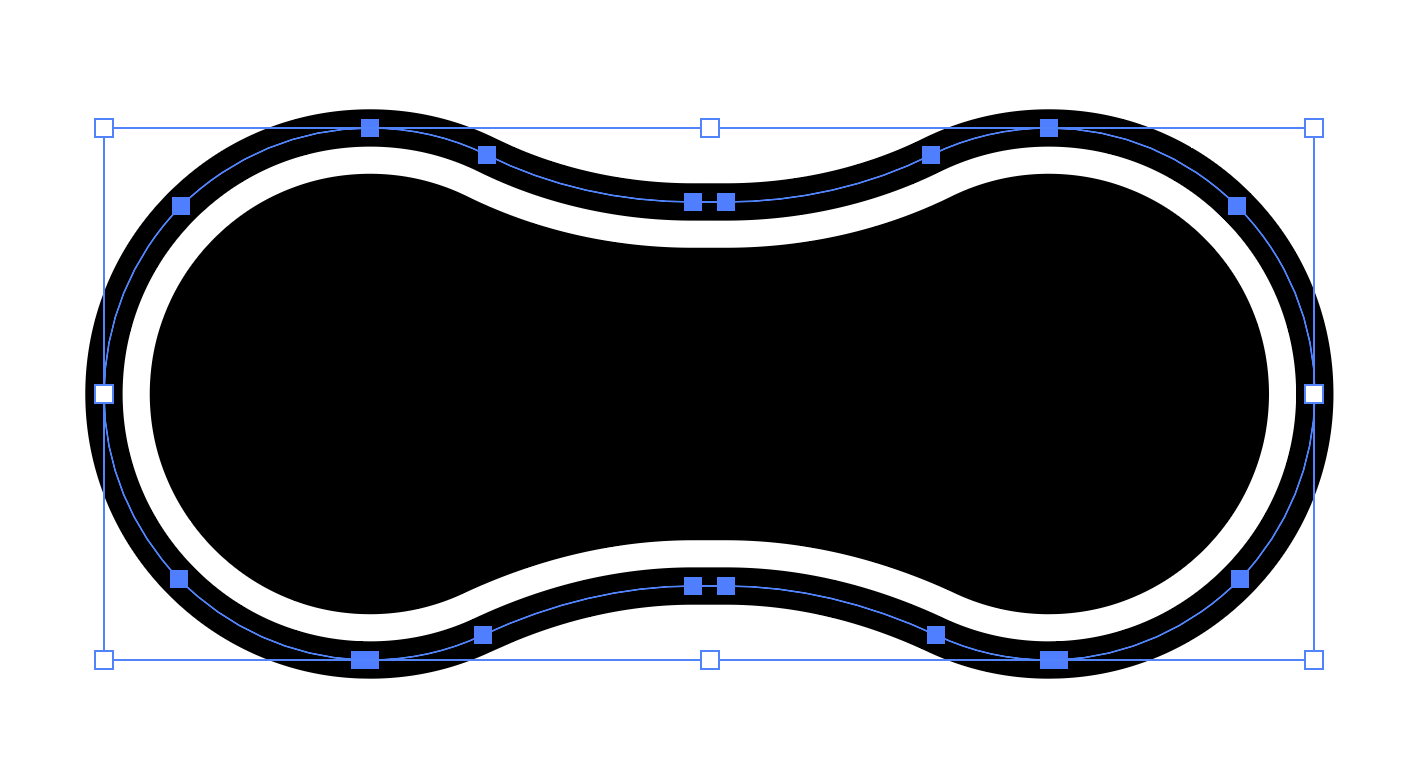
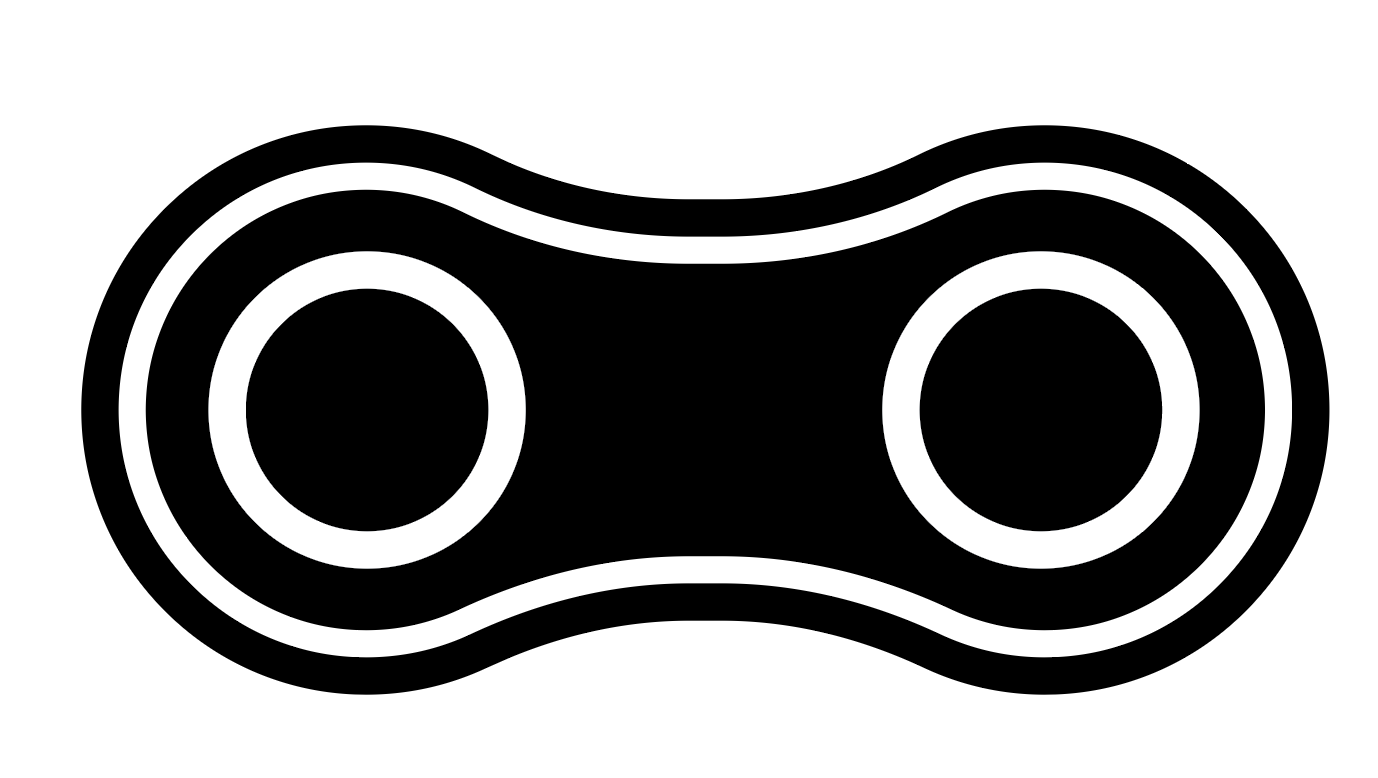
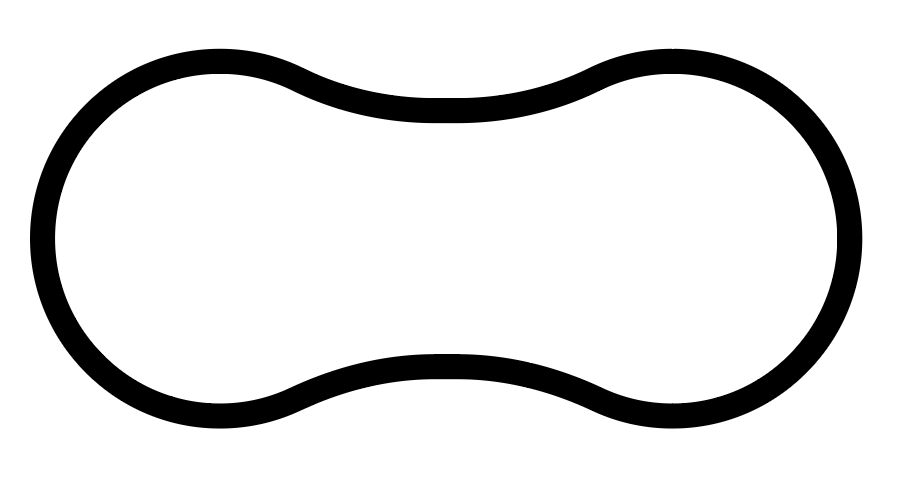
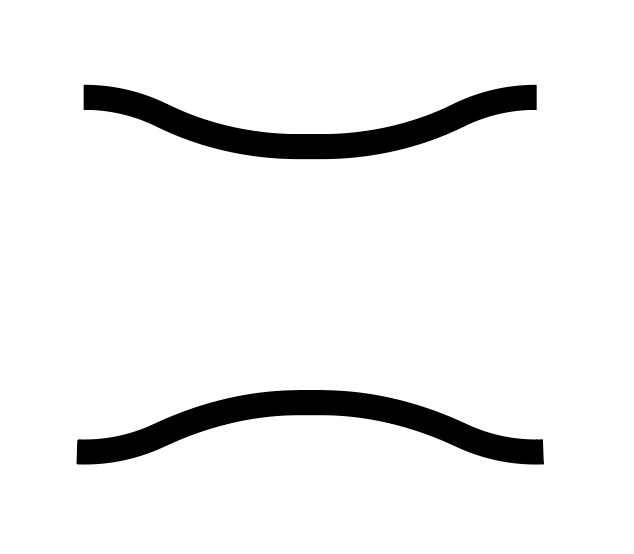
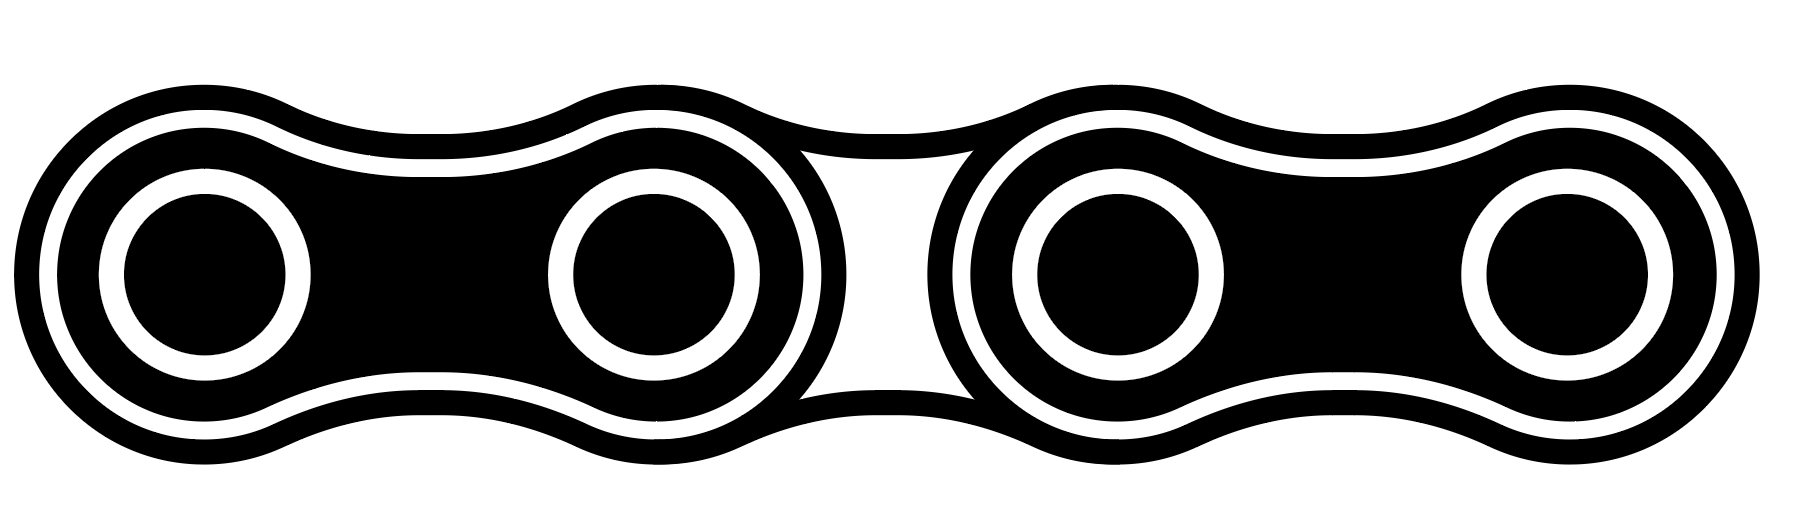
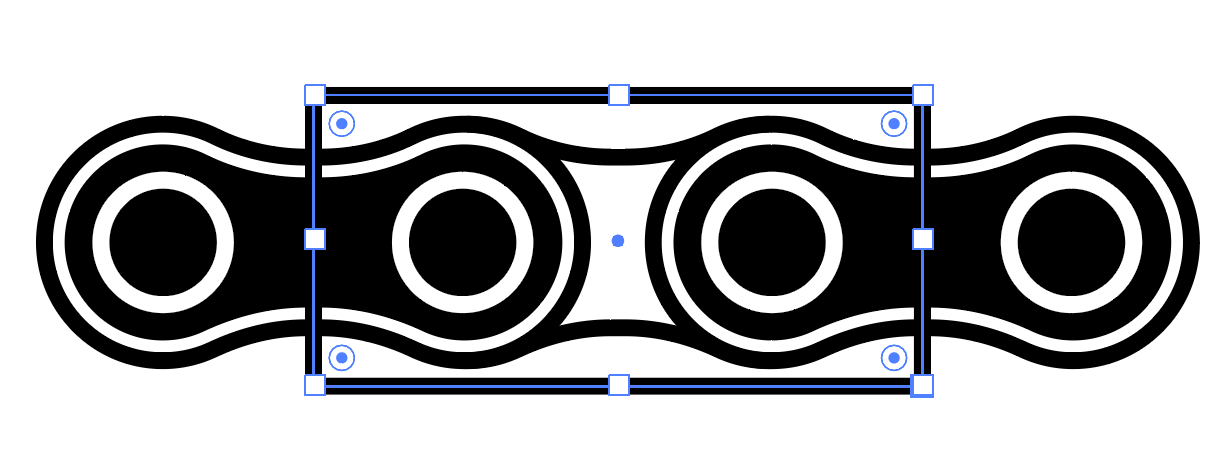
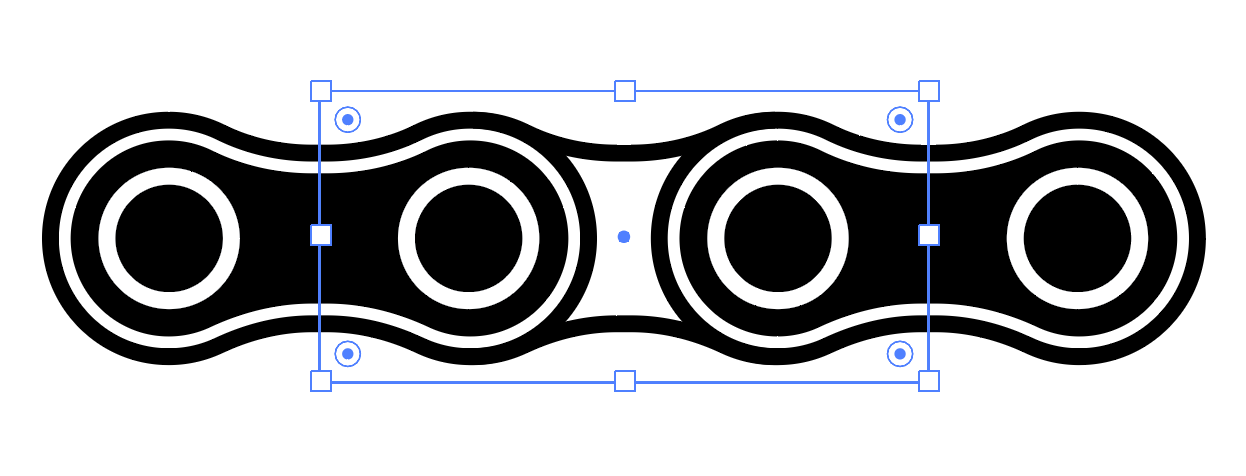
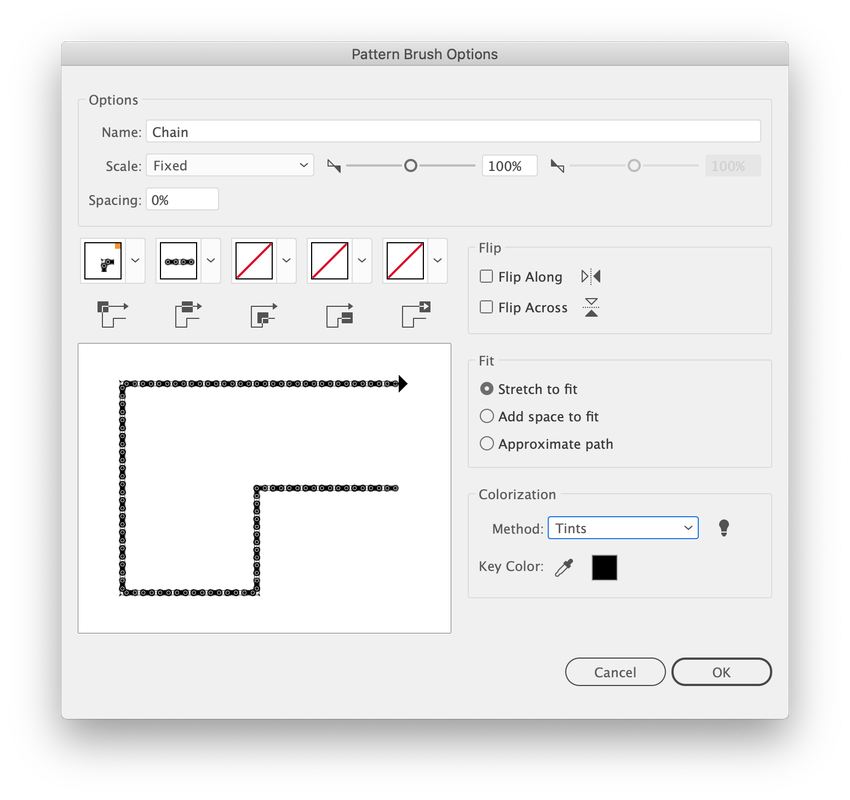
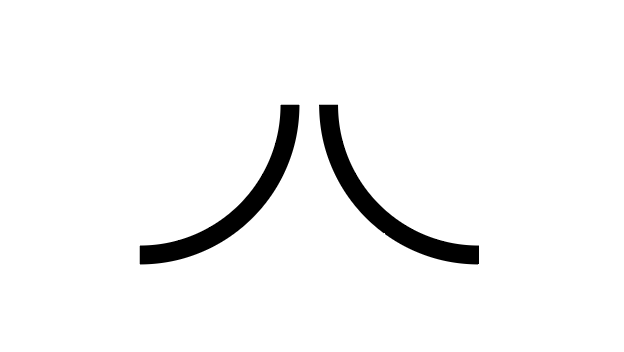
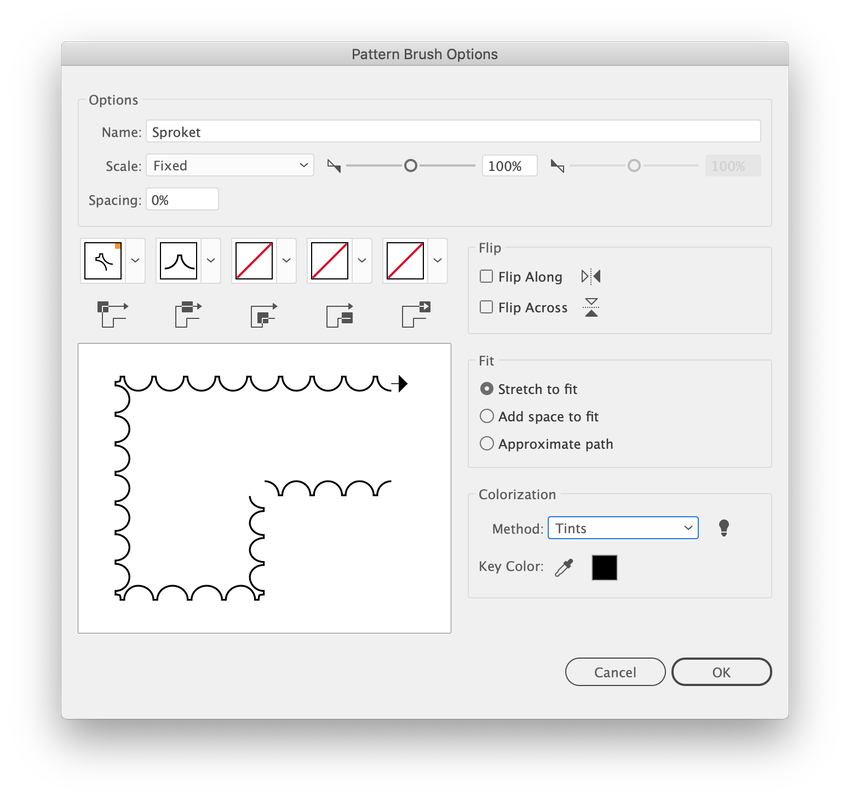
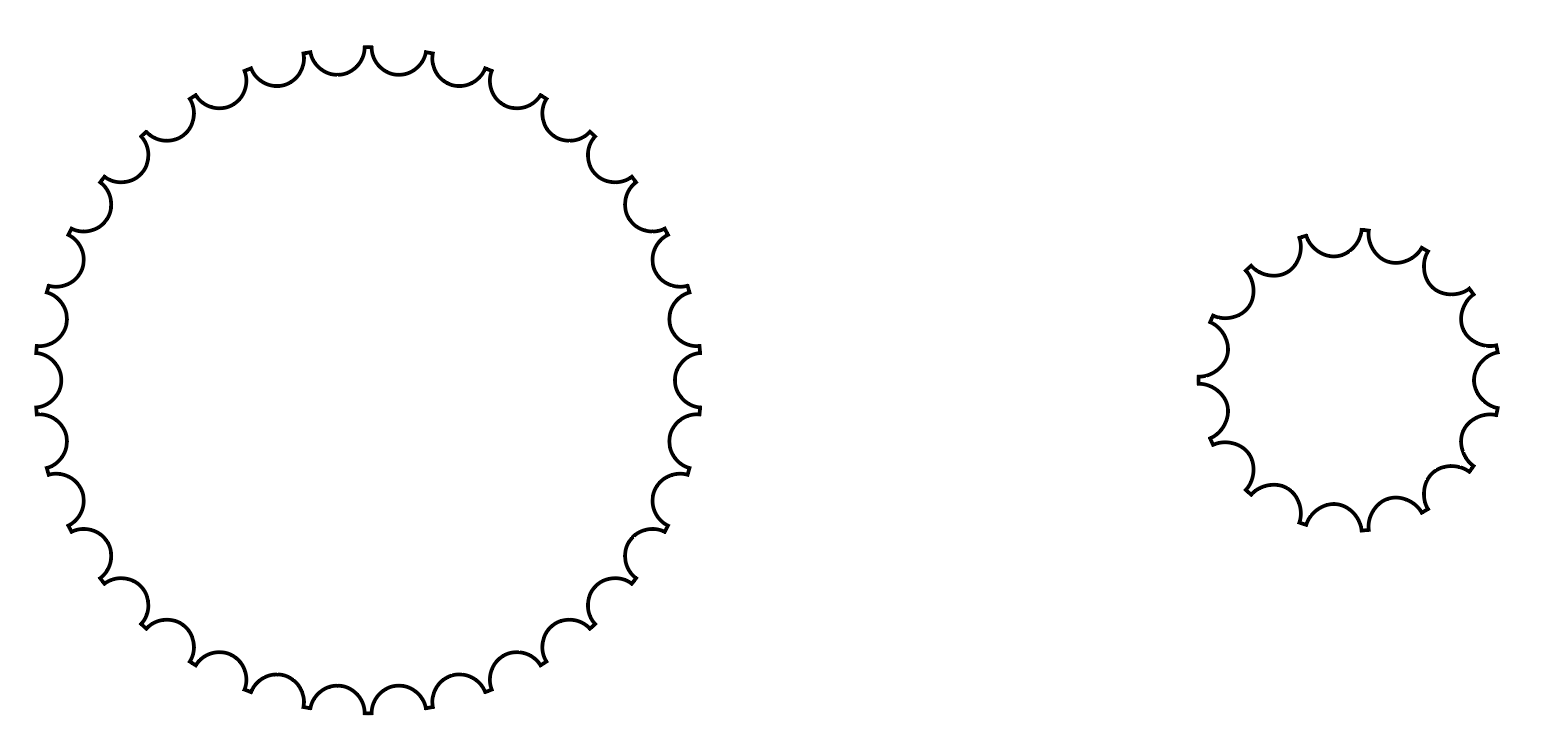
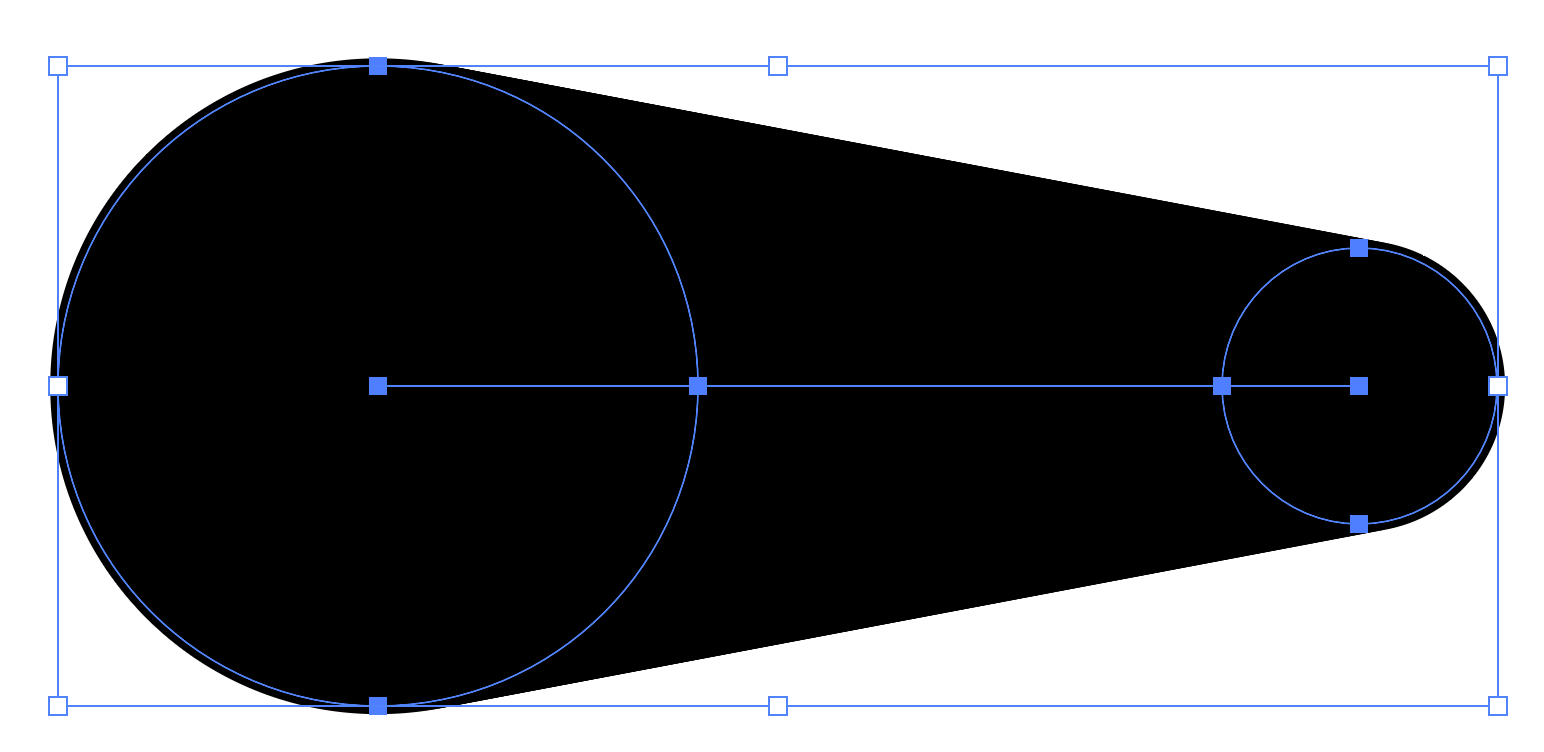
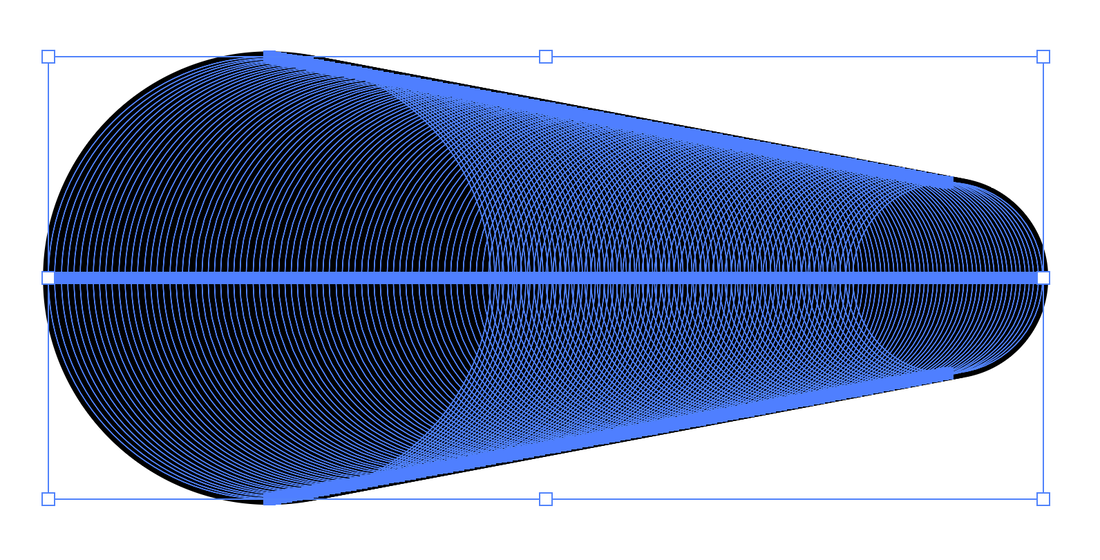
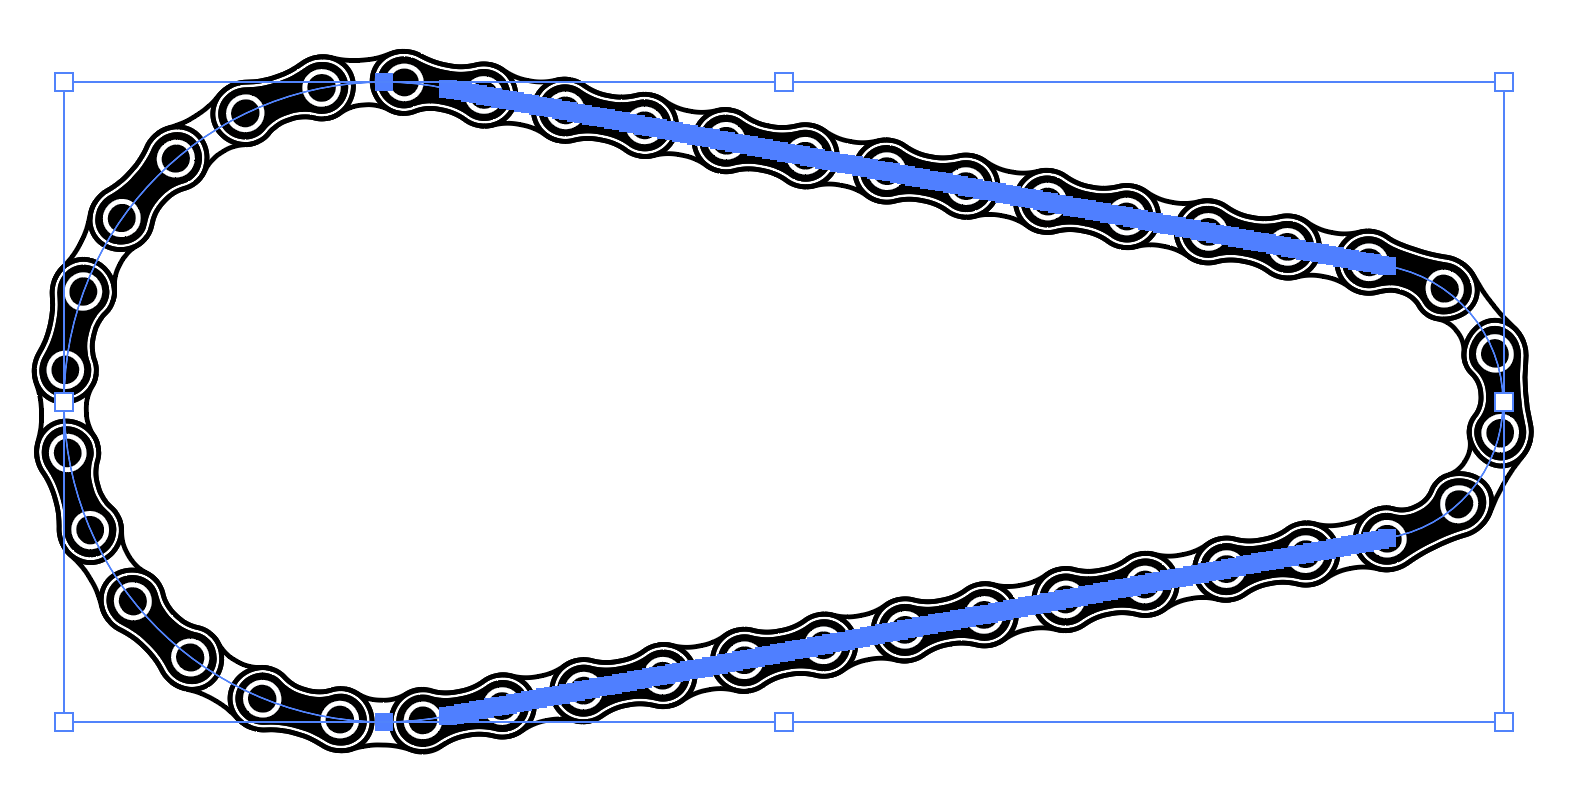
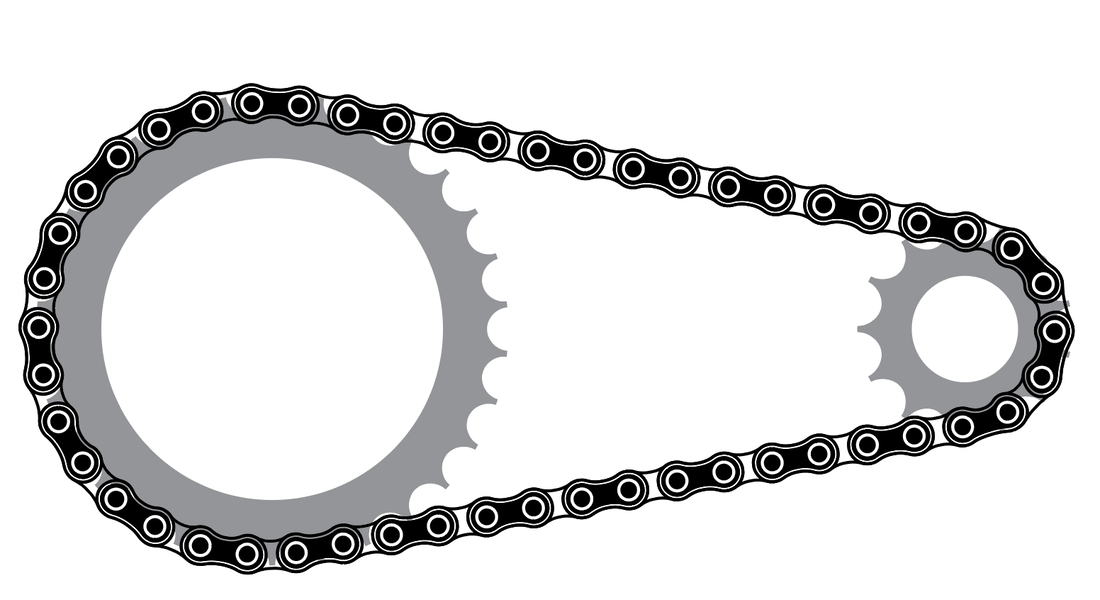
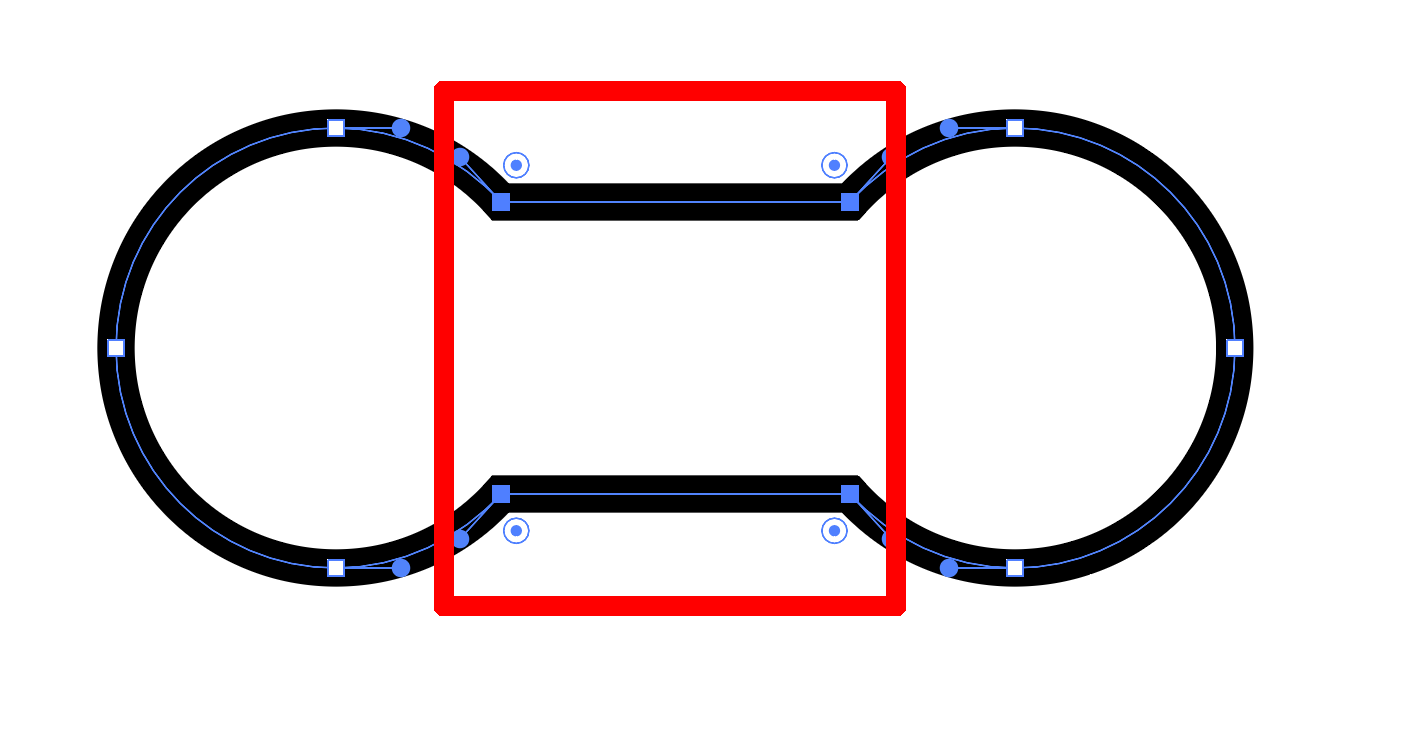
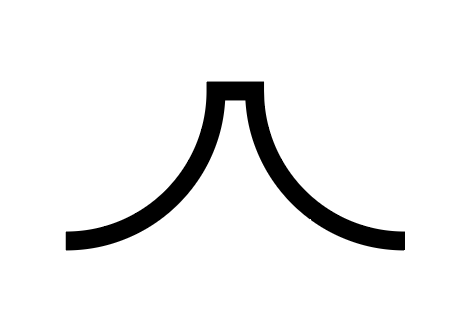
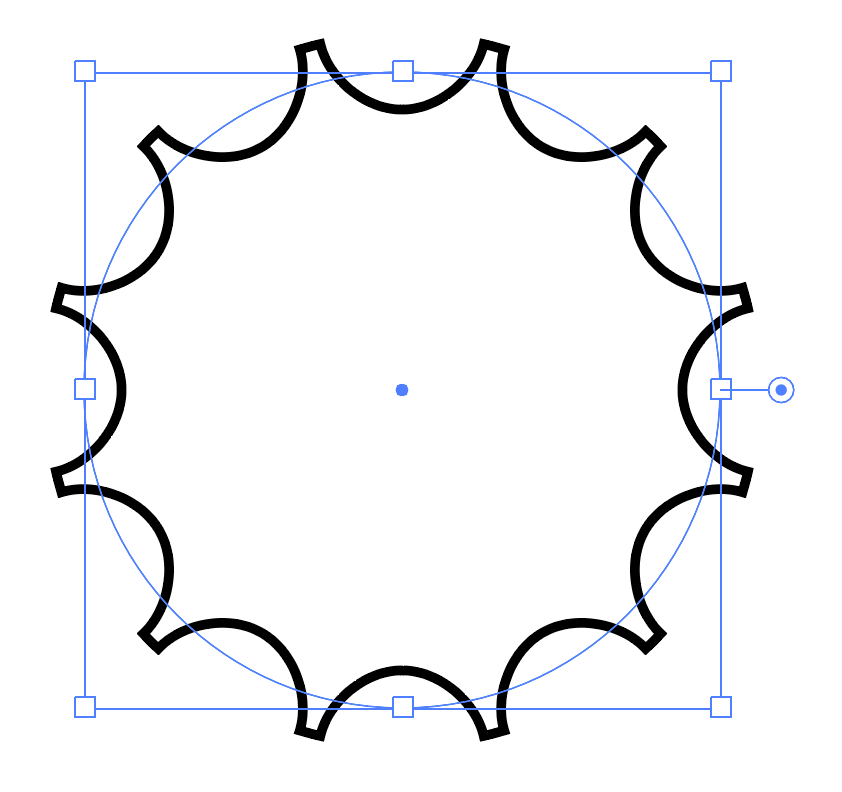
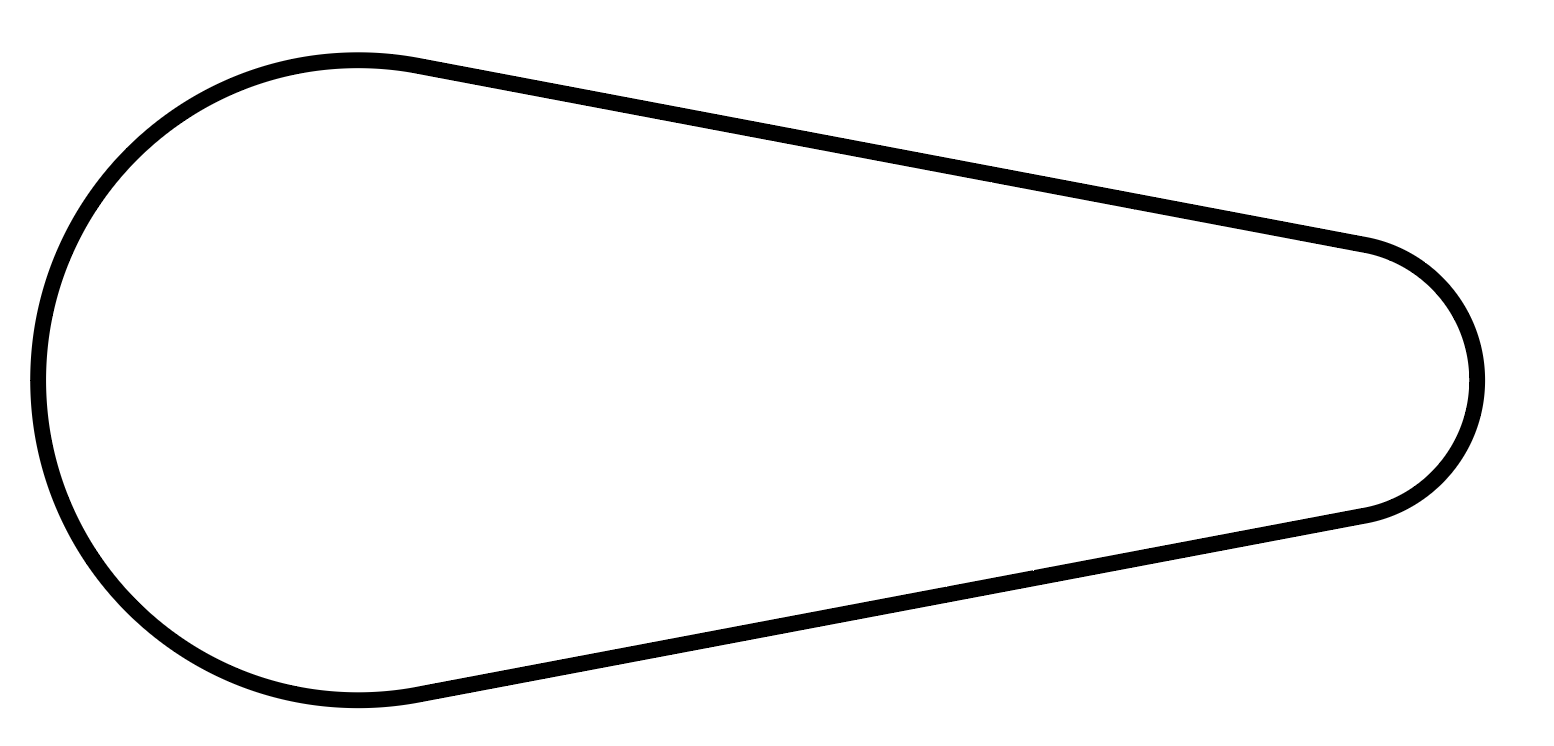
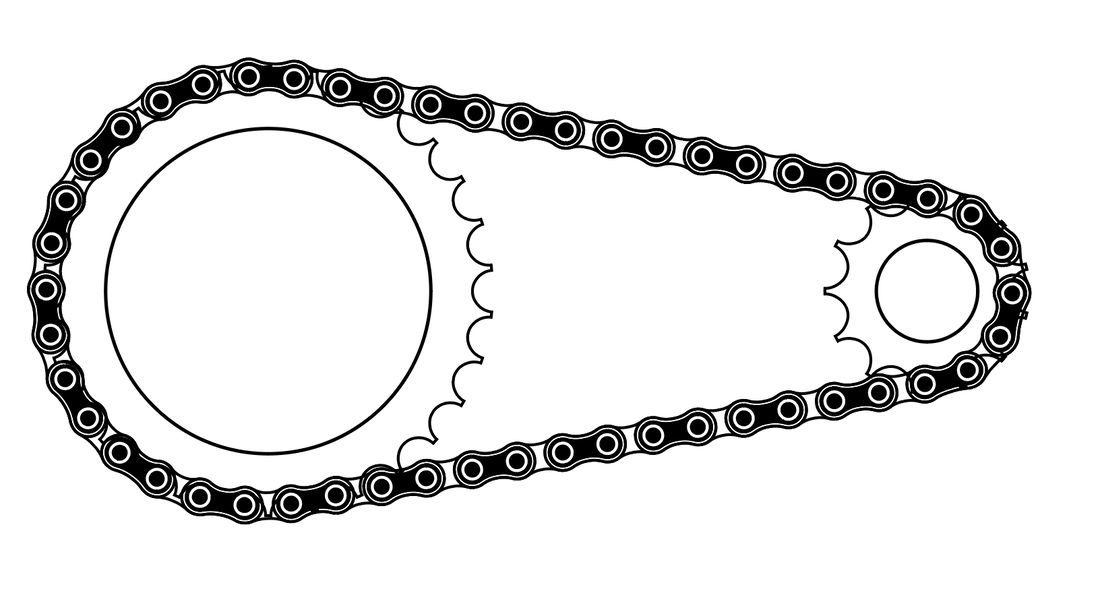
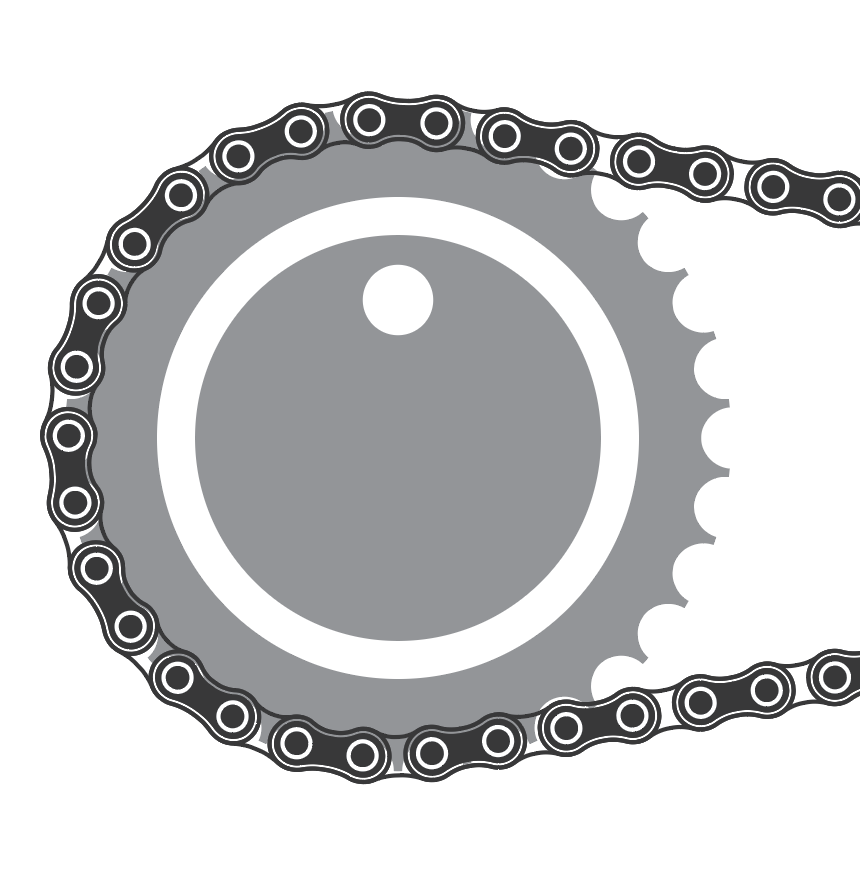
Nice chain and sprocket. And some fun with brushes as well. 
0 Comments


Leave a Reply.

    RSS Feed

    Archives

    March 2021
    February 2021
    December 2020
    September 2020
    August 2020
    July 2020
    June 2020
    May 2020
    April 2020
    March 2020
    February 2020
    January 2020
    December 2019
    November 2019
    October 2019
    September 2019
    August 2019
    July 2019
    June 2019
    May 2019
    April 2019
    March 2019
    February 2019
    January 2019
    December 2018
    November 2018
    October 2018
    September 2018
    August 2018
    July 2018
    June 2018
    May 2018
    April 2018
    March 2018
    February 2018
    January 2018
    December 2017
    November 2017
    October 2017
    September 2017
    August 2017
    July 2017
    June 2017
    May 2017
    April 2017
    March 2017
    February 2017
    January 2017
    December 2016
    November 2016
    October 2016
    September 2016
    August 2016
    July 2016
    June 2016
    May 2016
    April 2016
    March 2016
    February 2016
    January 2016
    December 2015
    November 2015
    October 2015
    September 2015

    RSS Feed

Proudly powered by Weebly
  • Home
  • Contact
  • Classes
  • Blog
  • Blog Index
  • Portfolio
  • Max 2022